09 Pics n Slips

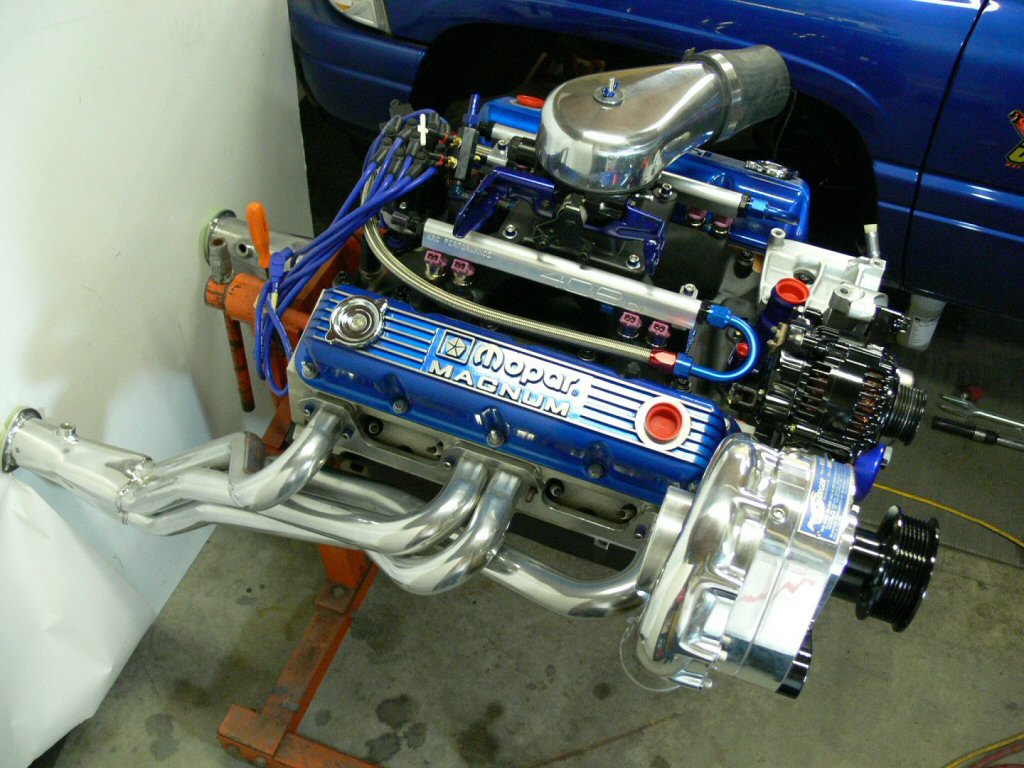
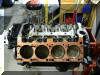
408ci
09's Planned Mods
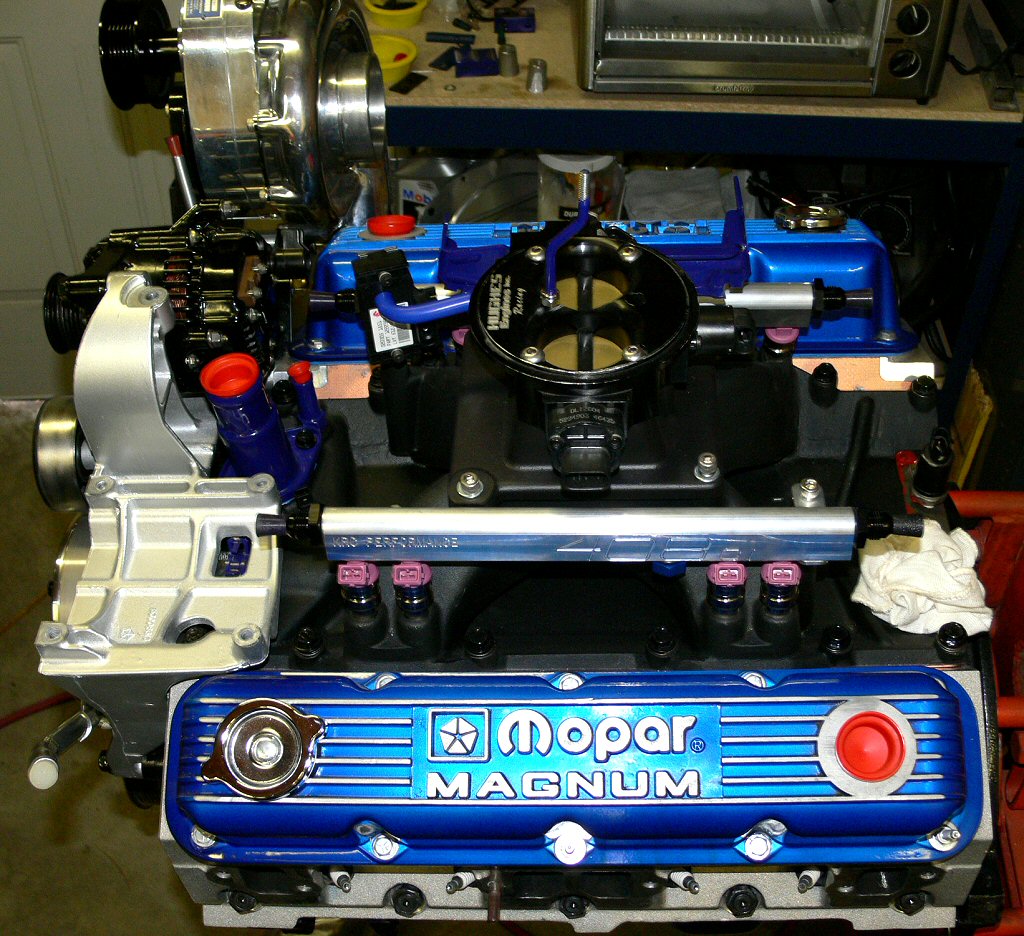
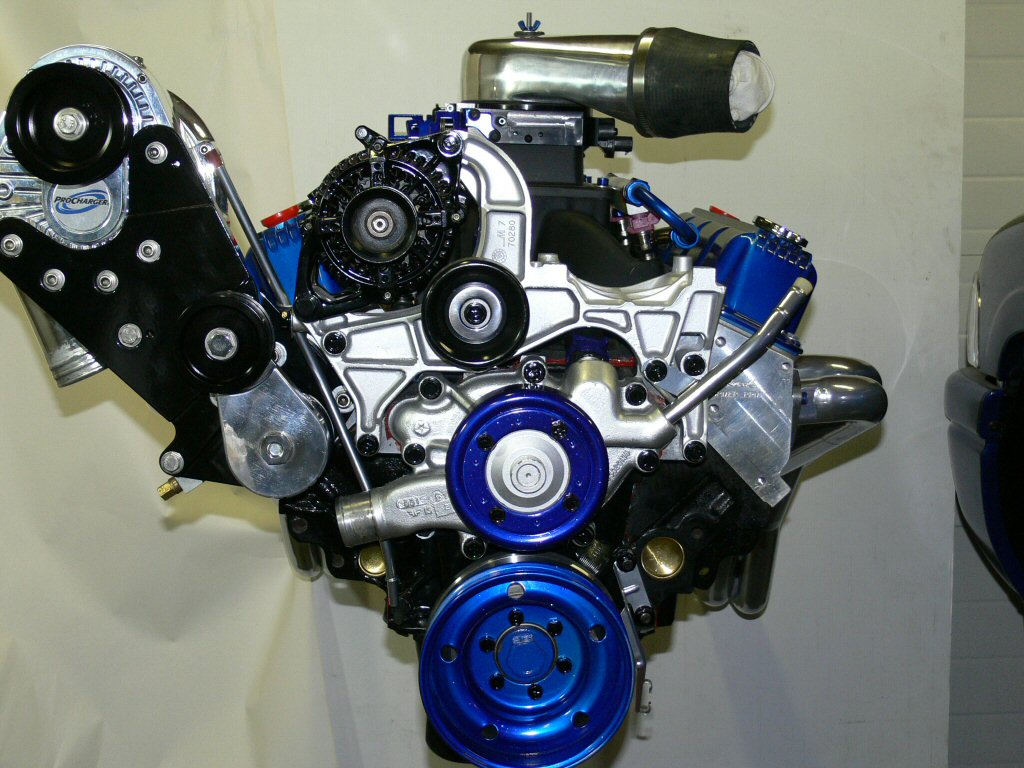
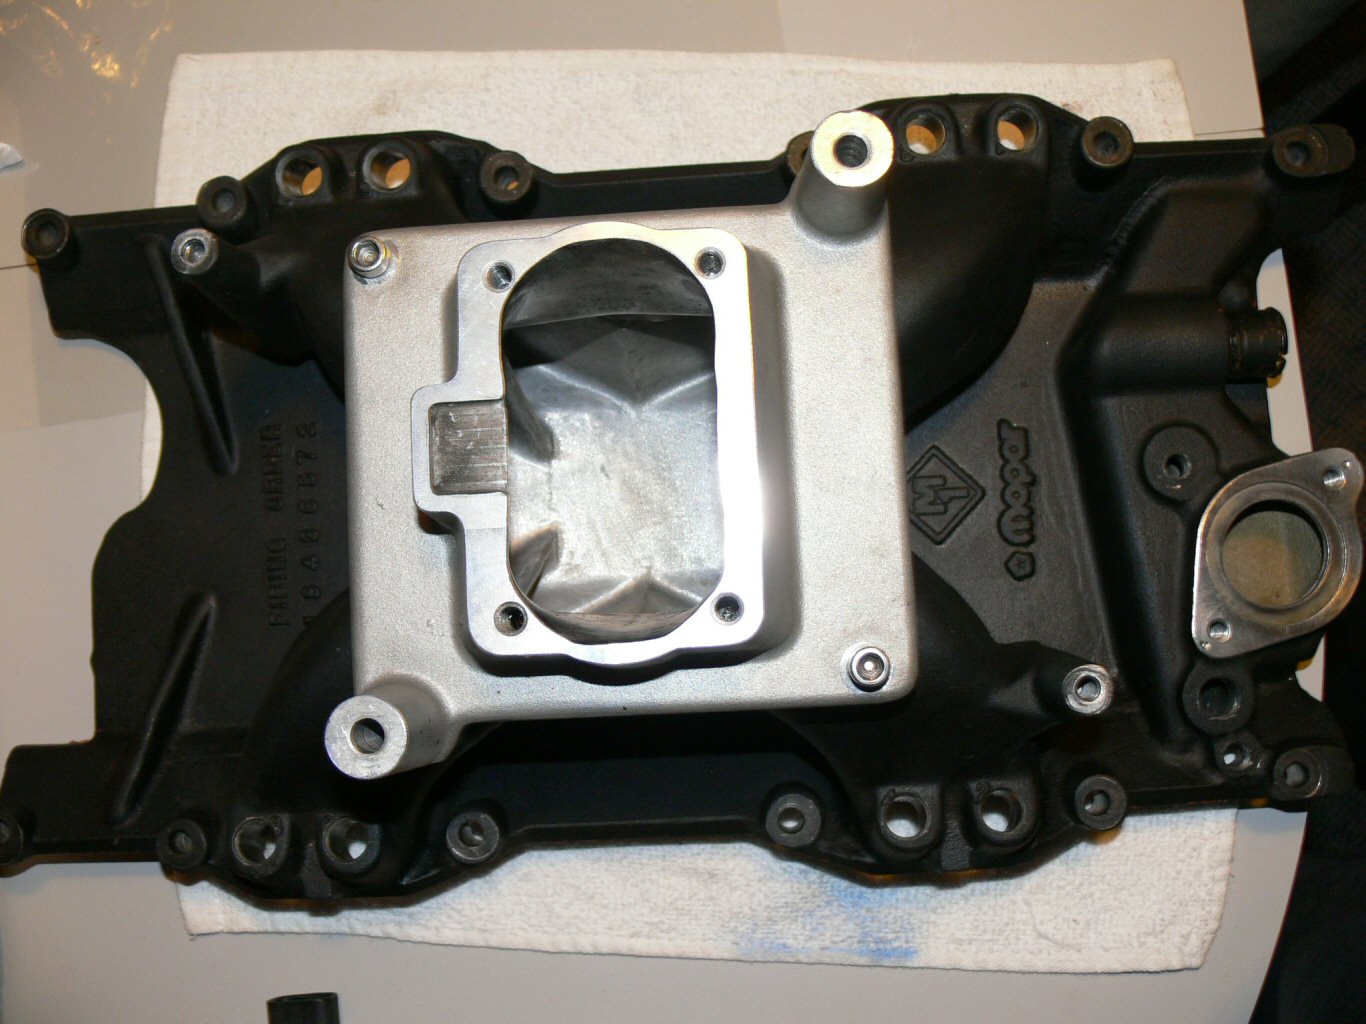
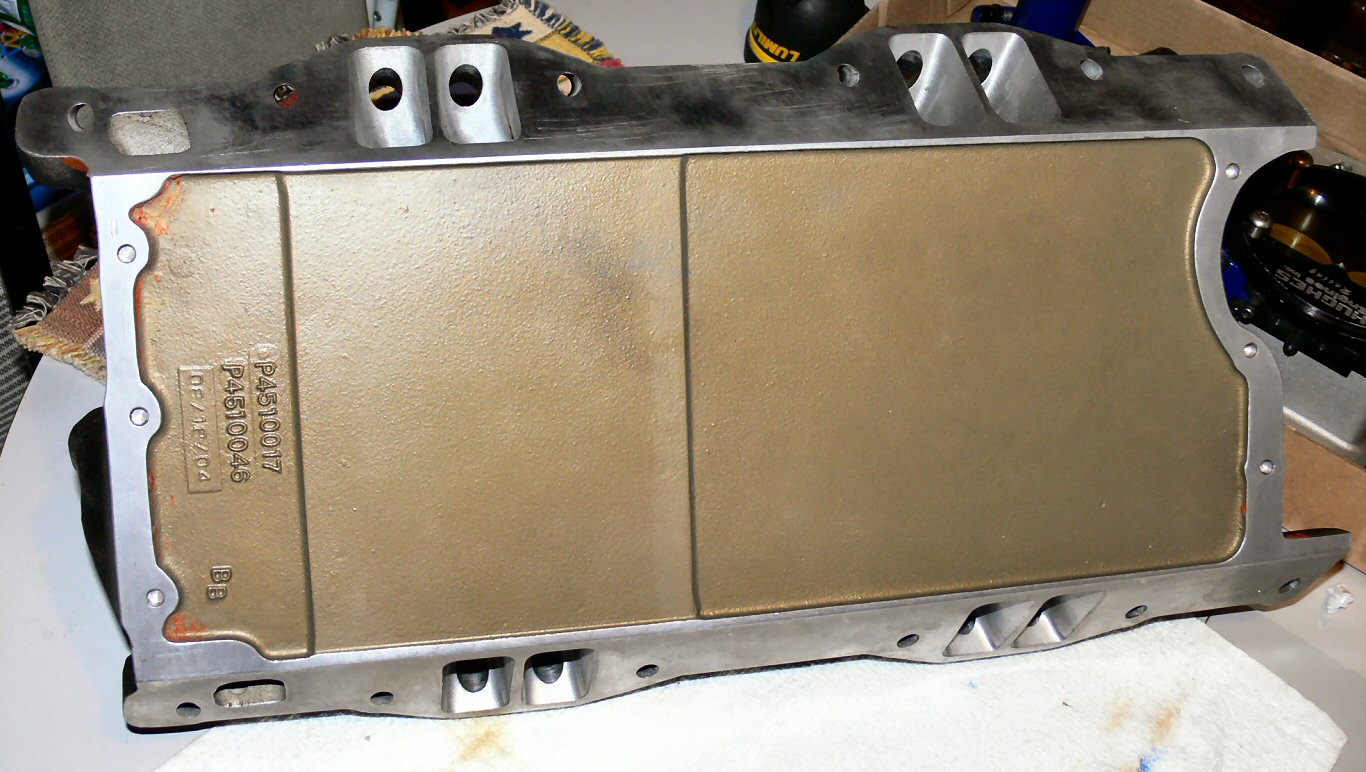
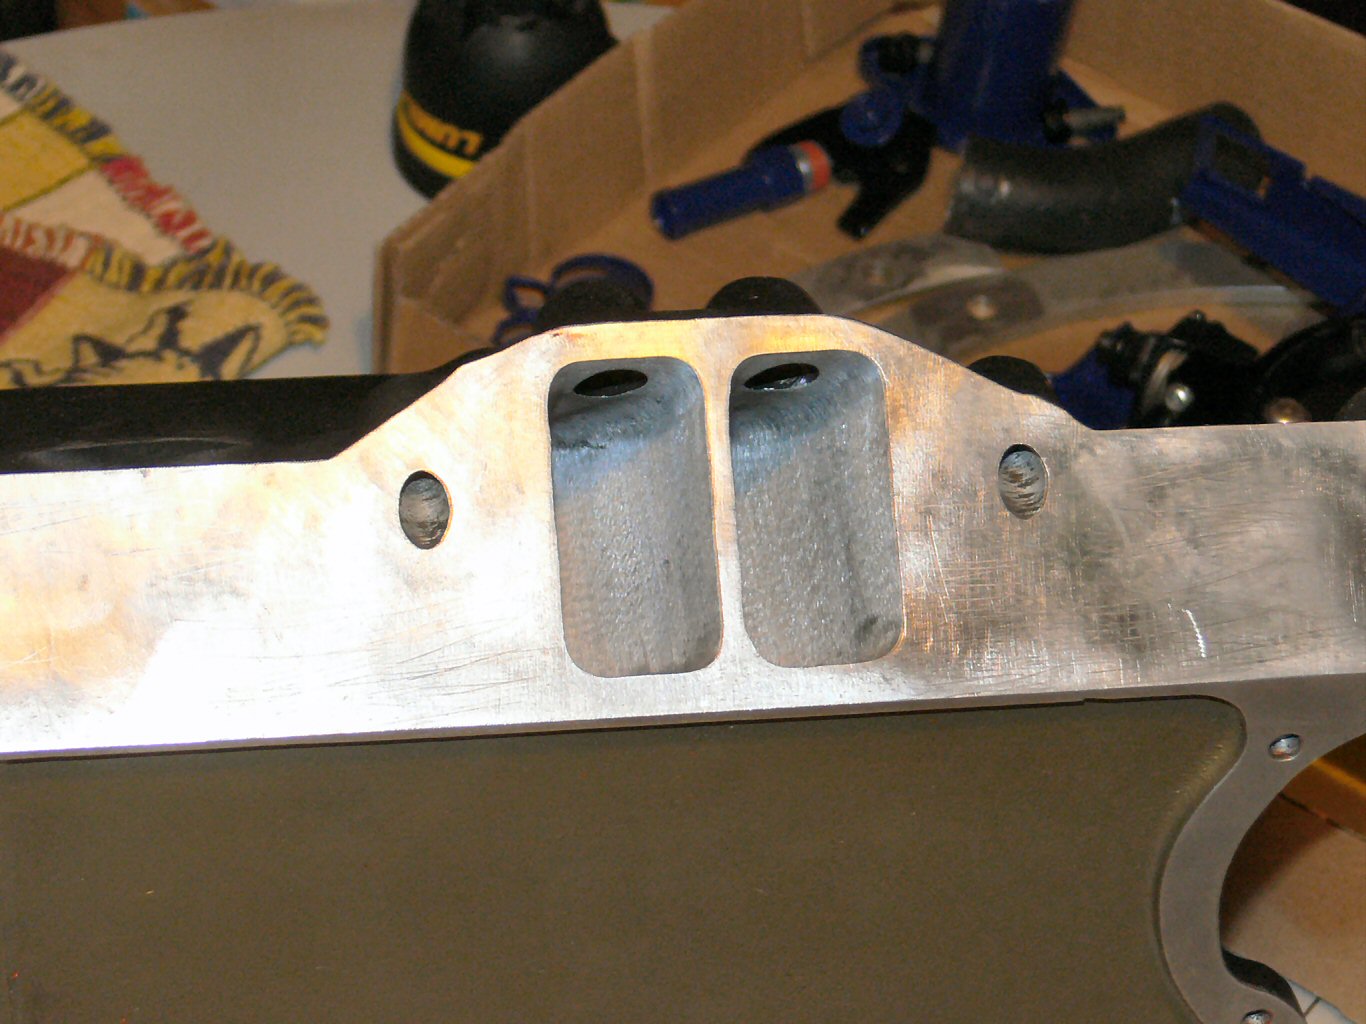
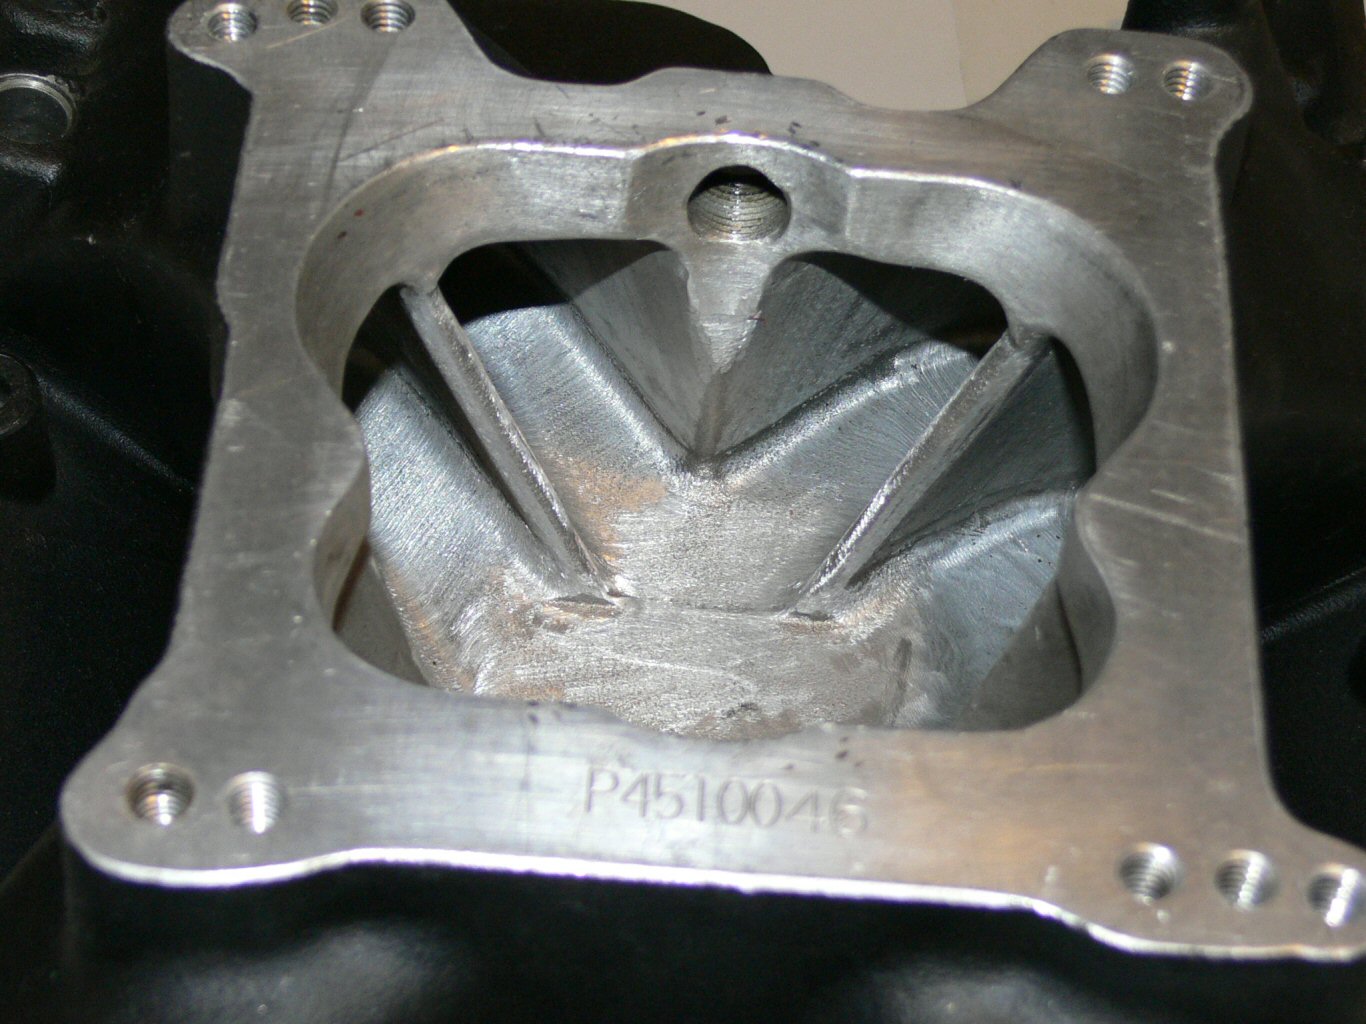
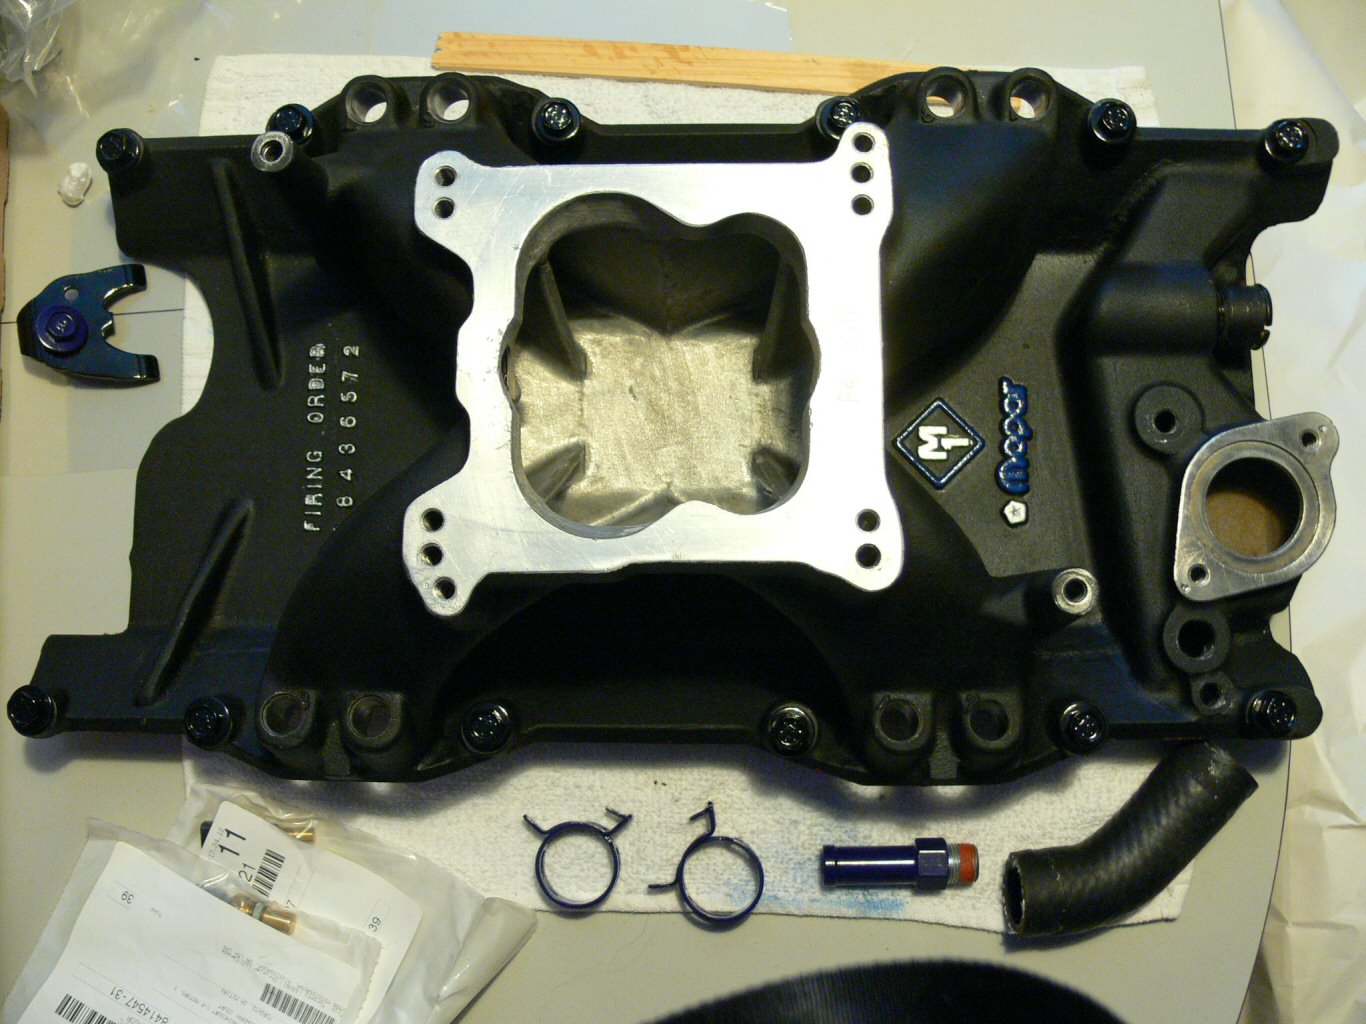
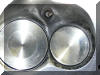
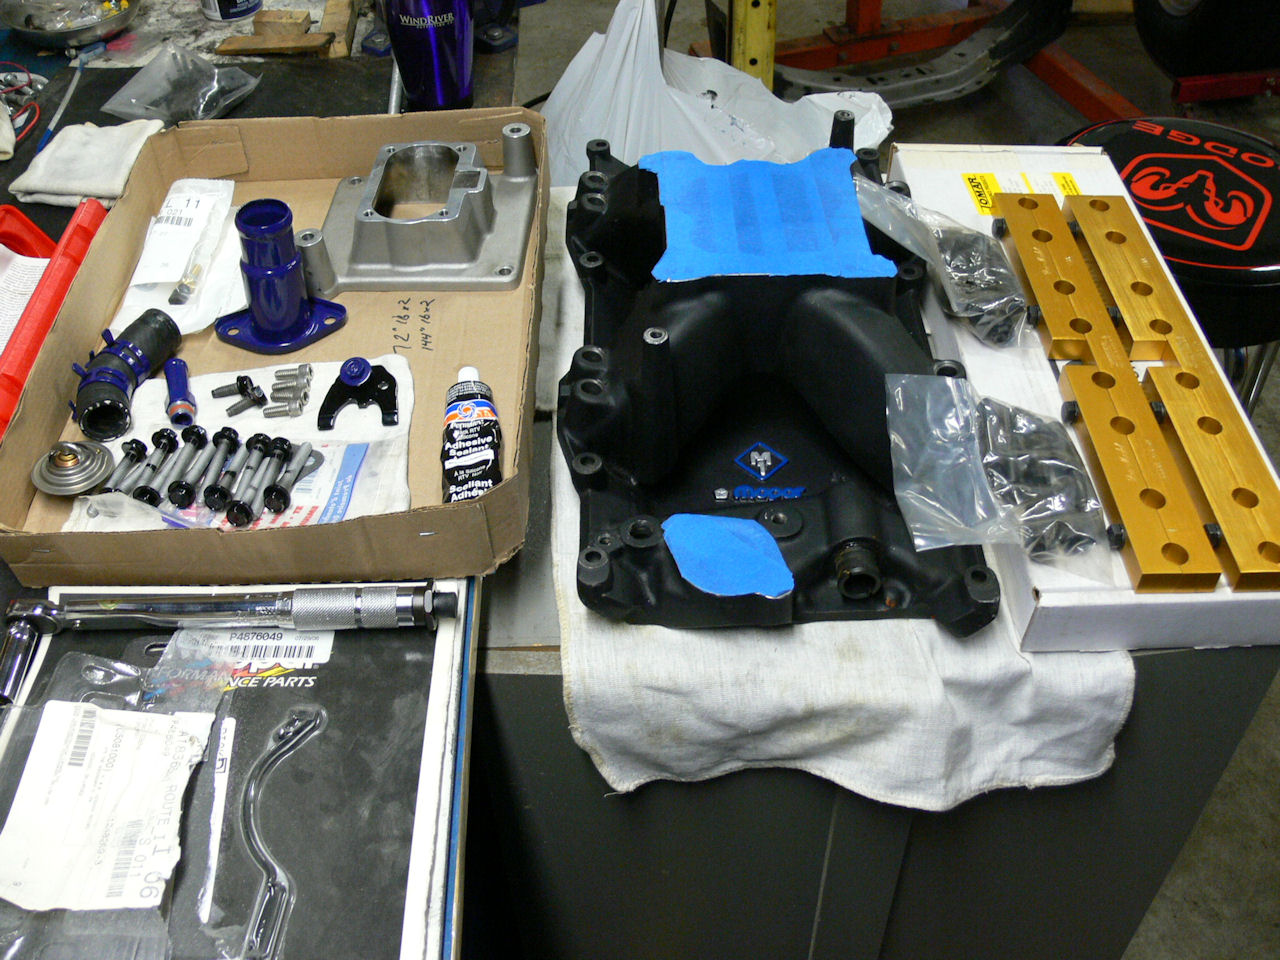
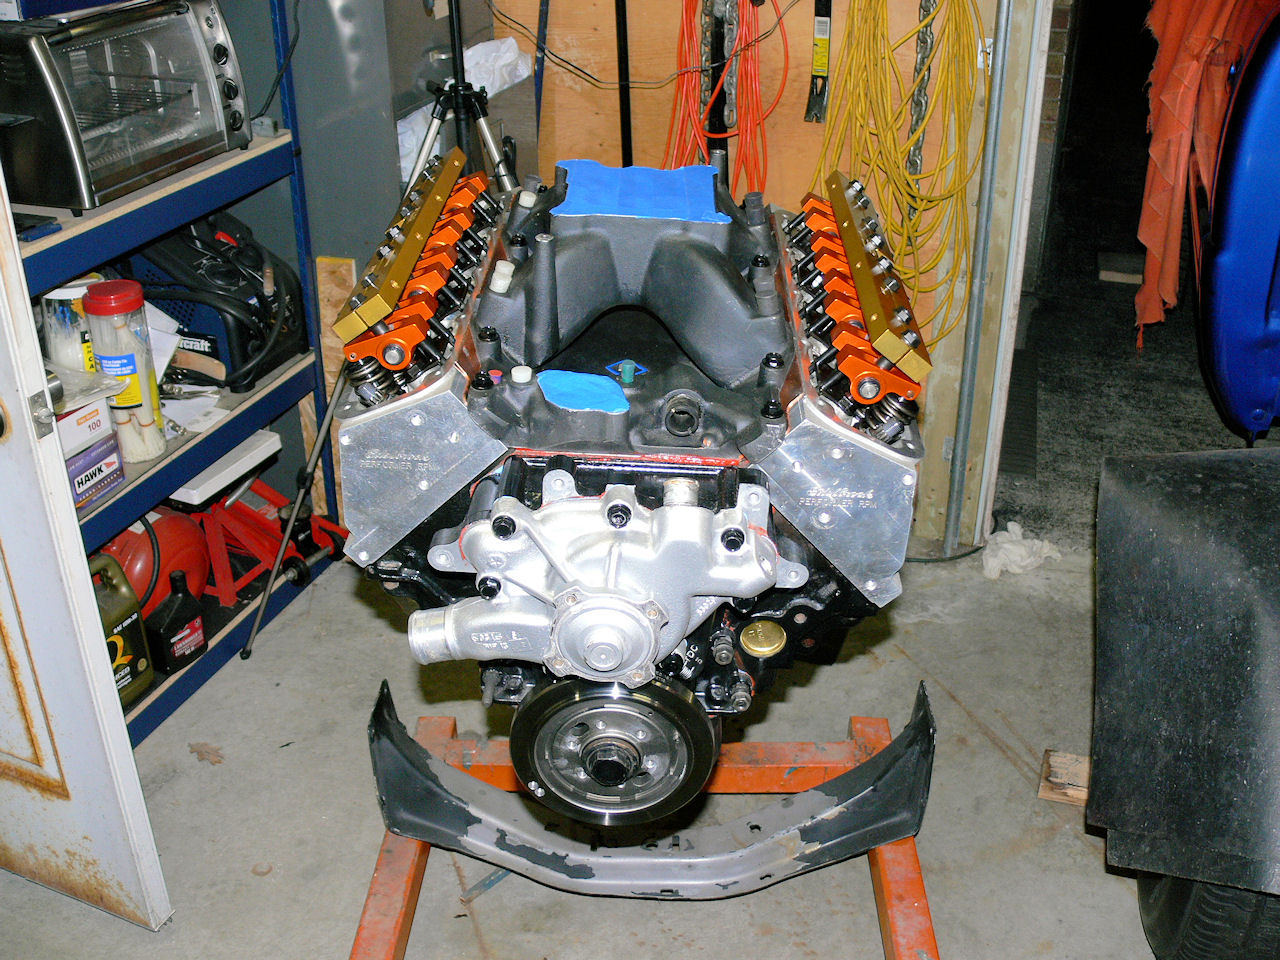
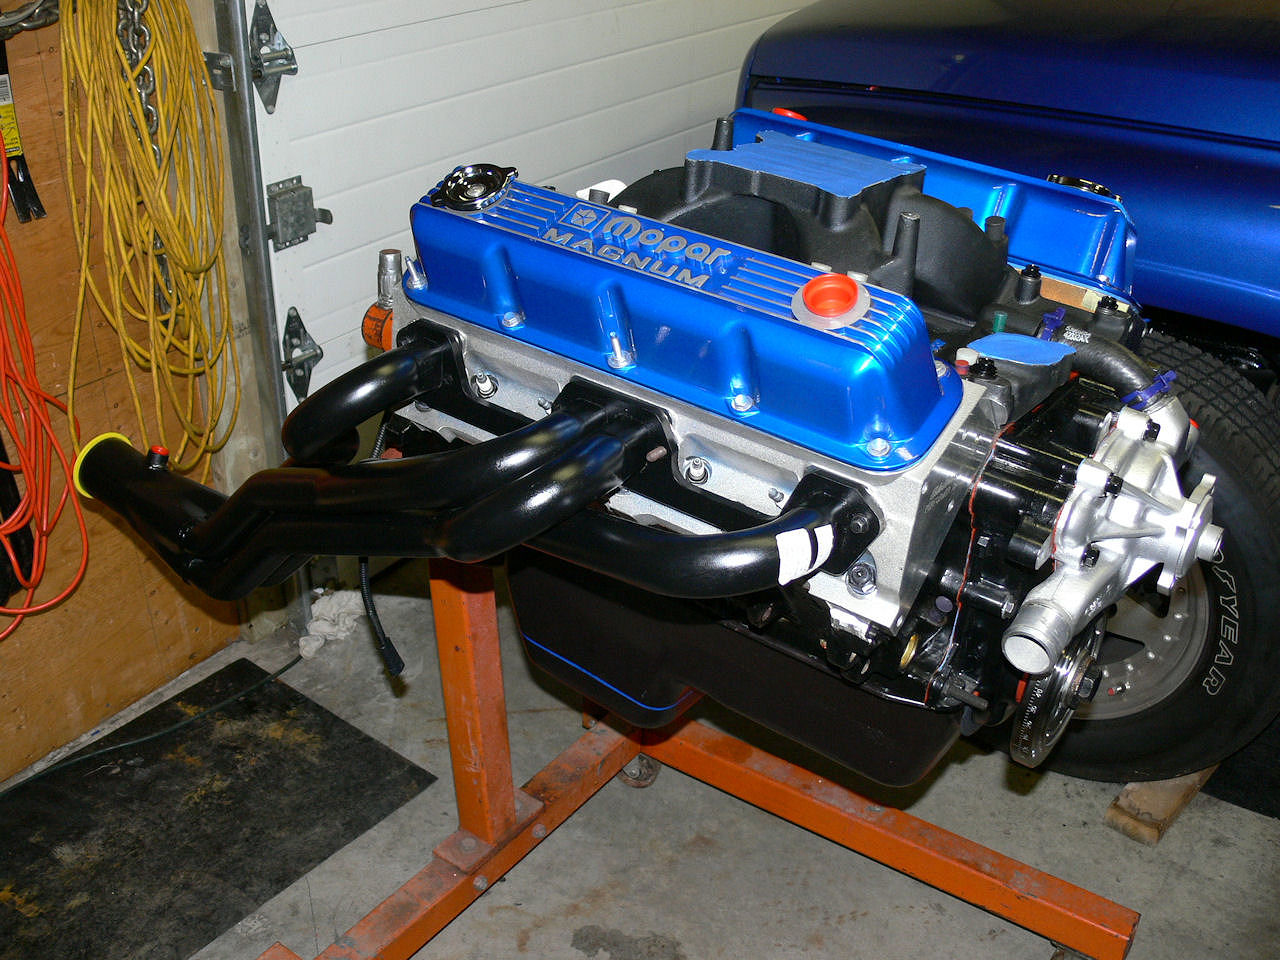
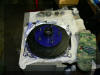
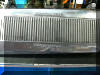
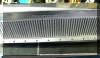
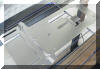
M1/4BBL (coated/matched/decked/ported).....installed
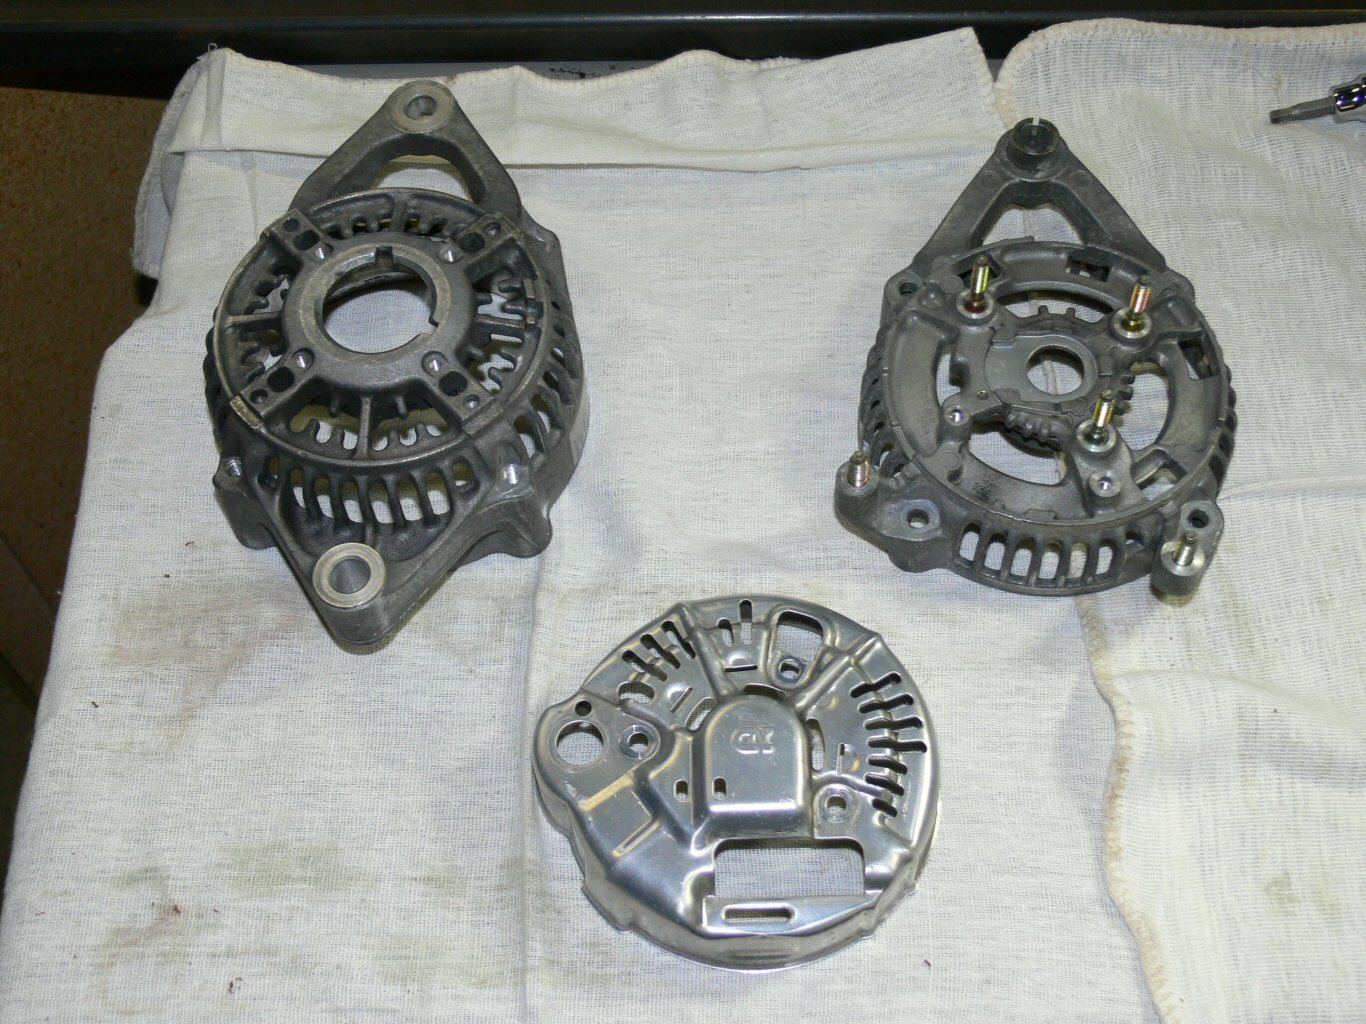
Alt rebuilt/upgraded, pwdr coat while apart....completed
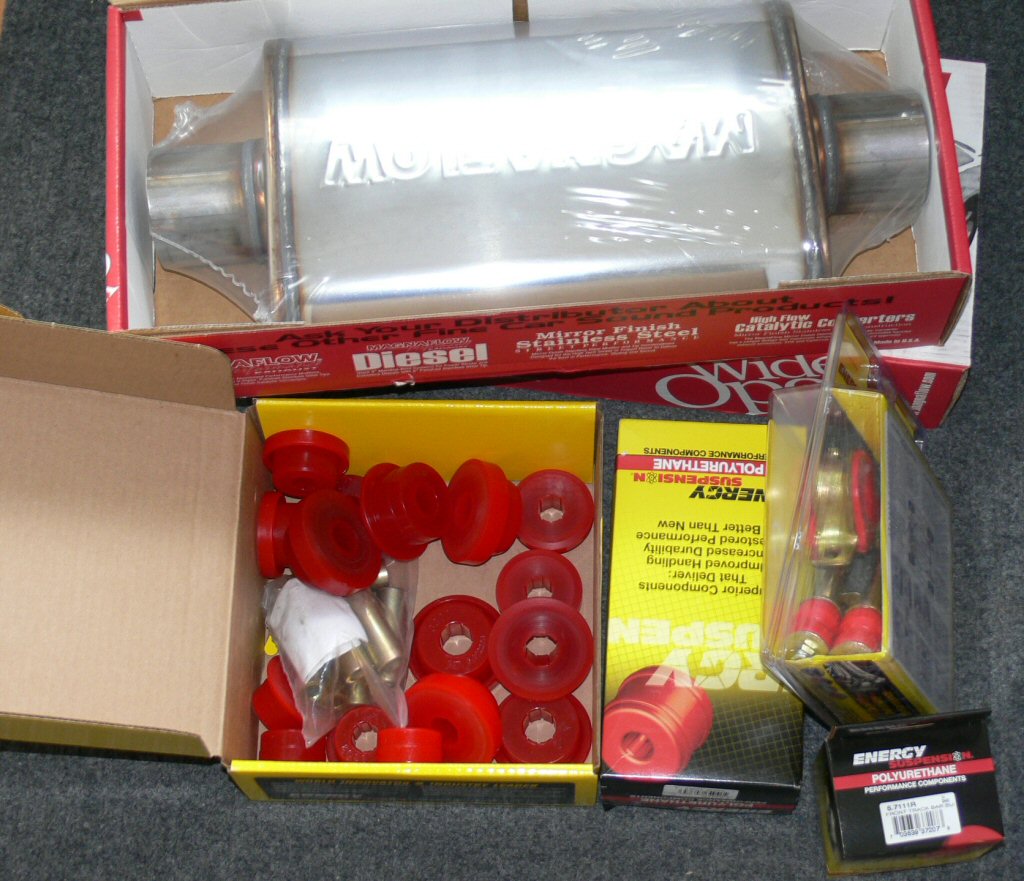
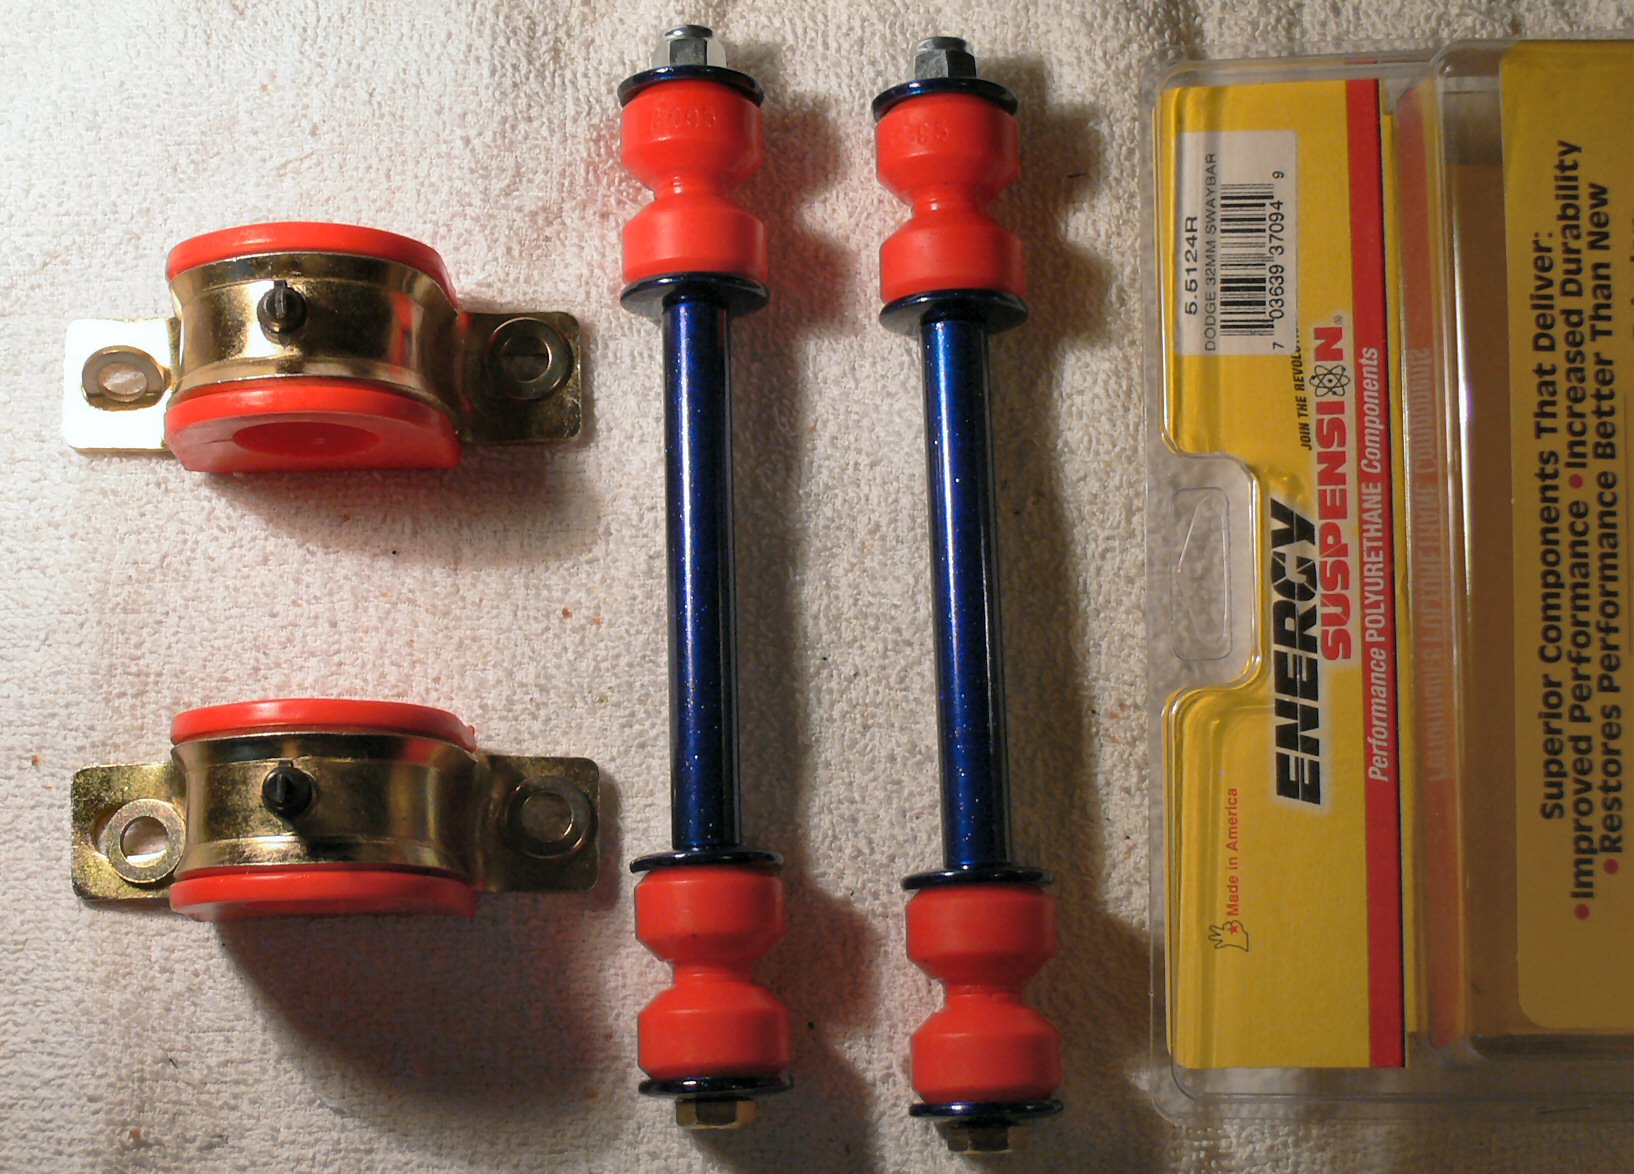
Energy Suspension poly bushing kit................on bench
last fuel fittings I hope....................................on bench
battery relocate to back of bed.......................on bench
Exhaust work.................................................Magnaflows on bench
Last of the paint work....................................more supplies arrived
Last of the powder coating.............................38 more pieces done
headers welded, ceramic & hi heat coated......completed
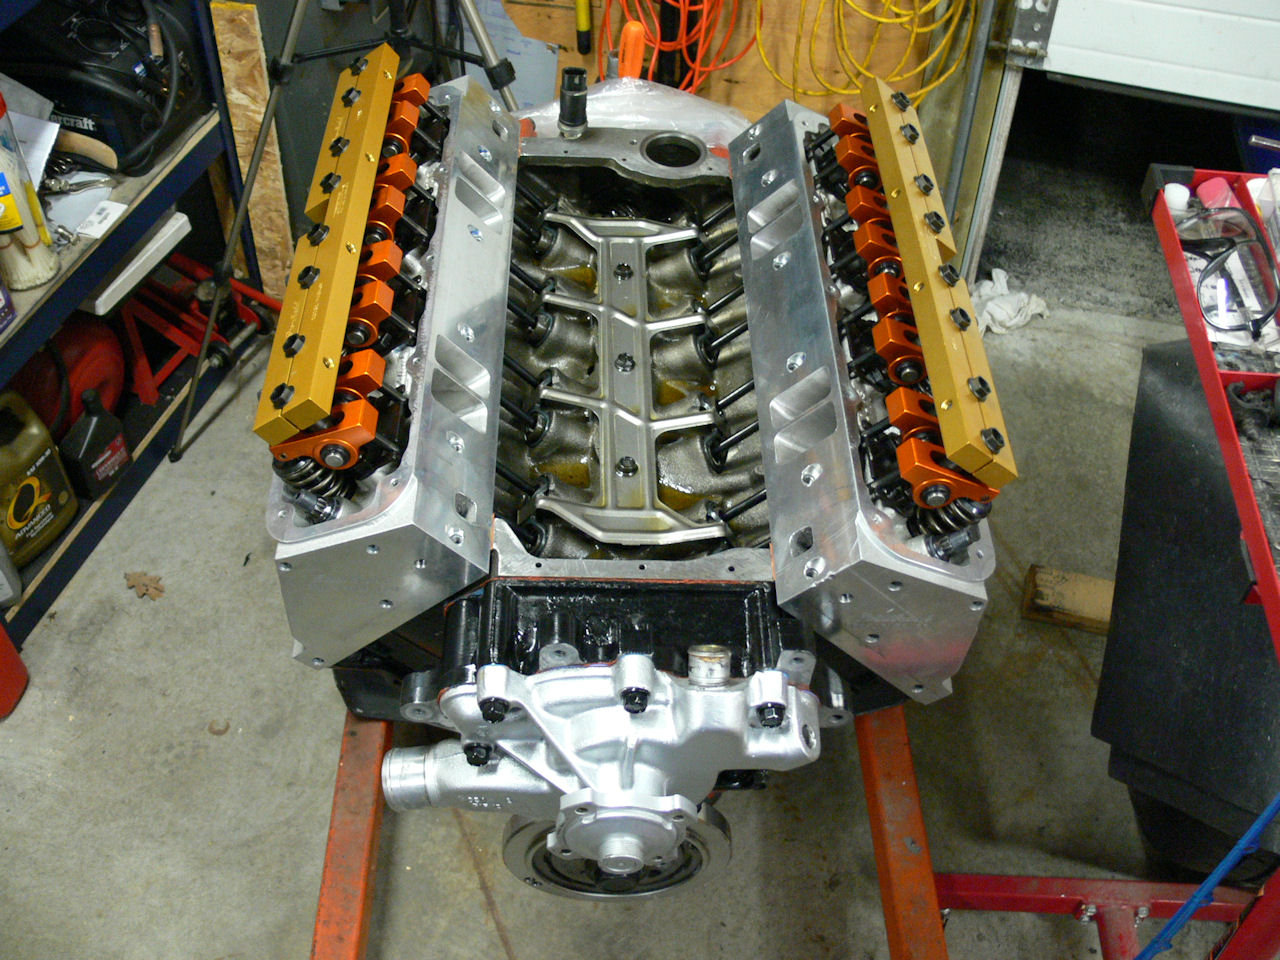
RE ASSEMBLY!
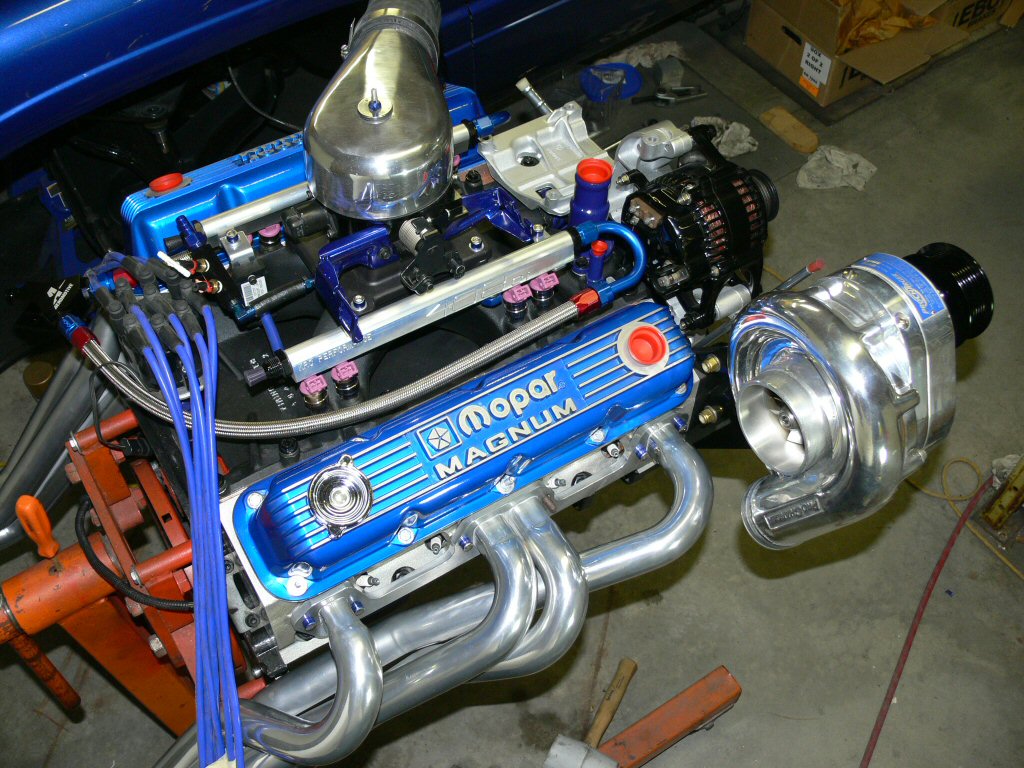
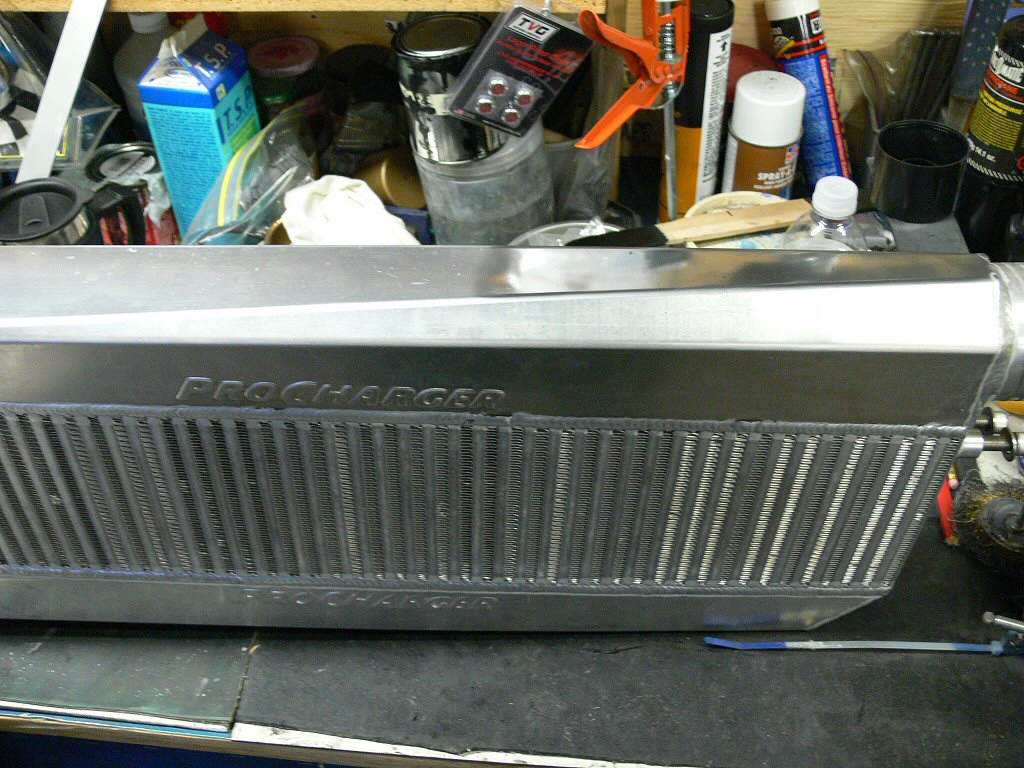
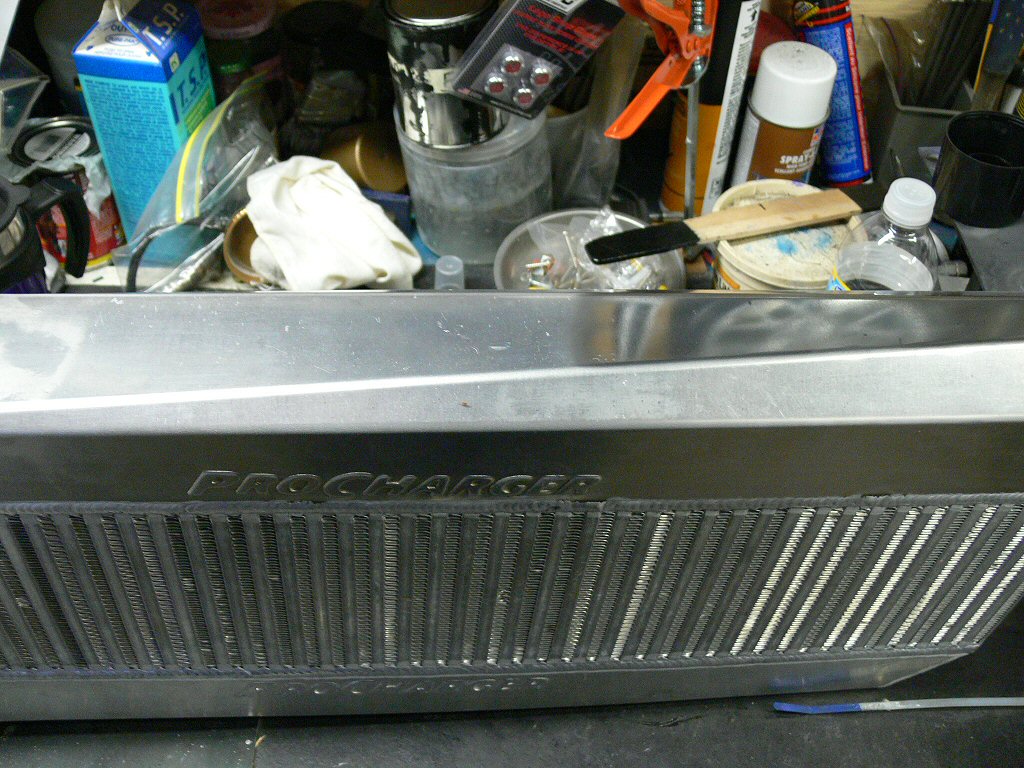
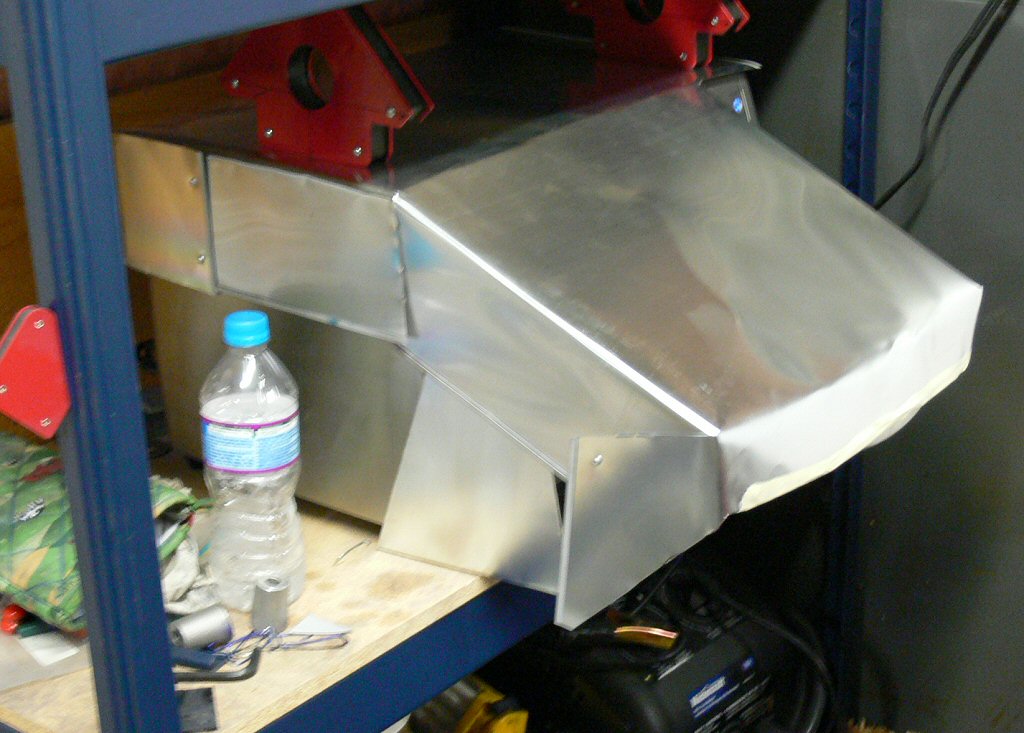
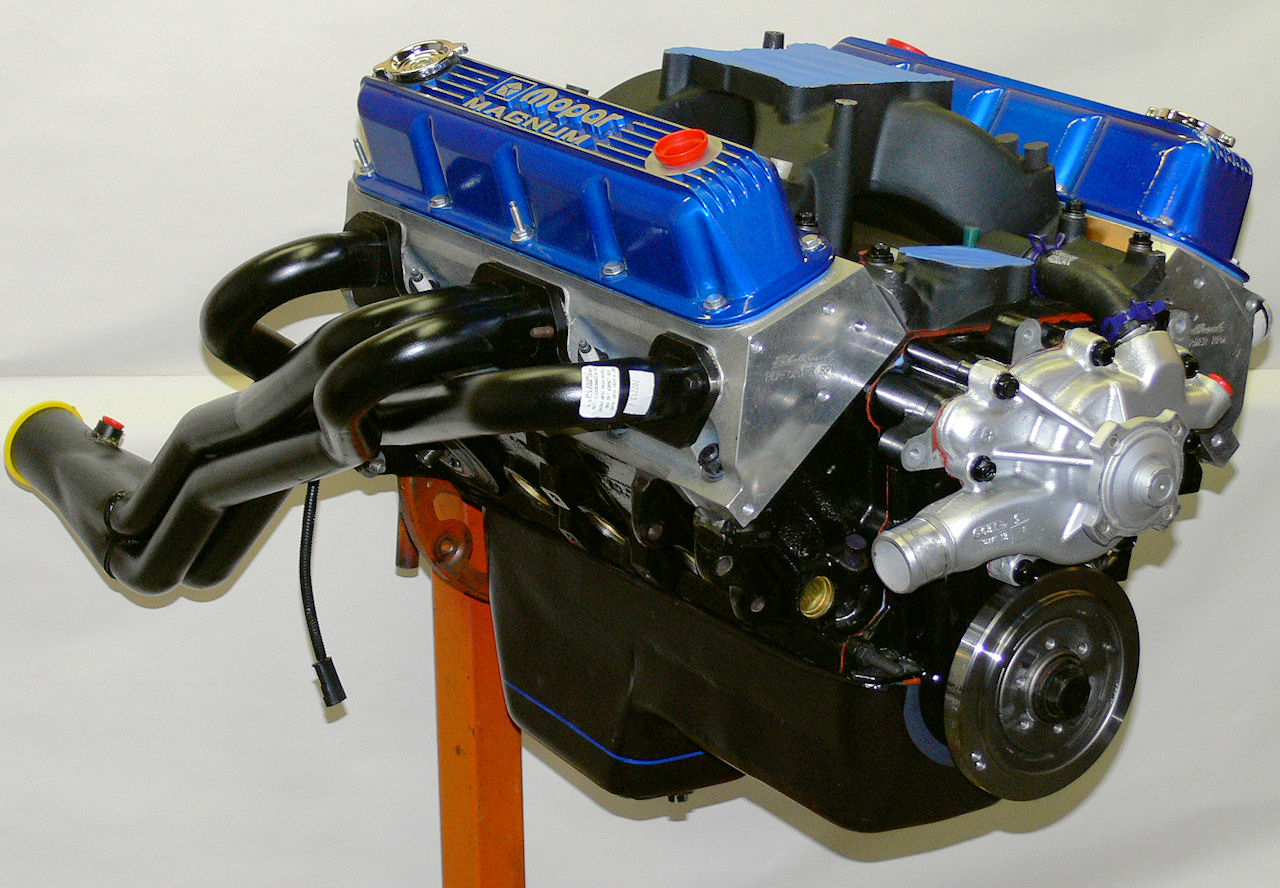
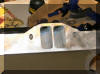
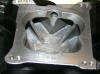
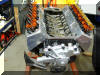
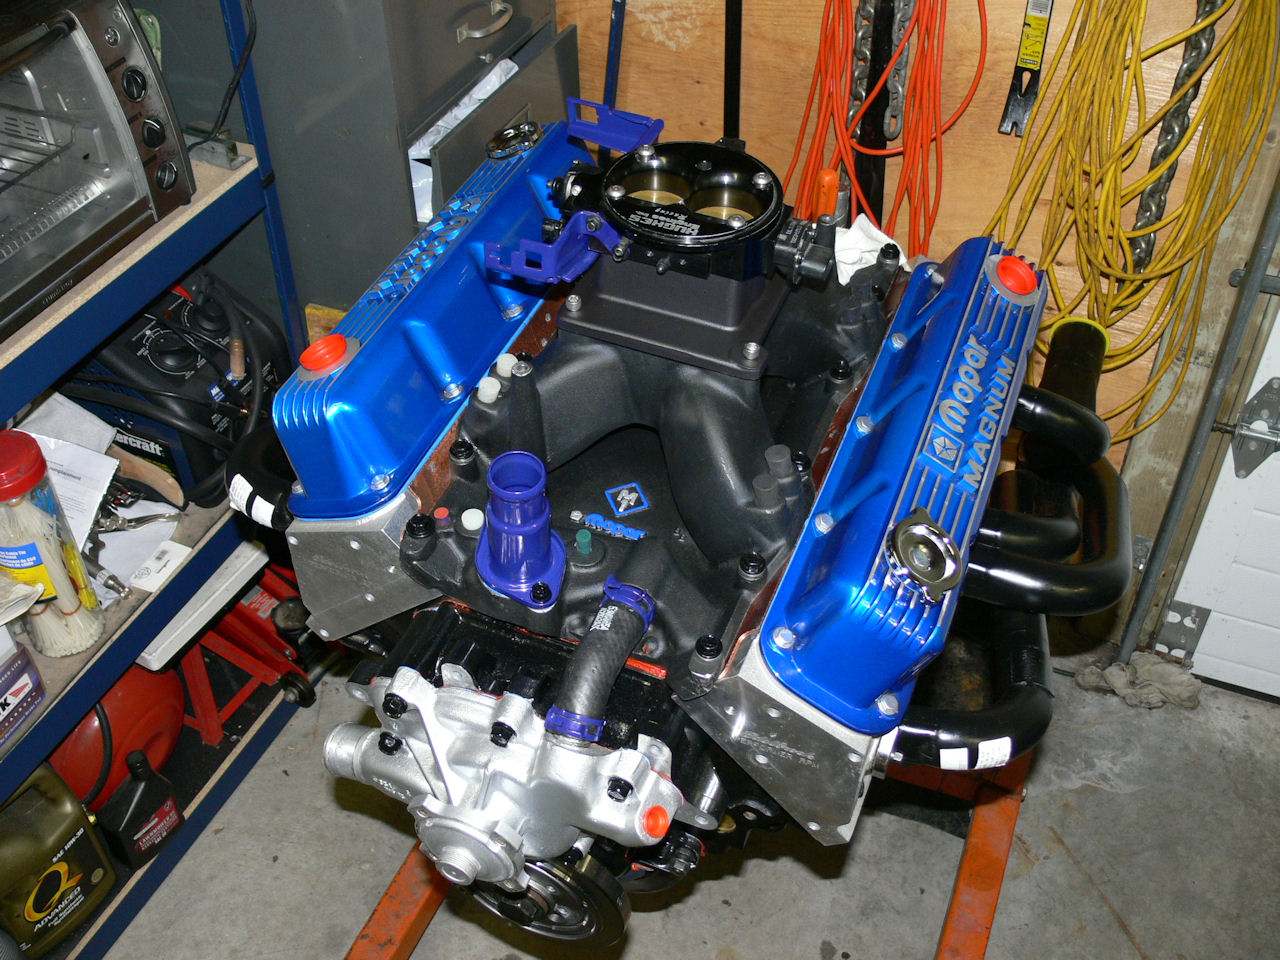
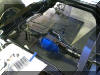
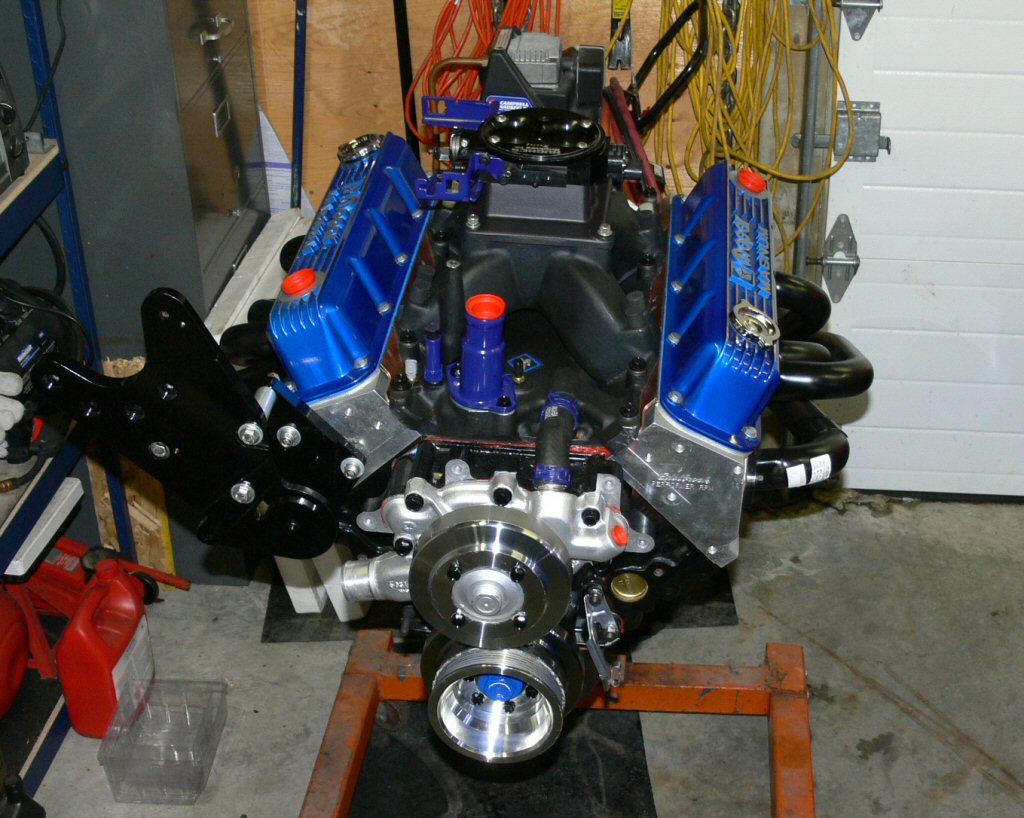
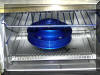
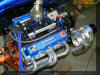
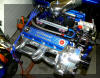
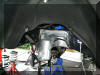
March, traded a couple of parts for an M1/4bbl. Ported, matched & decked with thermal coatings on the top & bottom. The bottom coat reflects heat and the top coat helps to dissipate heat out. Should have more even flow threw tb, m1 & heads now. Of course I had to detail it just a bit

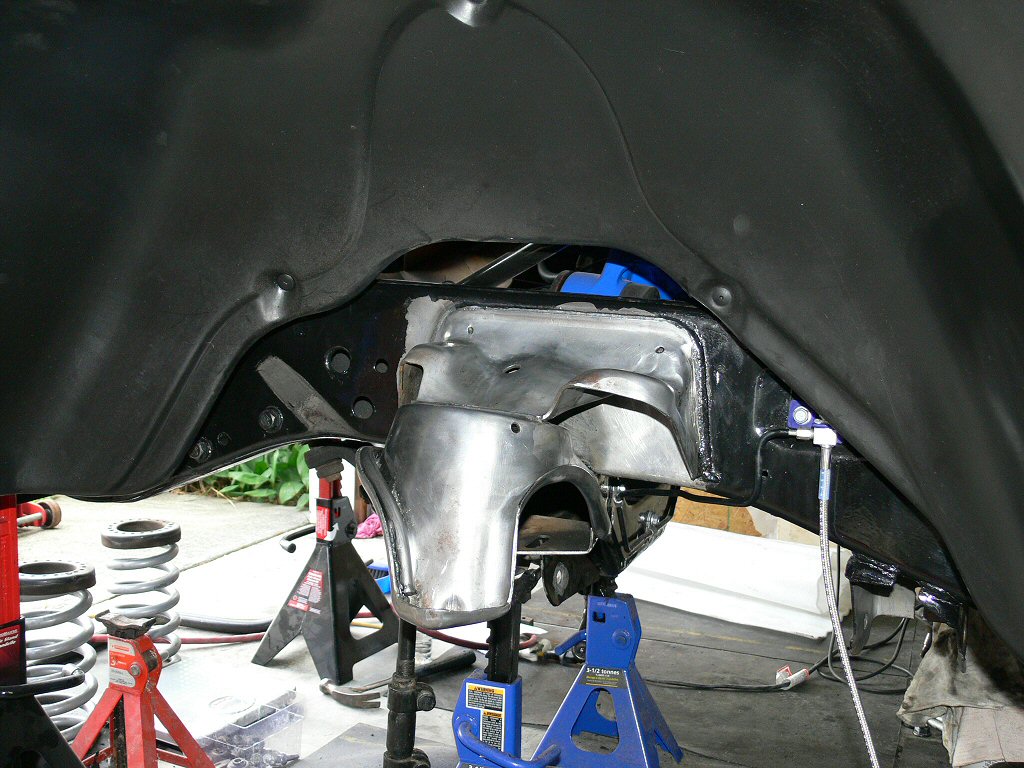
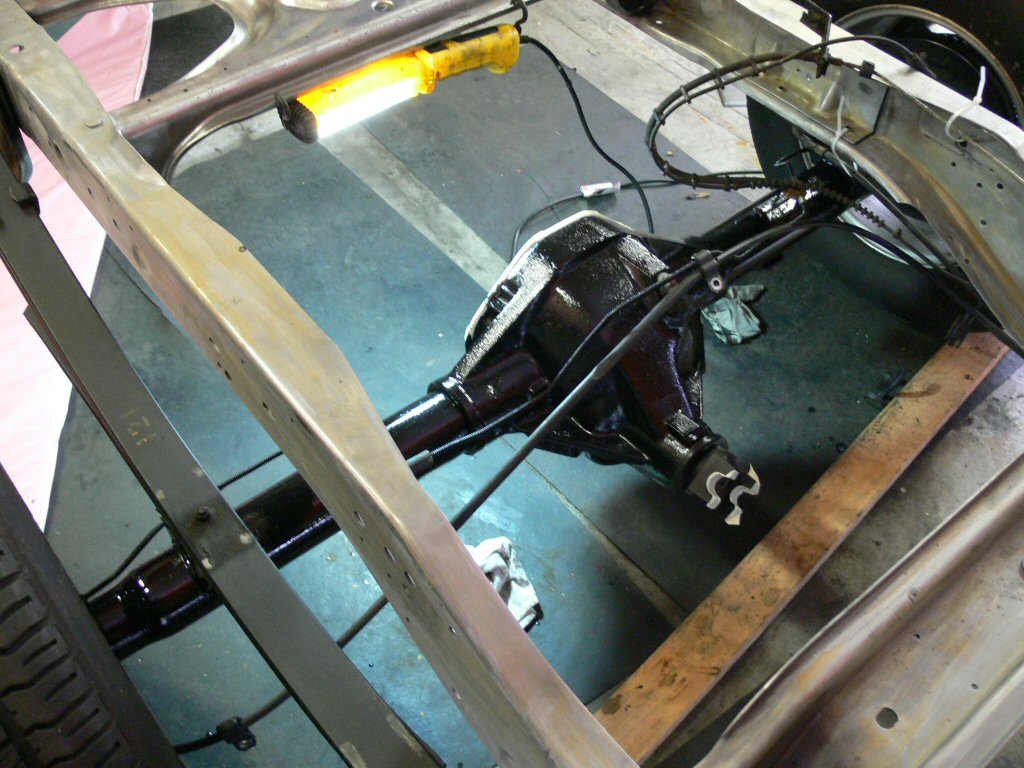
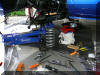
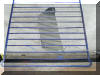
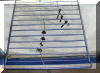
April 17-18 First day with reasonable temps for painting. I finished 1st coat of POR15 to the back 1/2 of the frame & axles/diff. One more coat and this never ending project will be done. My own fault for not following the instructions the first time. Not a lot of fun having to strip off 1/2 the frame and redo it. Ill add more pics later.
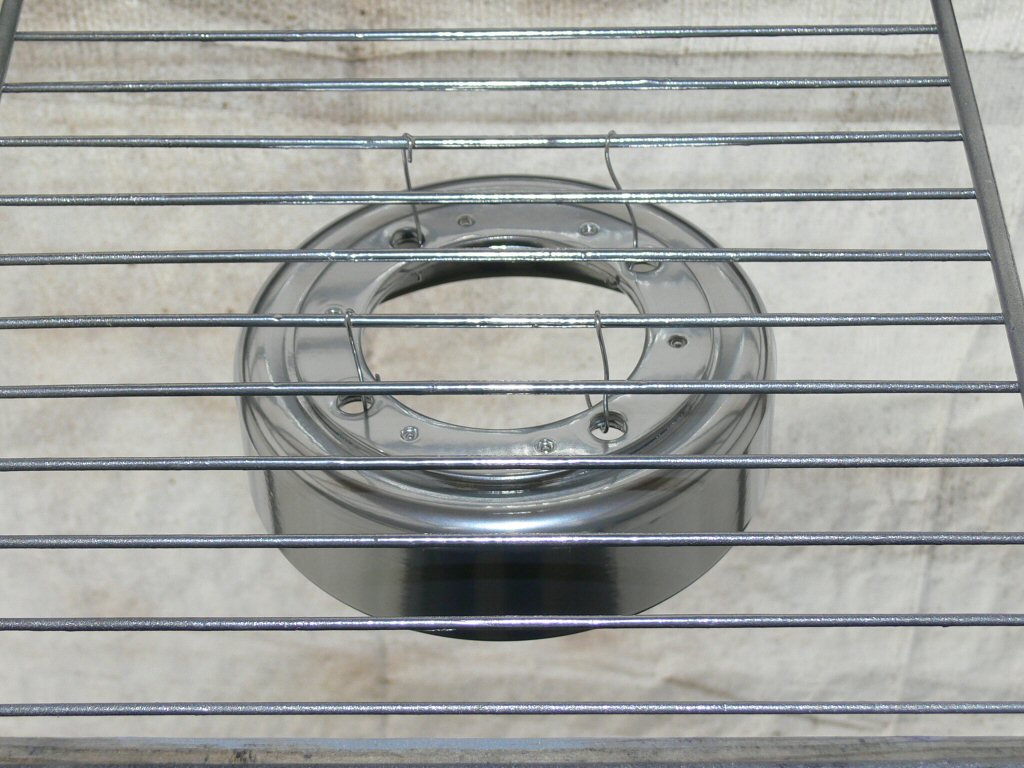
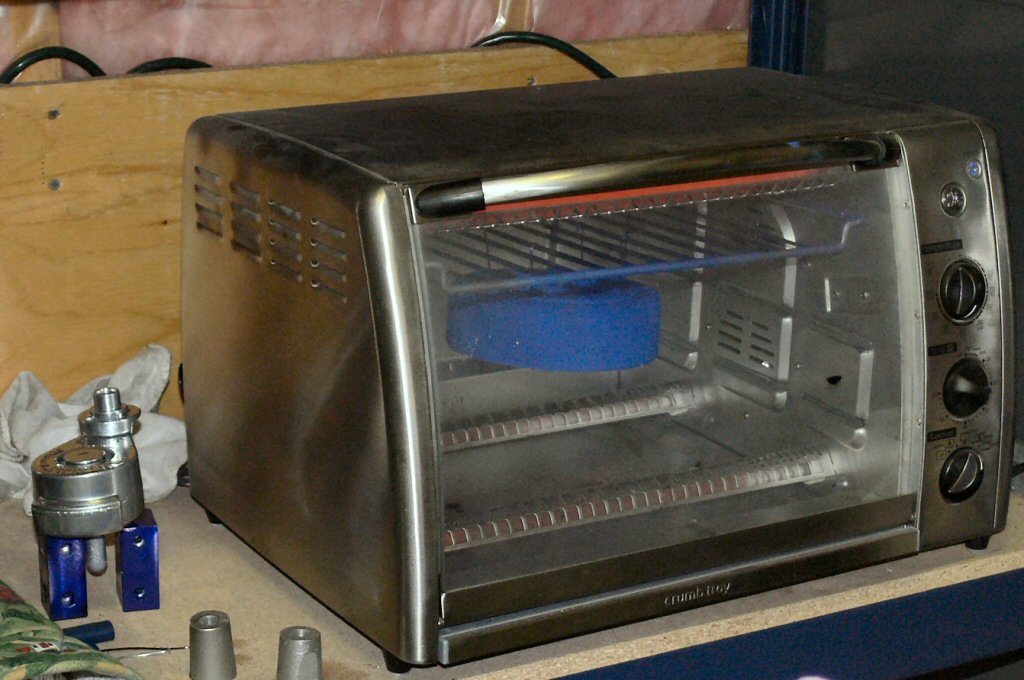
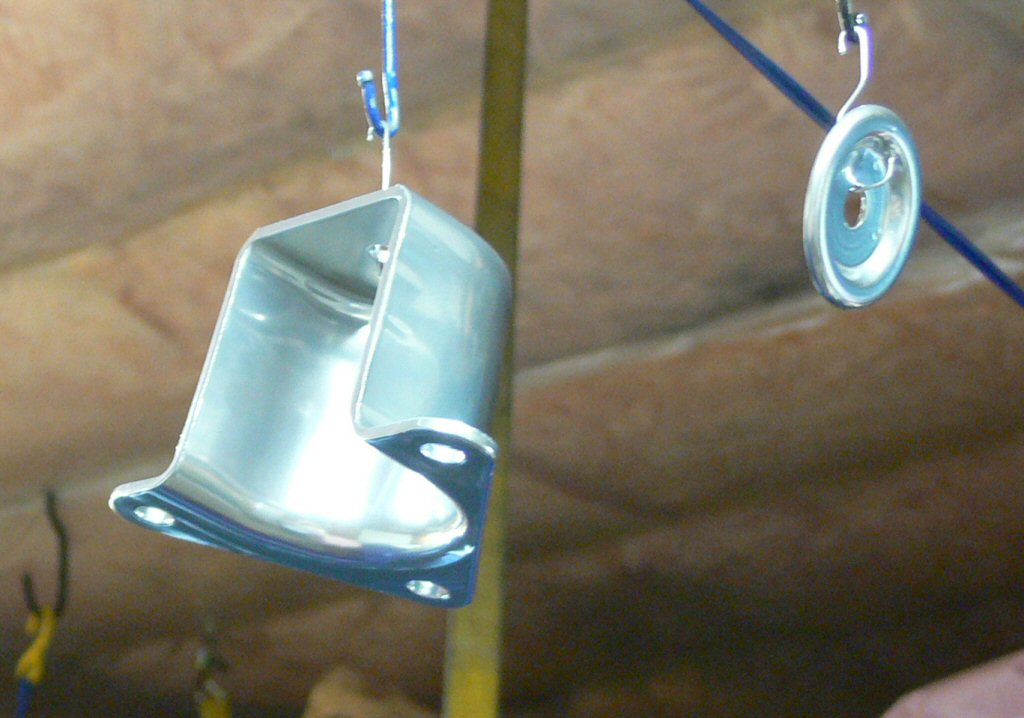
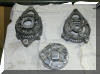
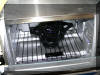
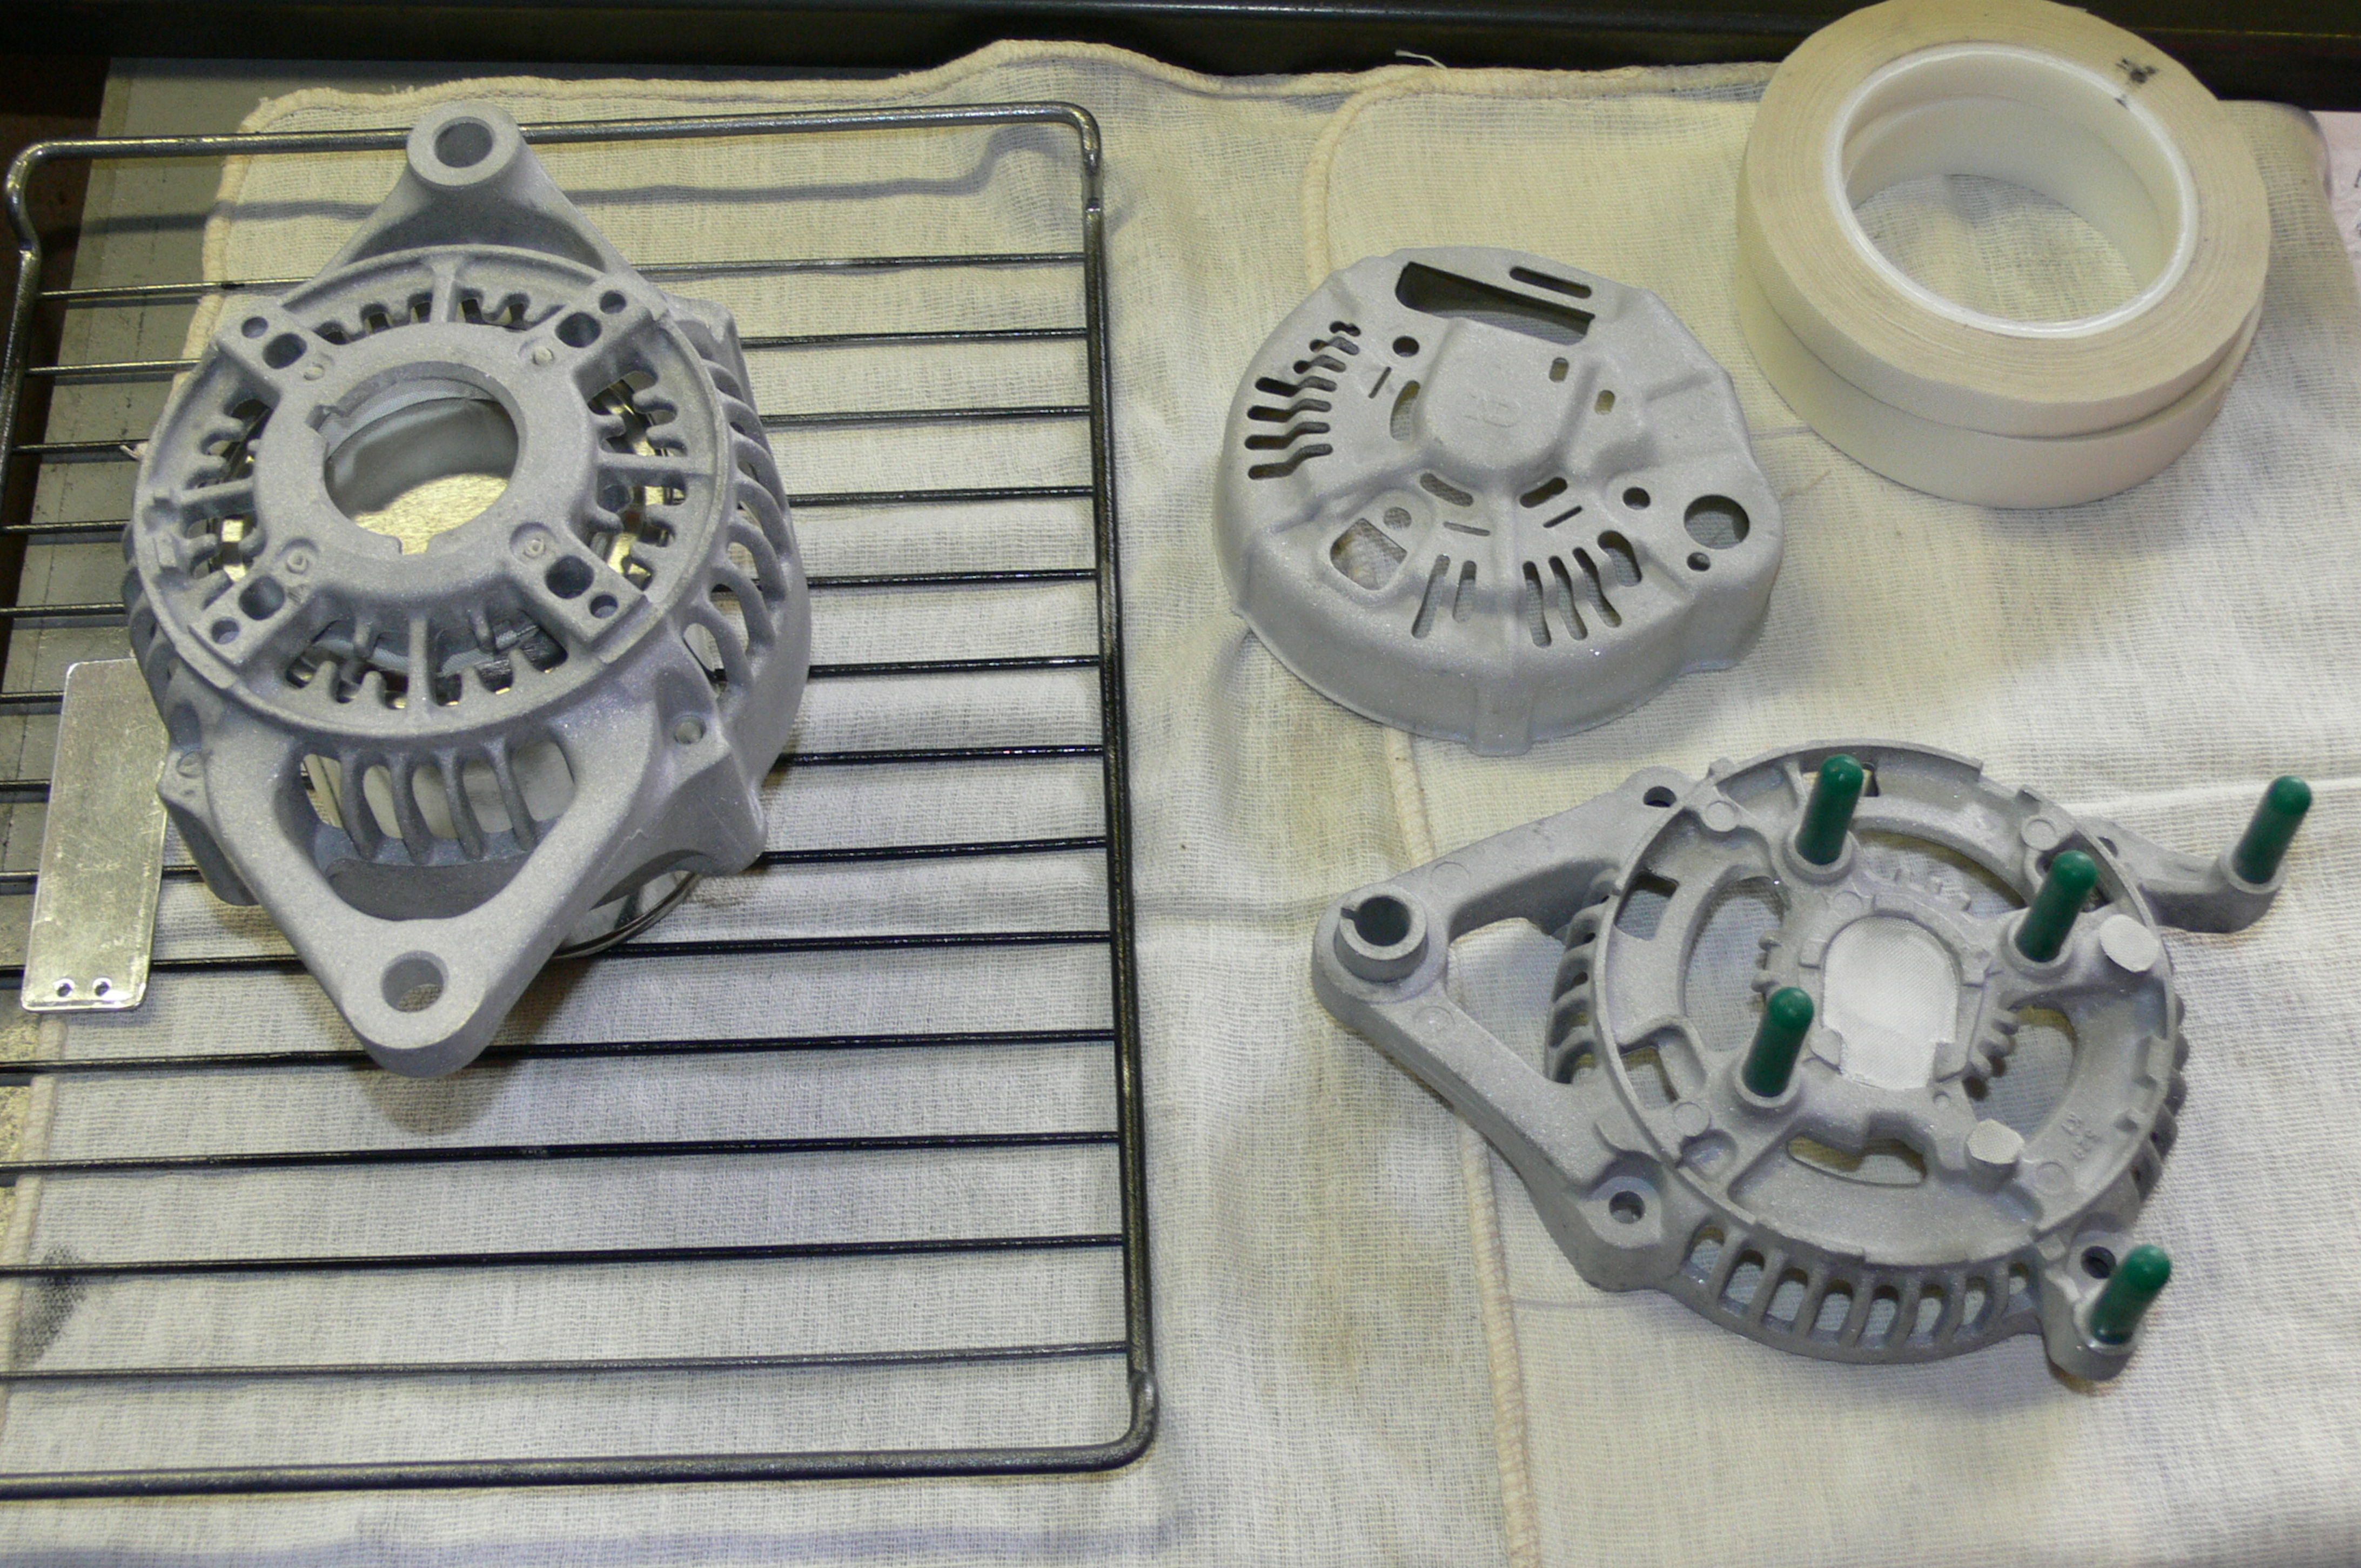
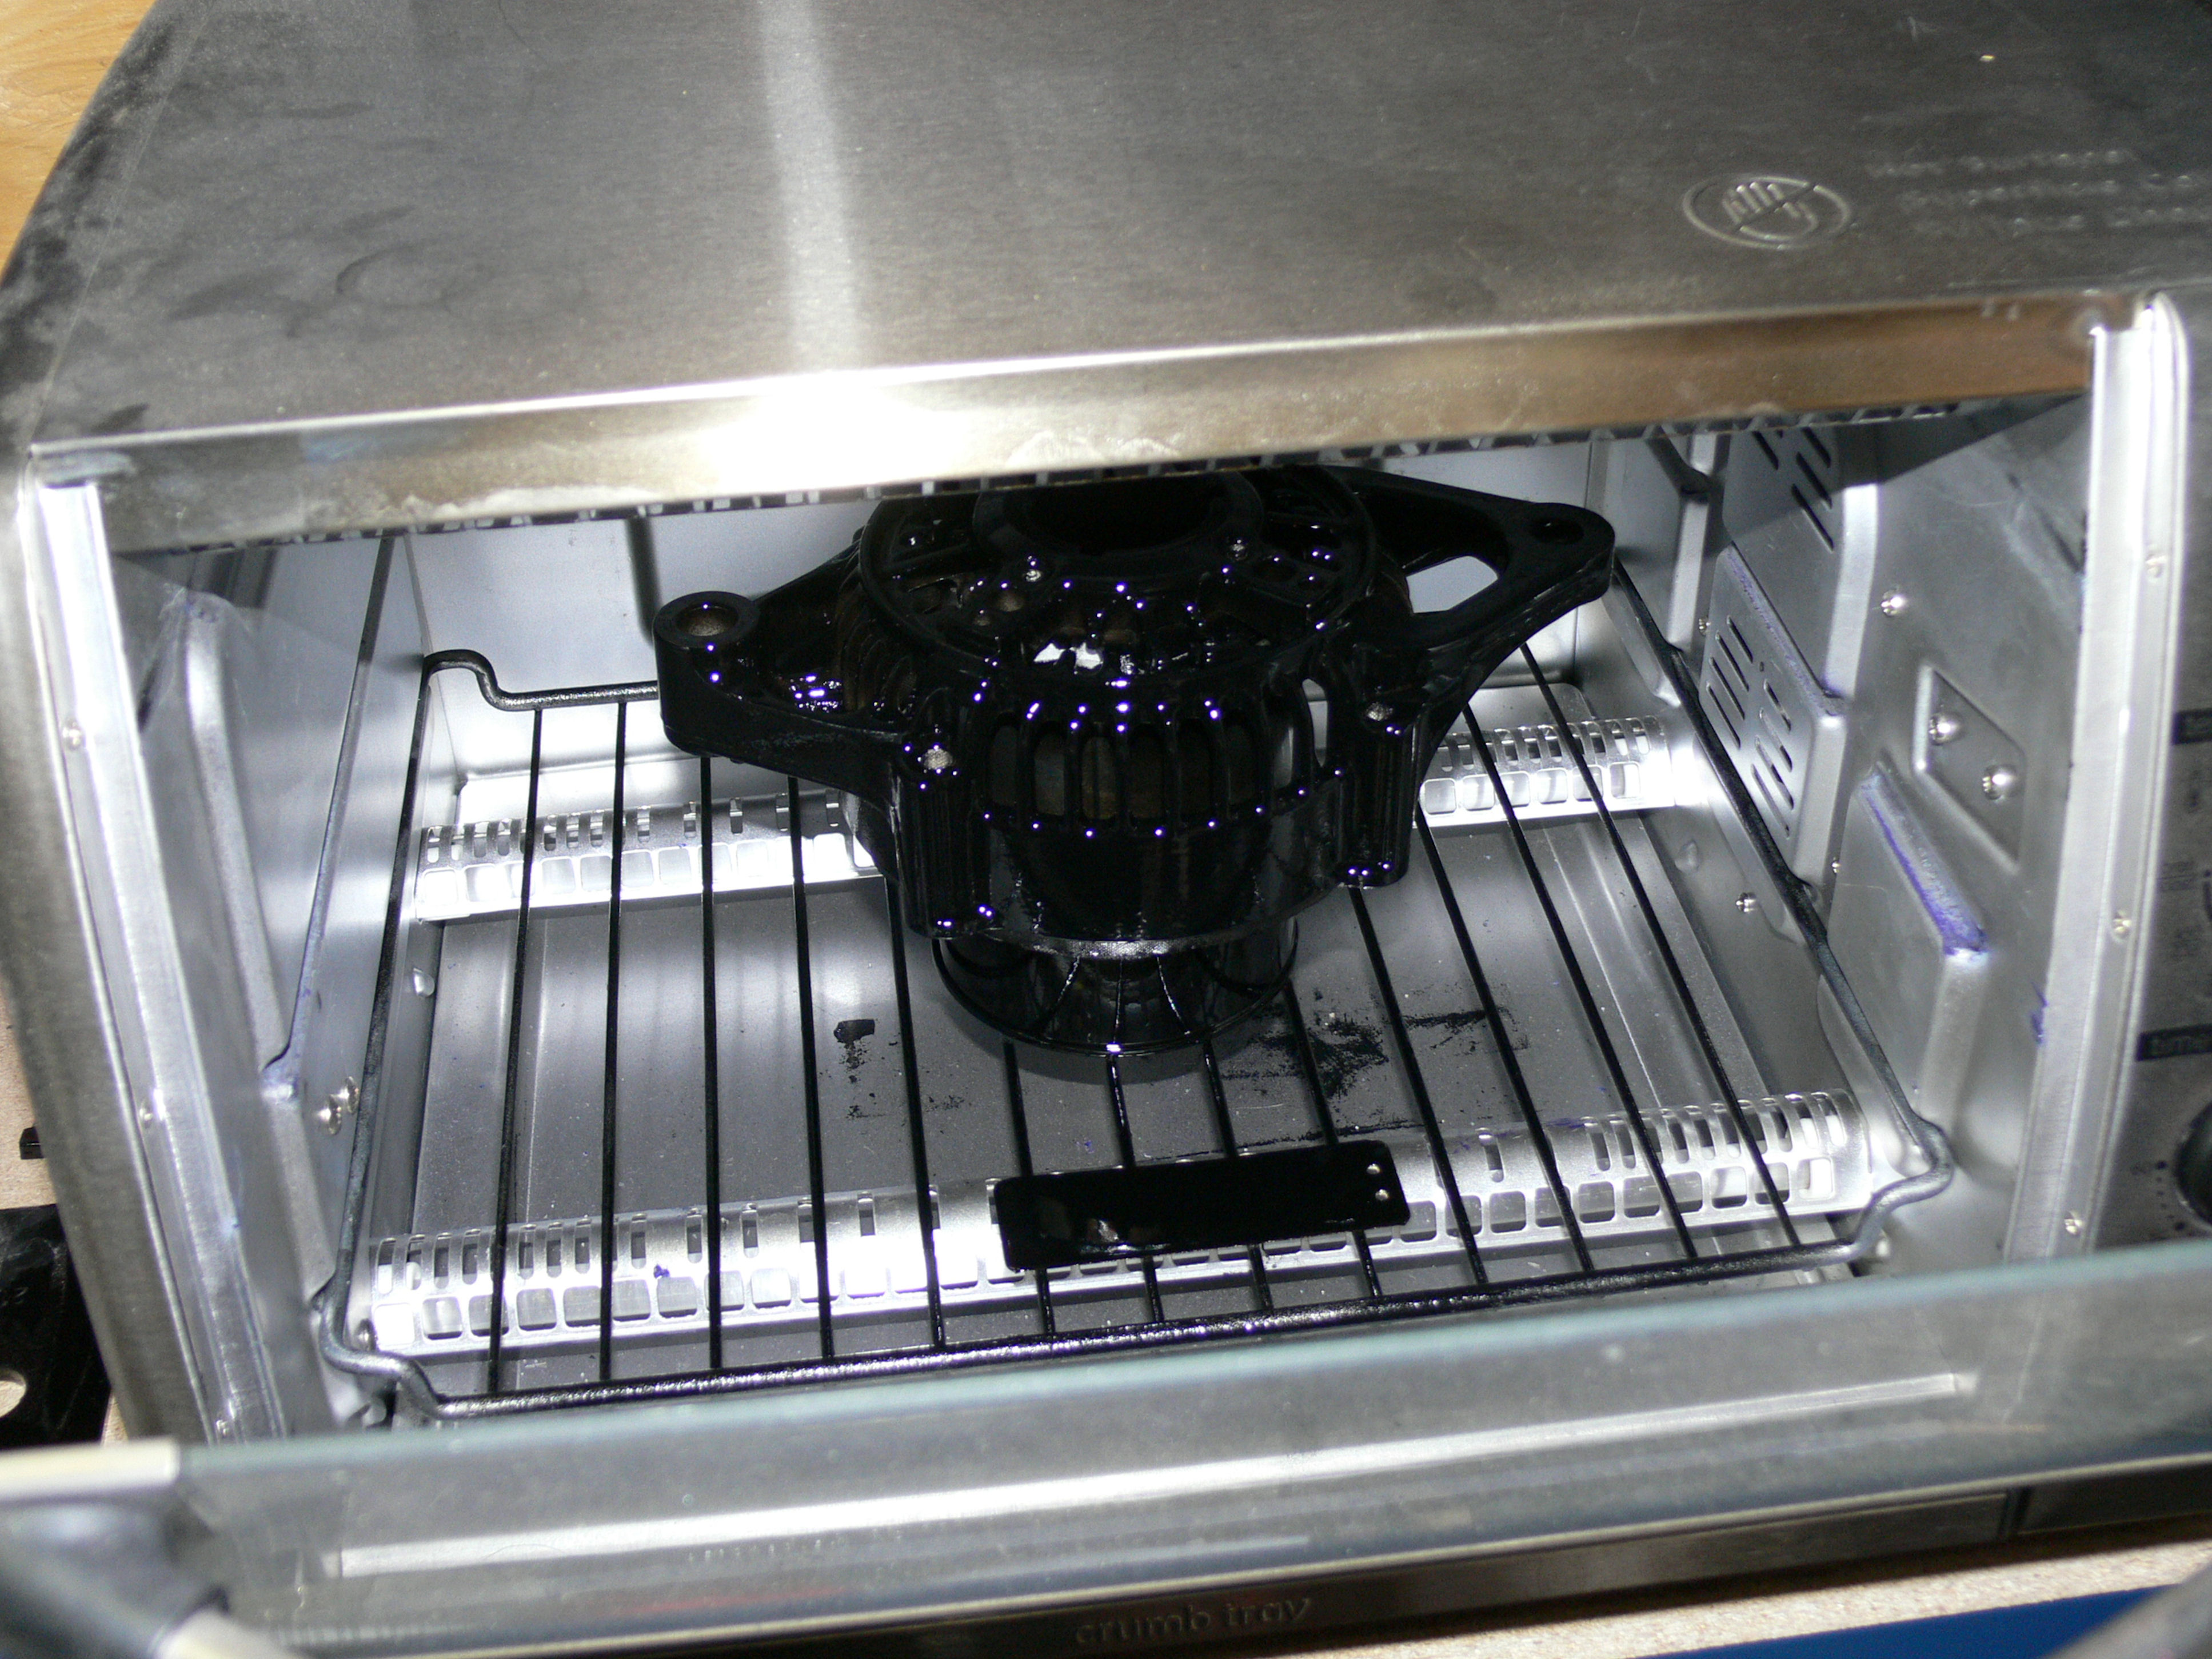
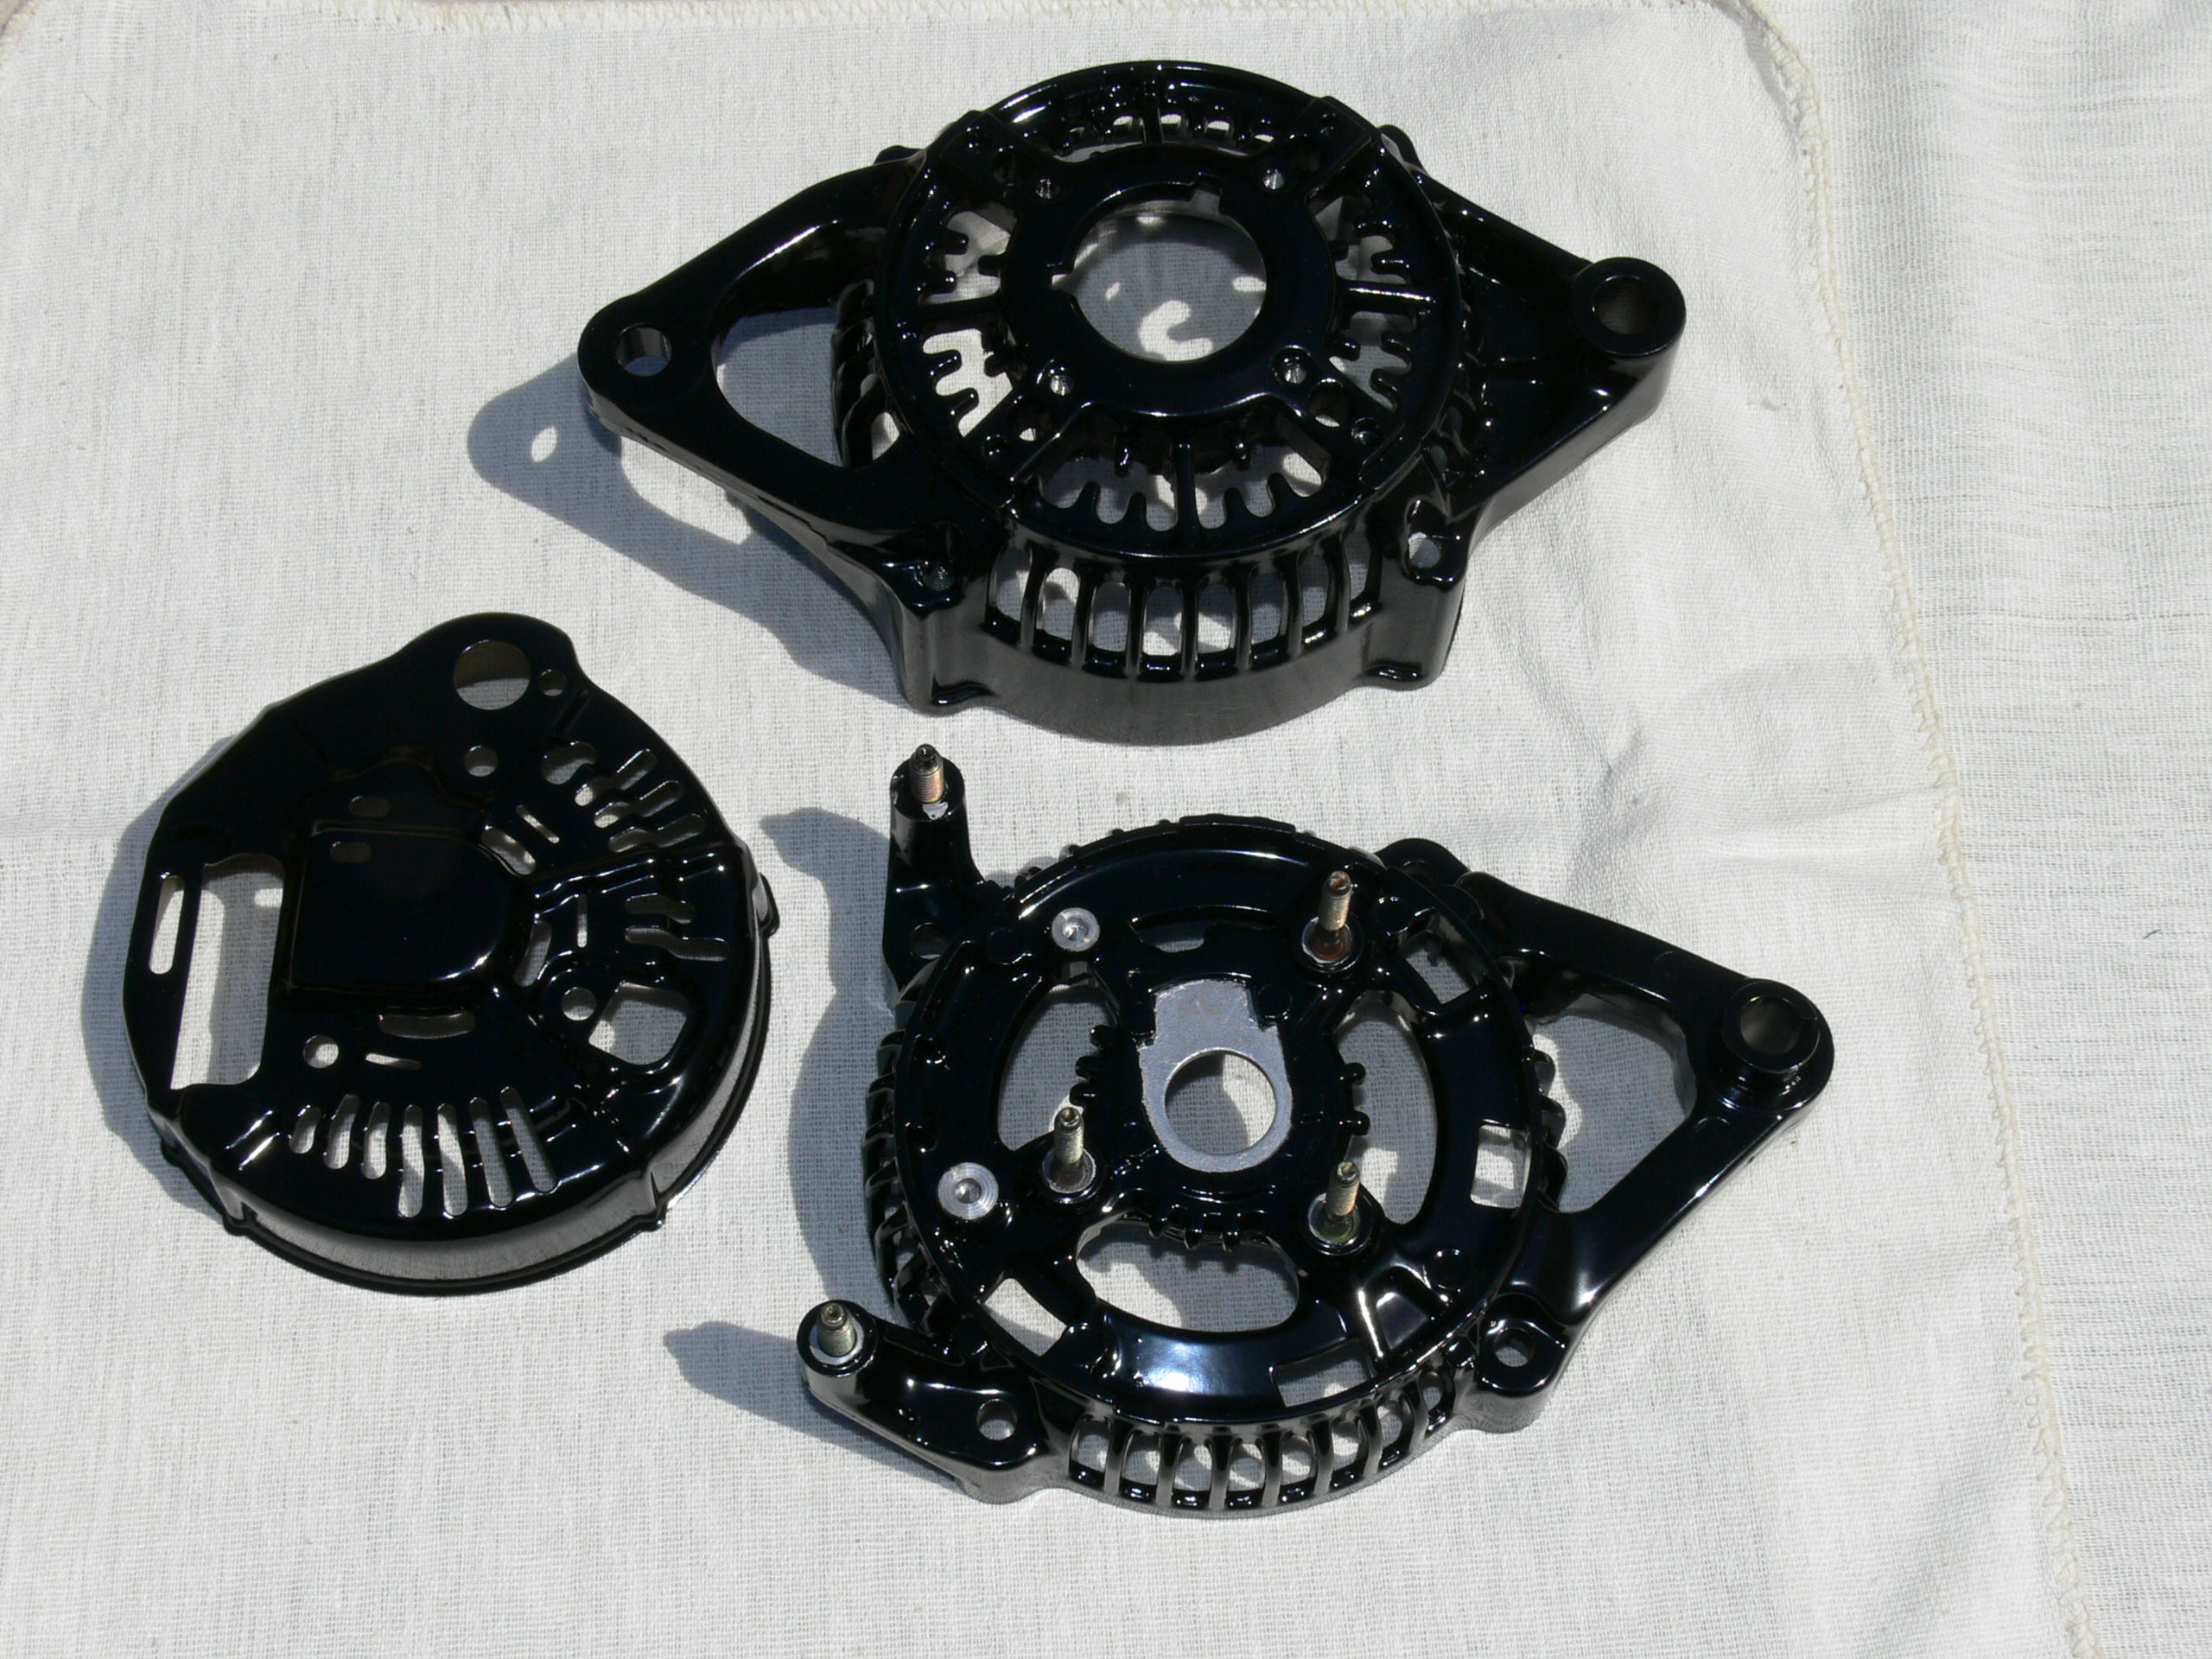
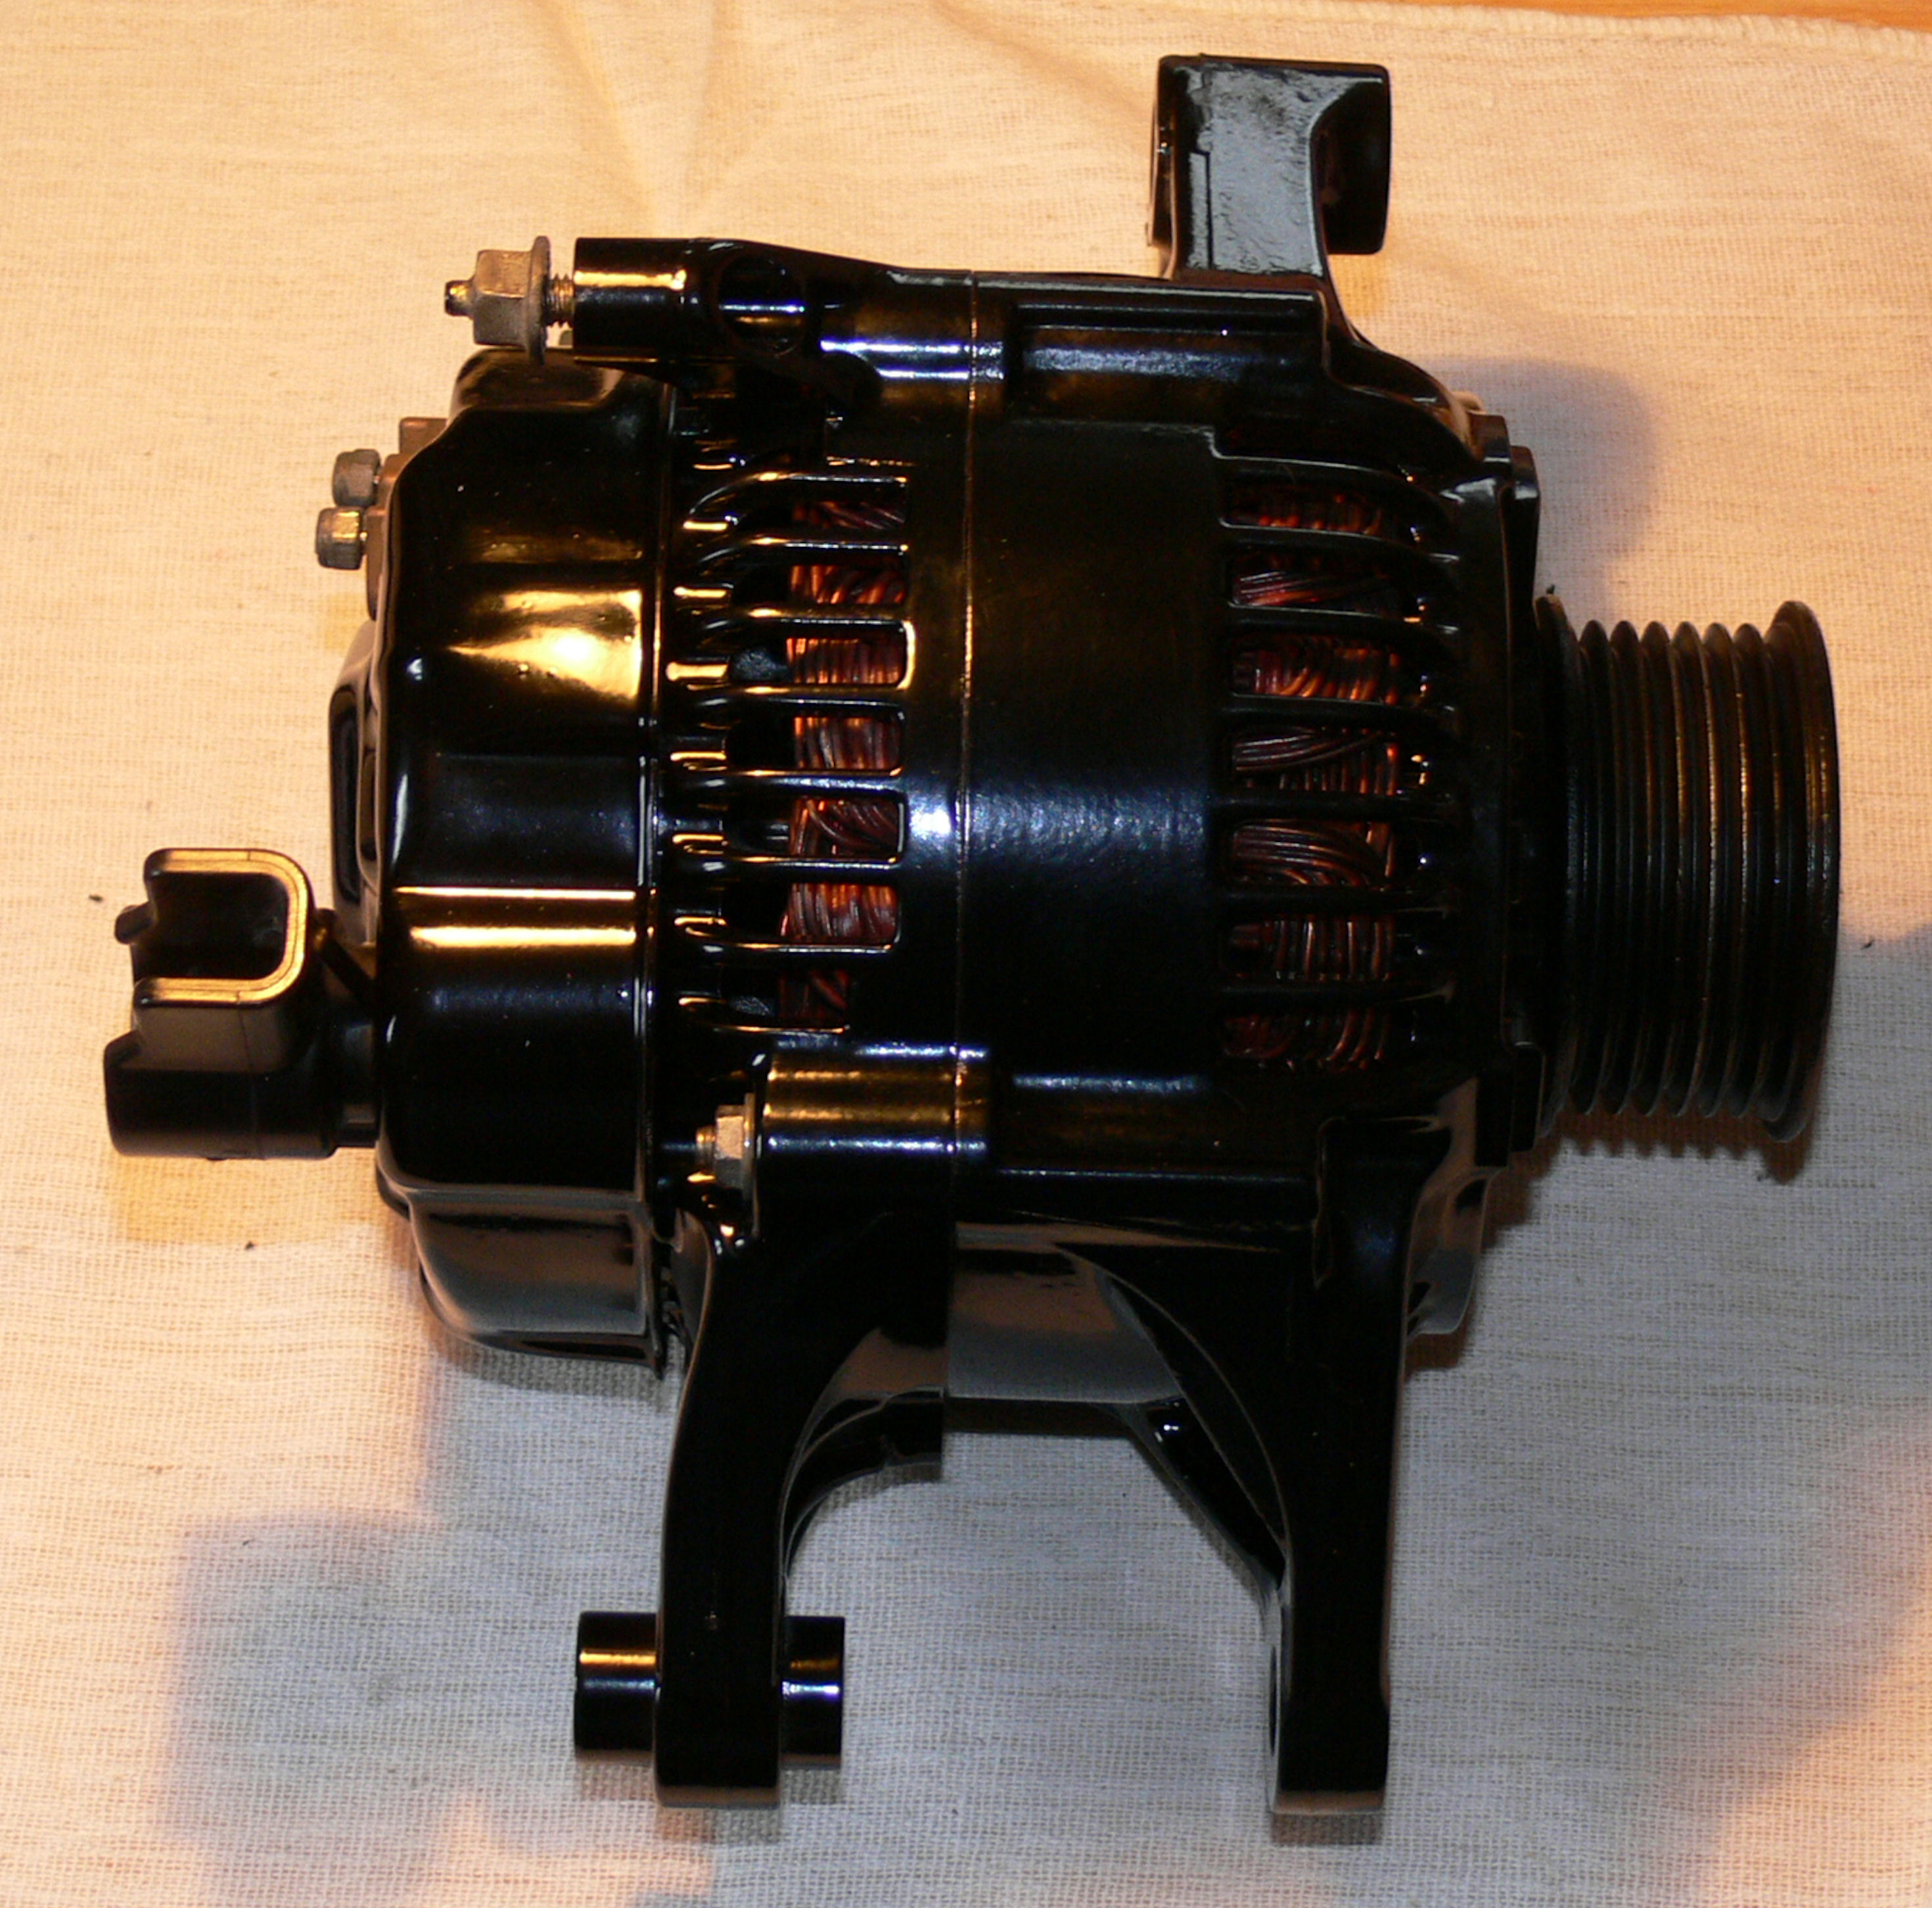
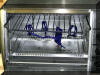
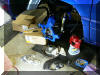
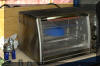
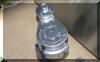
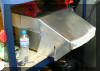
April 25 & 28 Finished putting together my sandblasting cabinet. Dropped of my alt. off at Arratt alts & starters to get new bearings, shaft, pulley and have it re-wound for more amps. Took the 3pcs of the case home after they pulled it apart. Sandblasted the pieces with glass bead in the new blast cabinet. Next, I powder coated one piece in gloss black. I was about to spray the 2nd piece (early Sat evening) when what looked like tornado weather rolled in. Lucky I didn't spray it and start baking cause the power was out for over an hour. Found out the next day that power lines and poles were down in quite a few locations close to my house. Did try to do the 2 pieces later Saturday night when power came back but it just wasn't working out and the powder wouldn't stick right. Too much humidity & static in the air so blew all the powder off (wasted a bit) and finished up both pieces on Monday. Turned out really good, dropped off parts at Arratt so they can reassemble it. Picked it up on Tuesday as you can see by the last pic below.

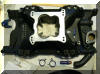
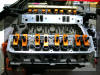
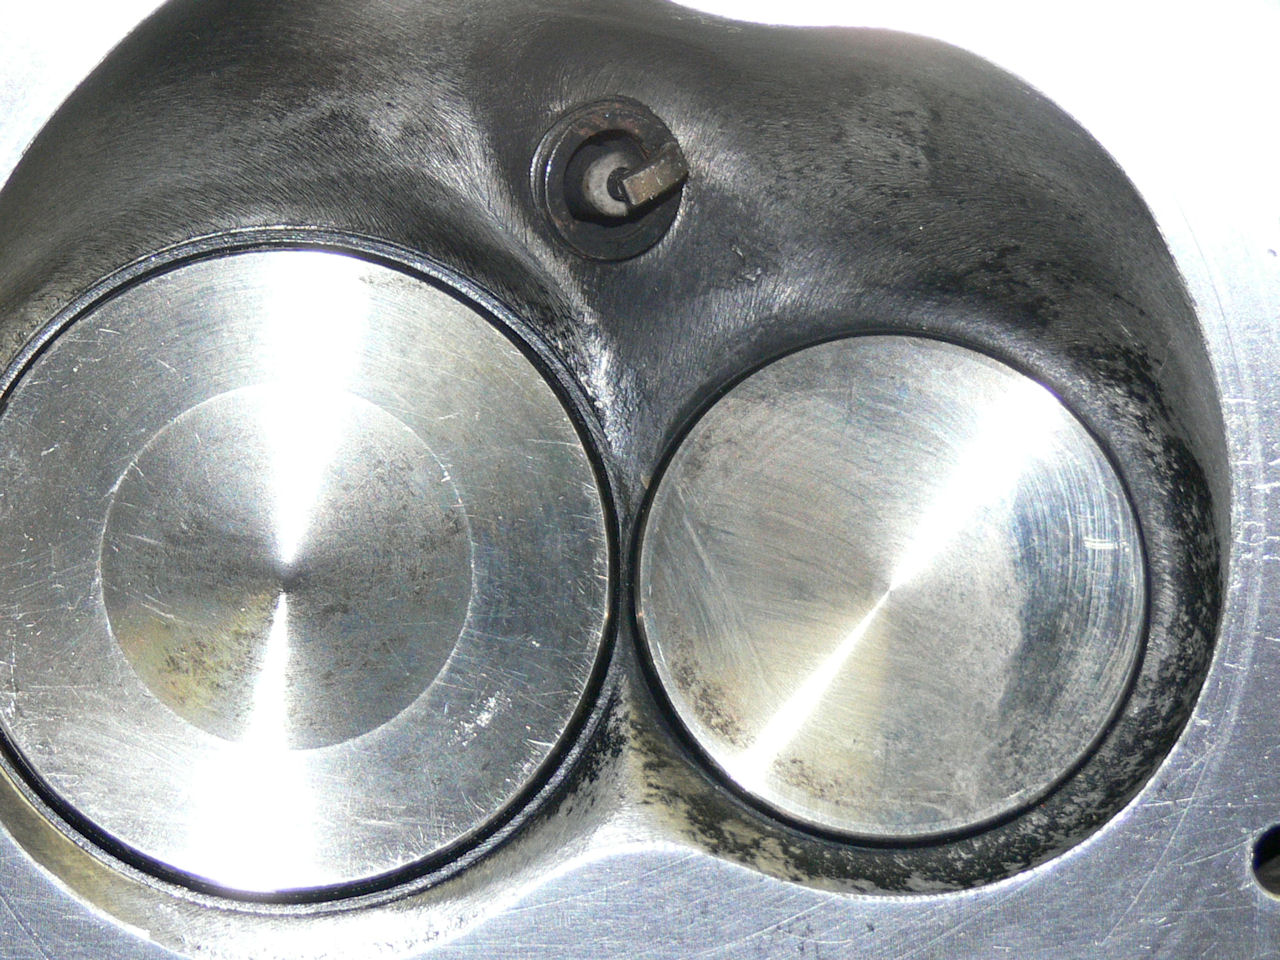
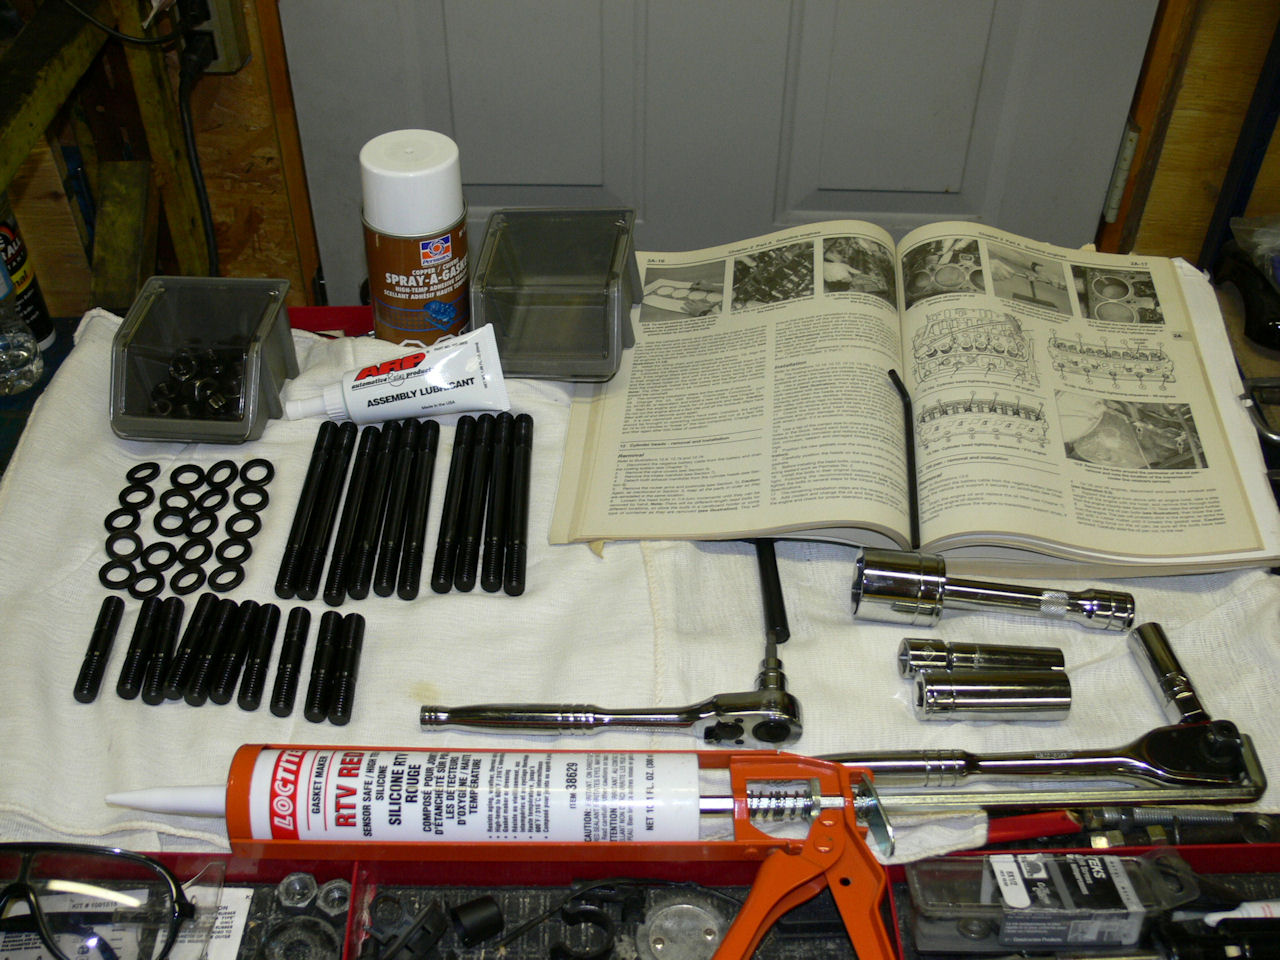
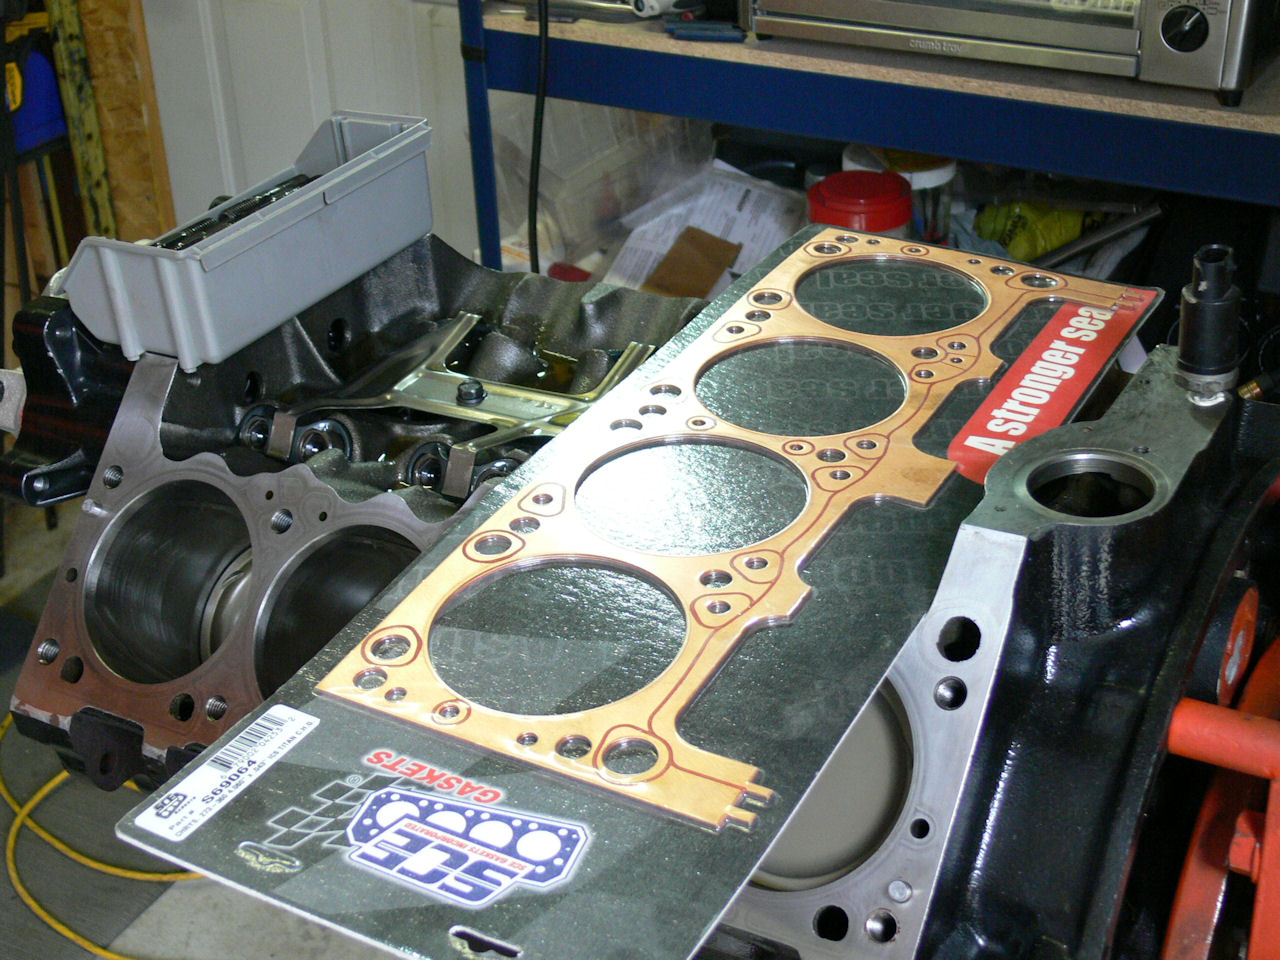
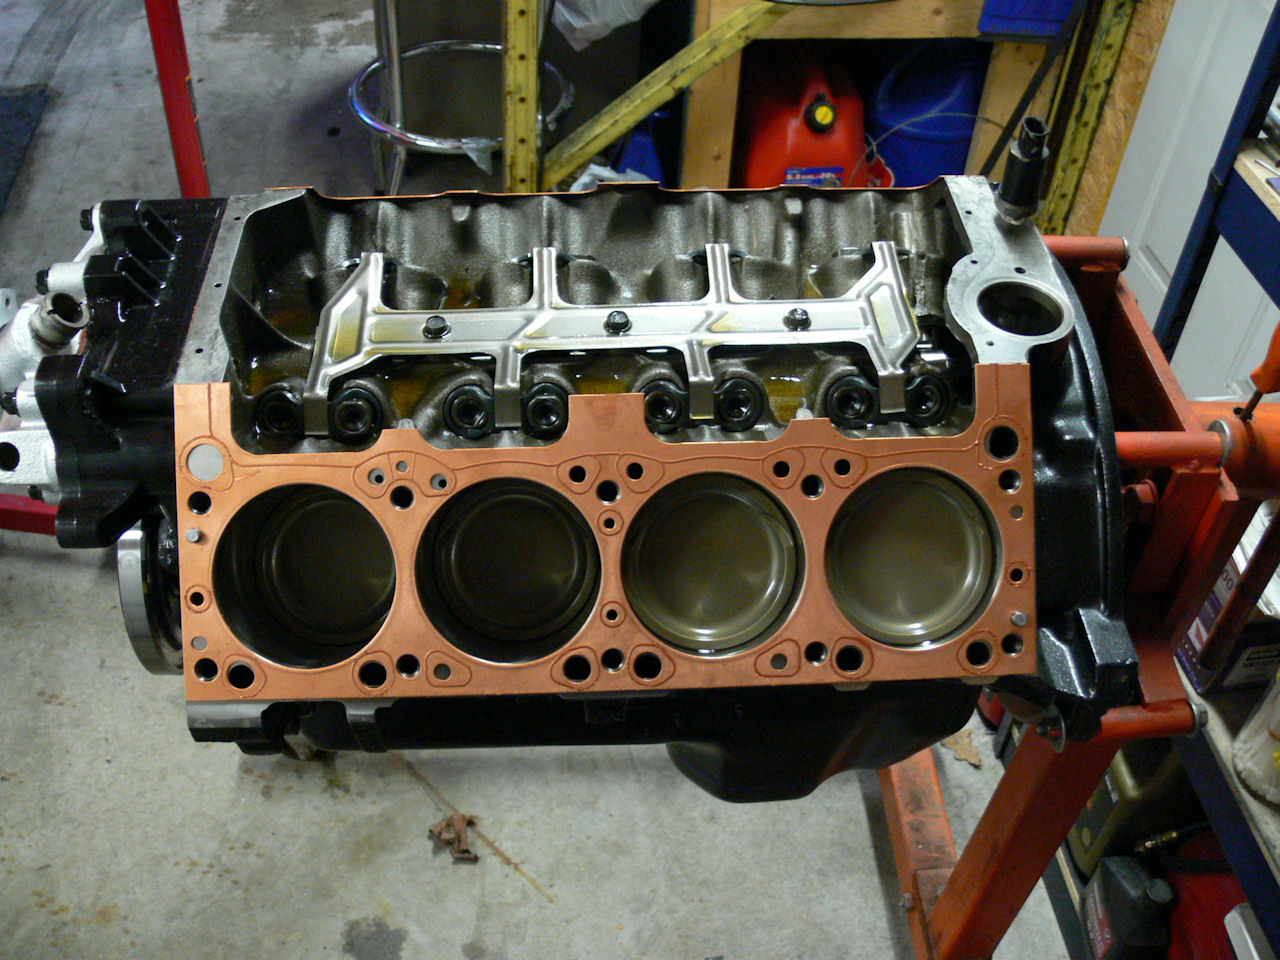
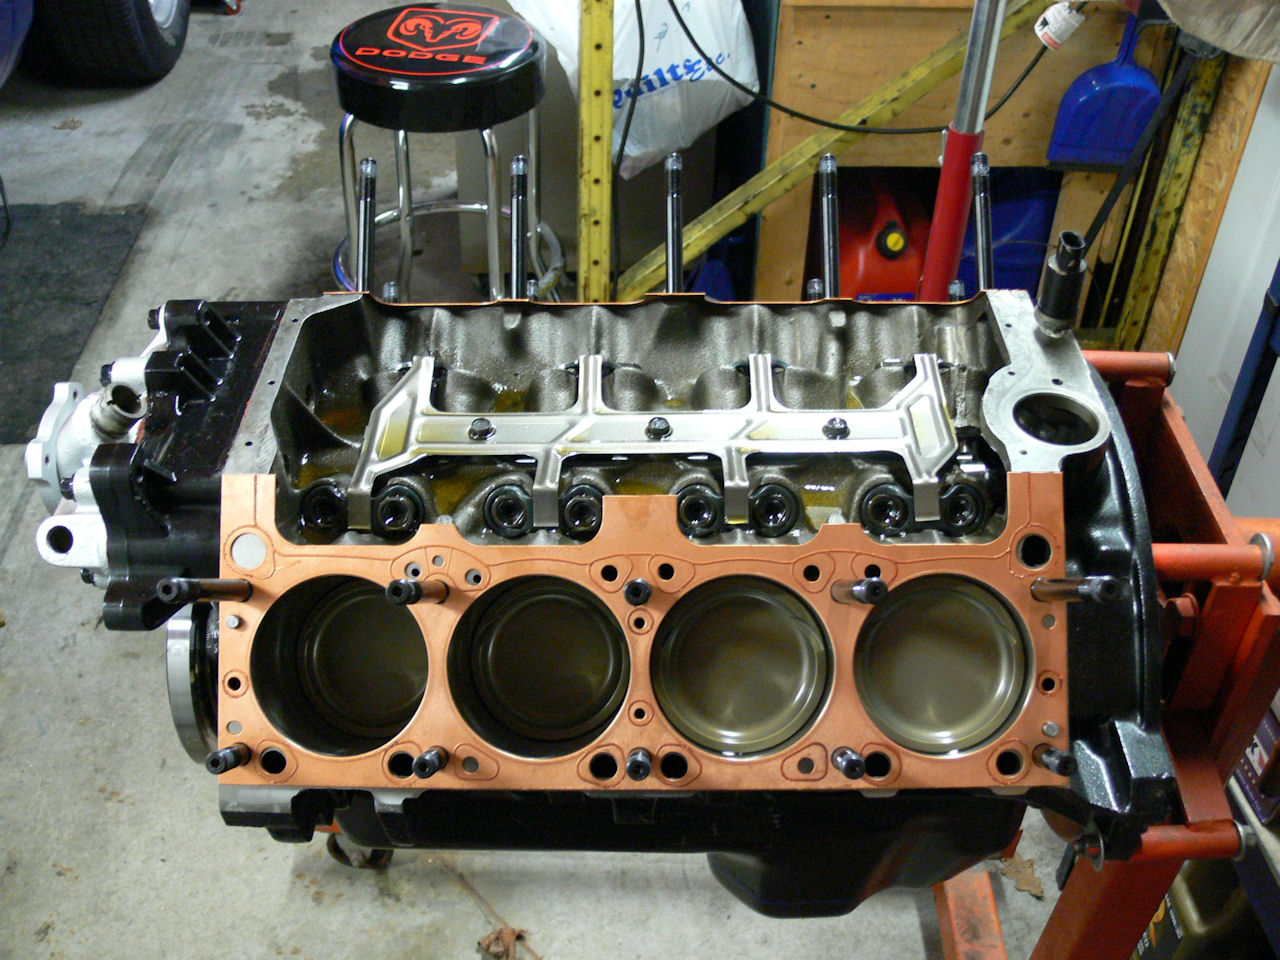
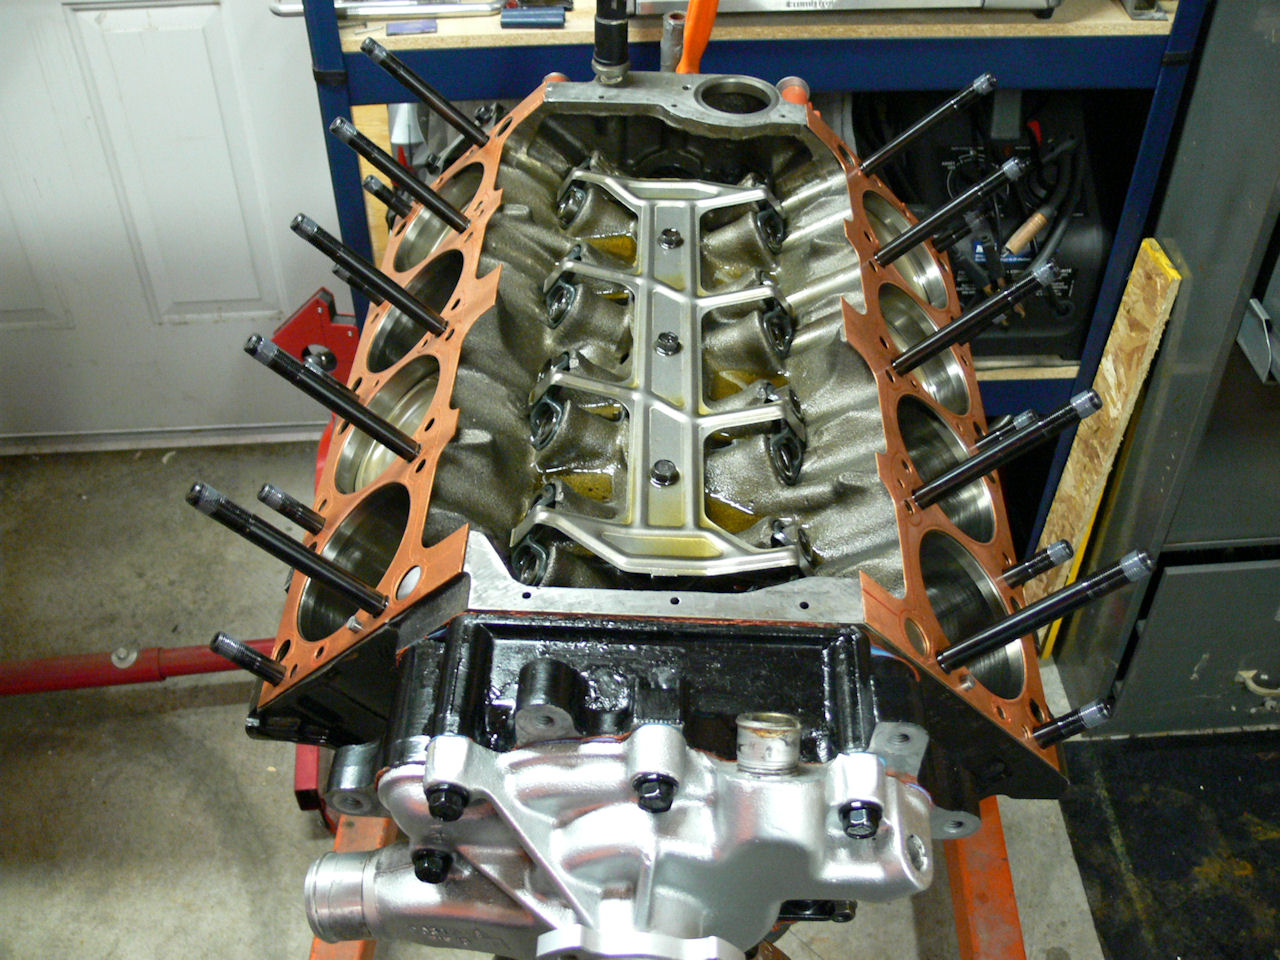
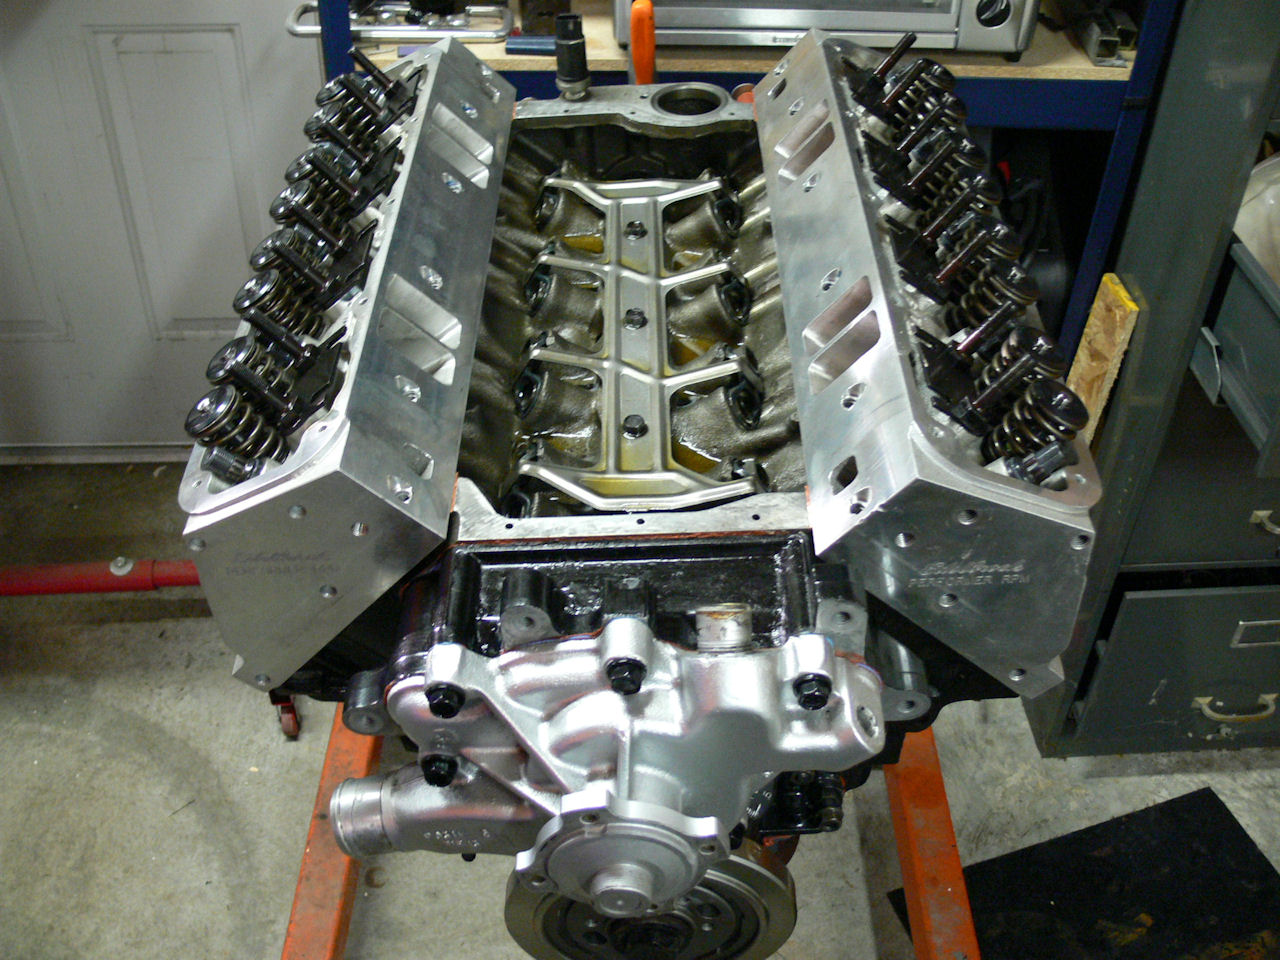
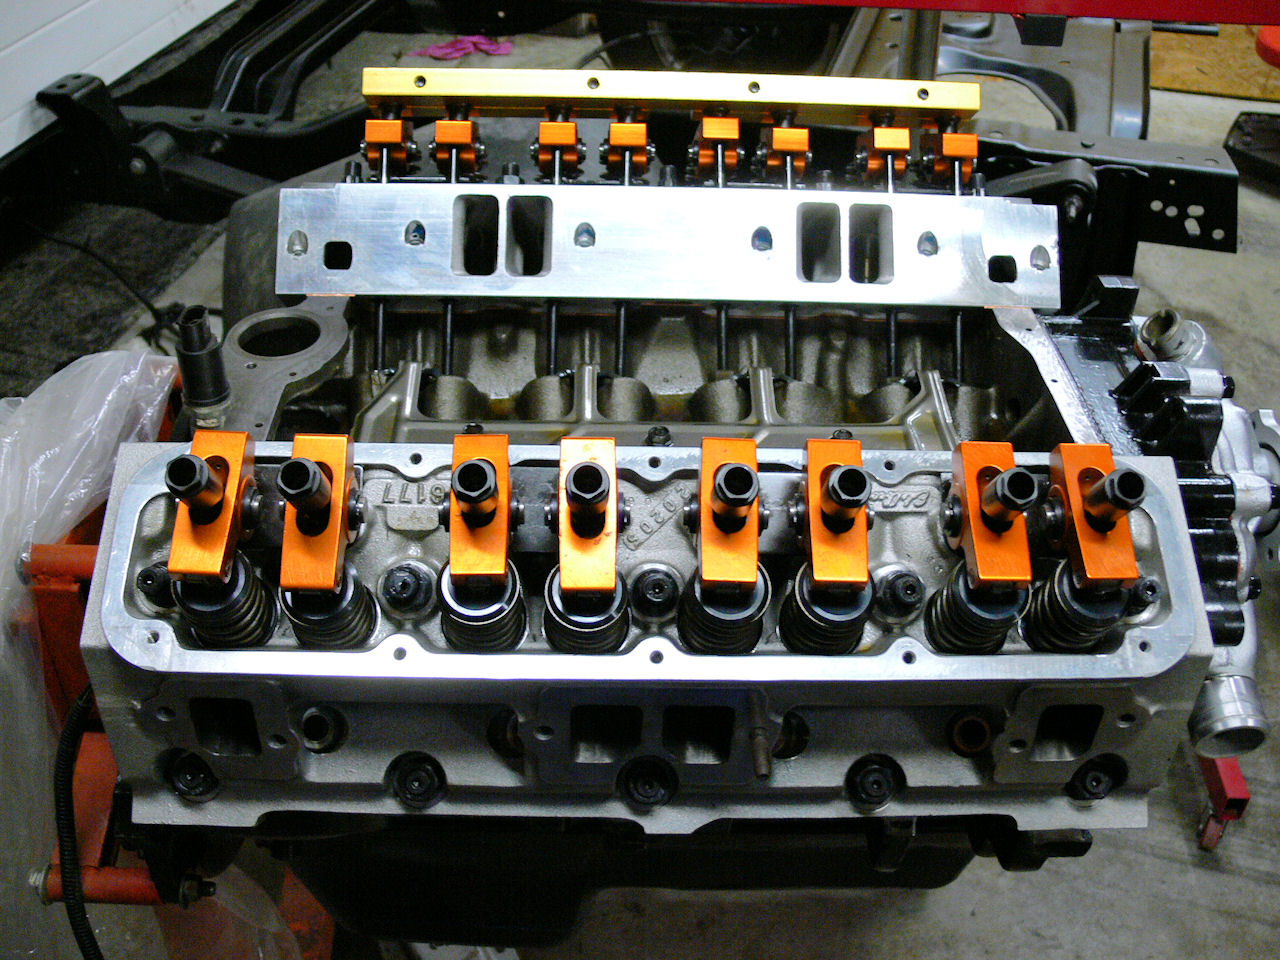
May 2, Tried finding more Autolite 3923s today cause when indexing the plugs in the Eddy heads one was off a mile and another only ballpark. Tried a few places and no one seems to carry them any more. Ended up swapping plugs around for over an hour till I got 7 lined up right. The last one, I ended up using an indexing washer which got it semi close. Removed the plug and sanded the washer down with emery clothe till it was bang on which took quite some time(sore fingers). Sprayed the SCE ICS Titan MLC hdgskts(#S69064) with Permatex copper gasket sealant/adhesive and installed the ARP studs with ARP molly assembly lube & dropped Eddy heads on & torqued them down. (50lb then 80lbs). Wifey even got in & helped, she snuged the head stud nuts down.
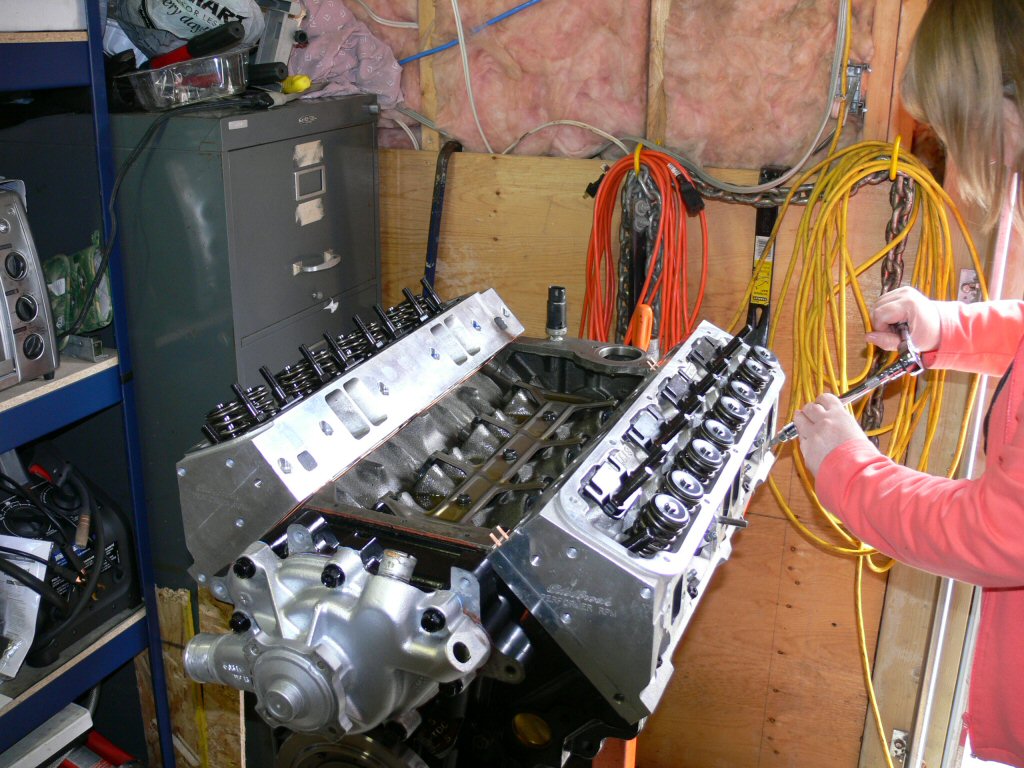
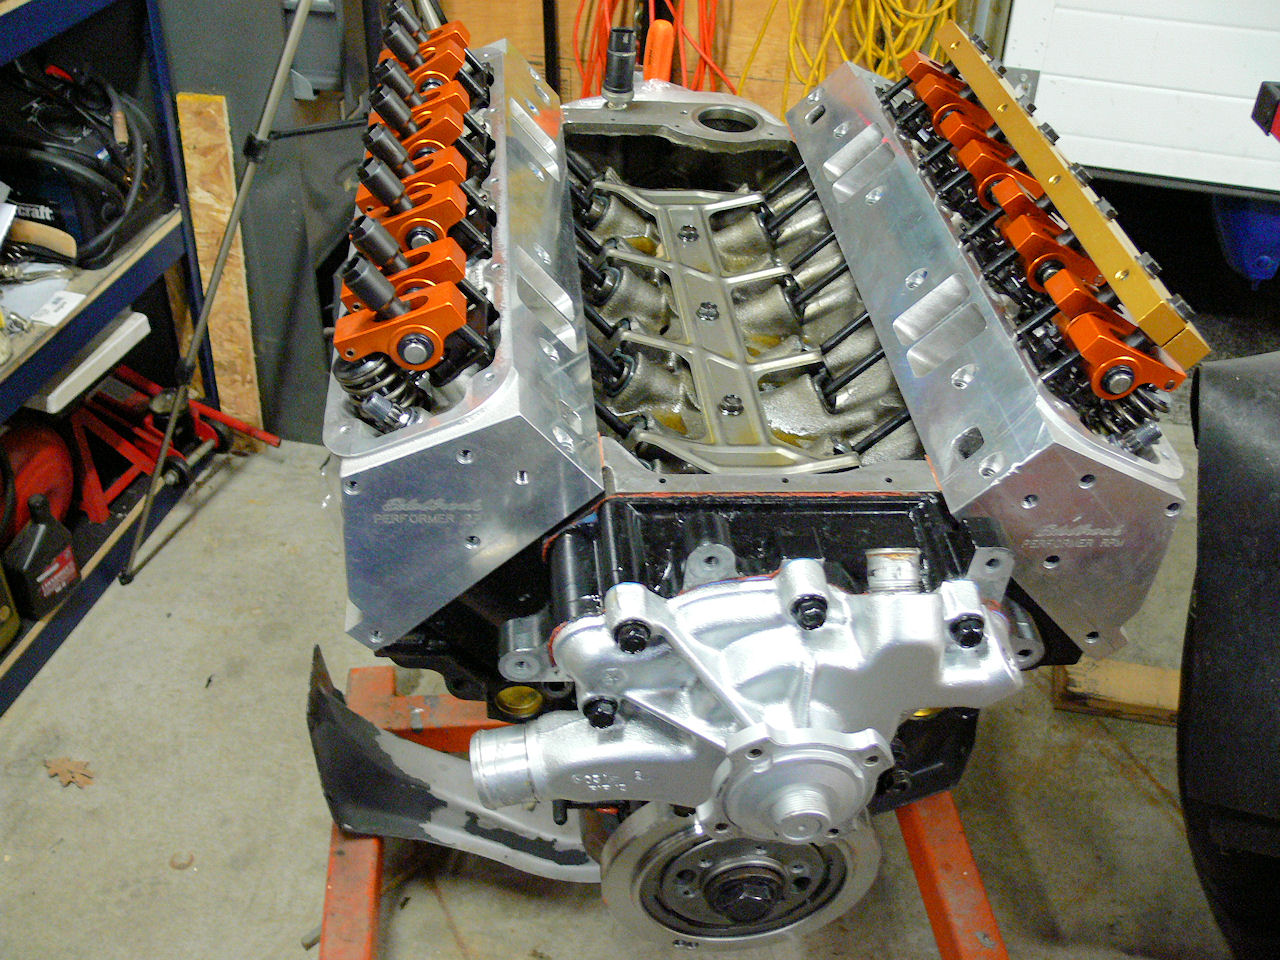
May 3, Spent most of the afternoon reorganizing the garage & cleaning up the bench. One of my overhead lights had a burnt out ballast so went to Crappy Tire to get 2 more fixtures. Pulled the fixture down that had the bad ballast & set it aside so I can repair it later (will use it over blast cabinet) and hung the 2 new fixtures (needed more light). Installed the treated pushrods & adjustable HS1.6rr as well as the Hughes (Jomar) rocker girdles. Set zero lash plus 3/4 turn so they won't have to be readjusted later. (as per Jim @ HP Engines)
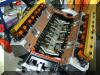

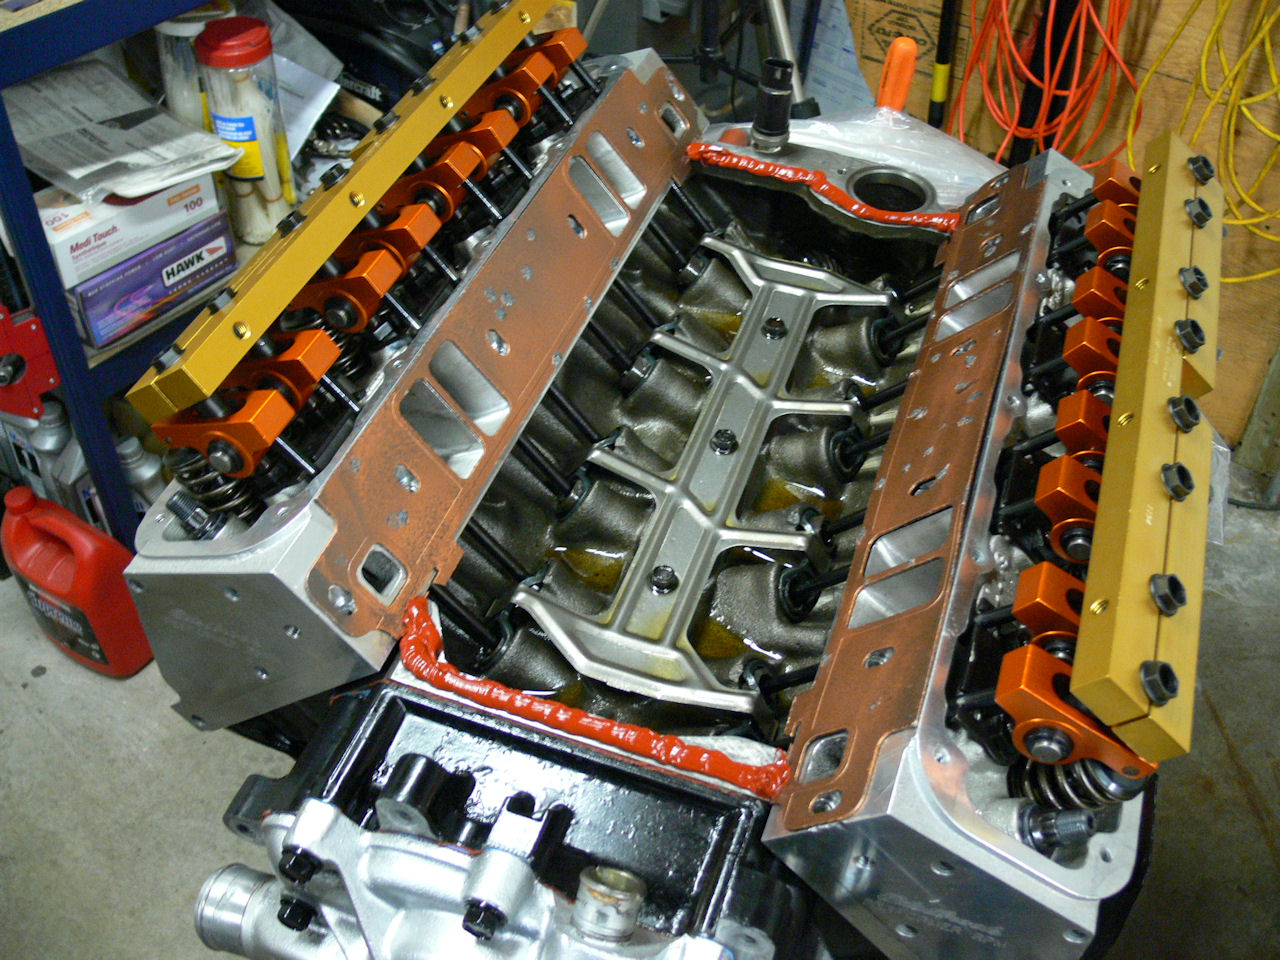
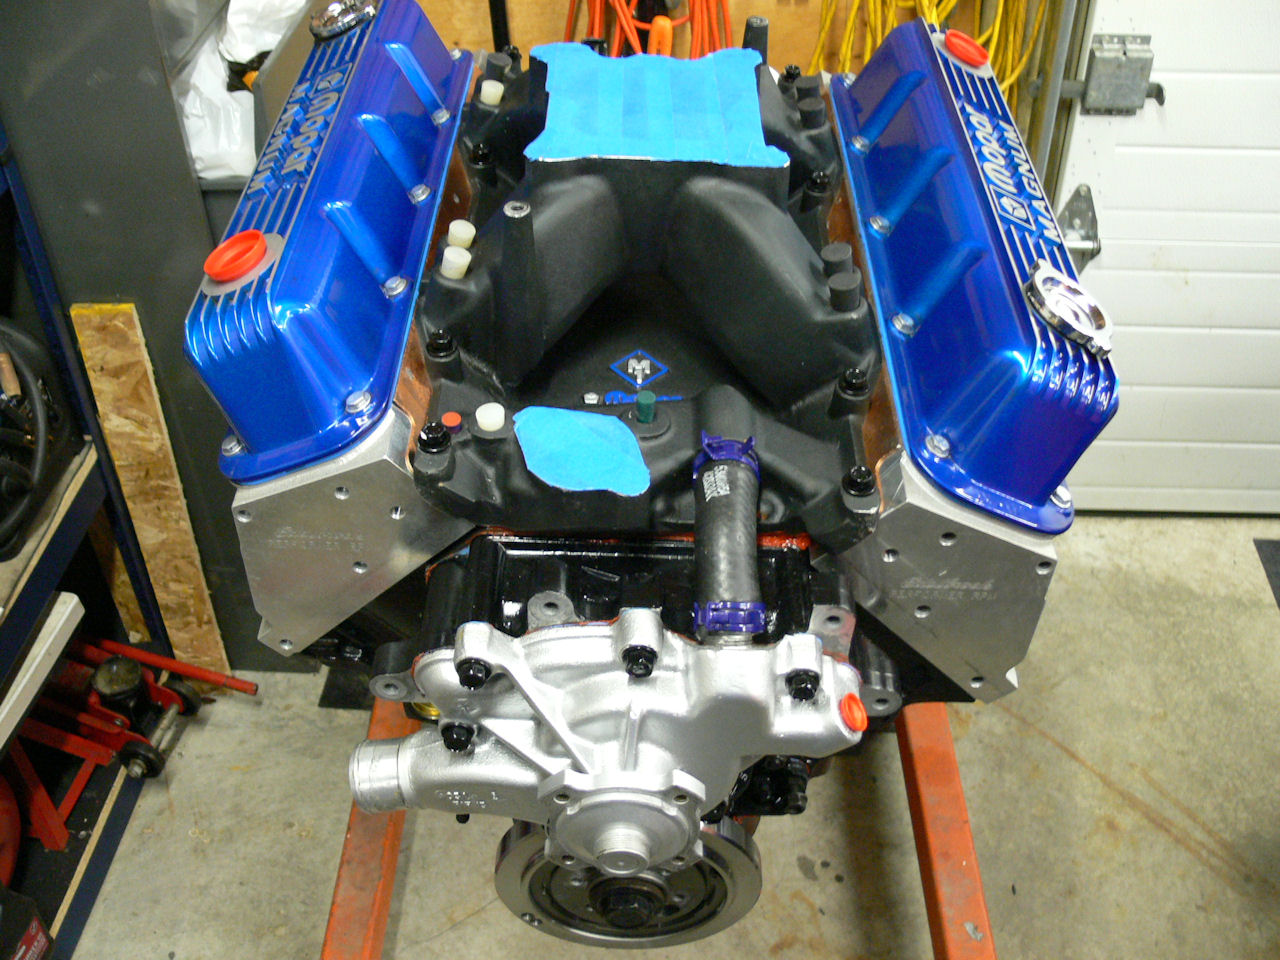
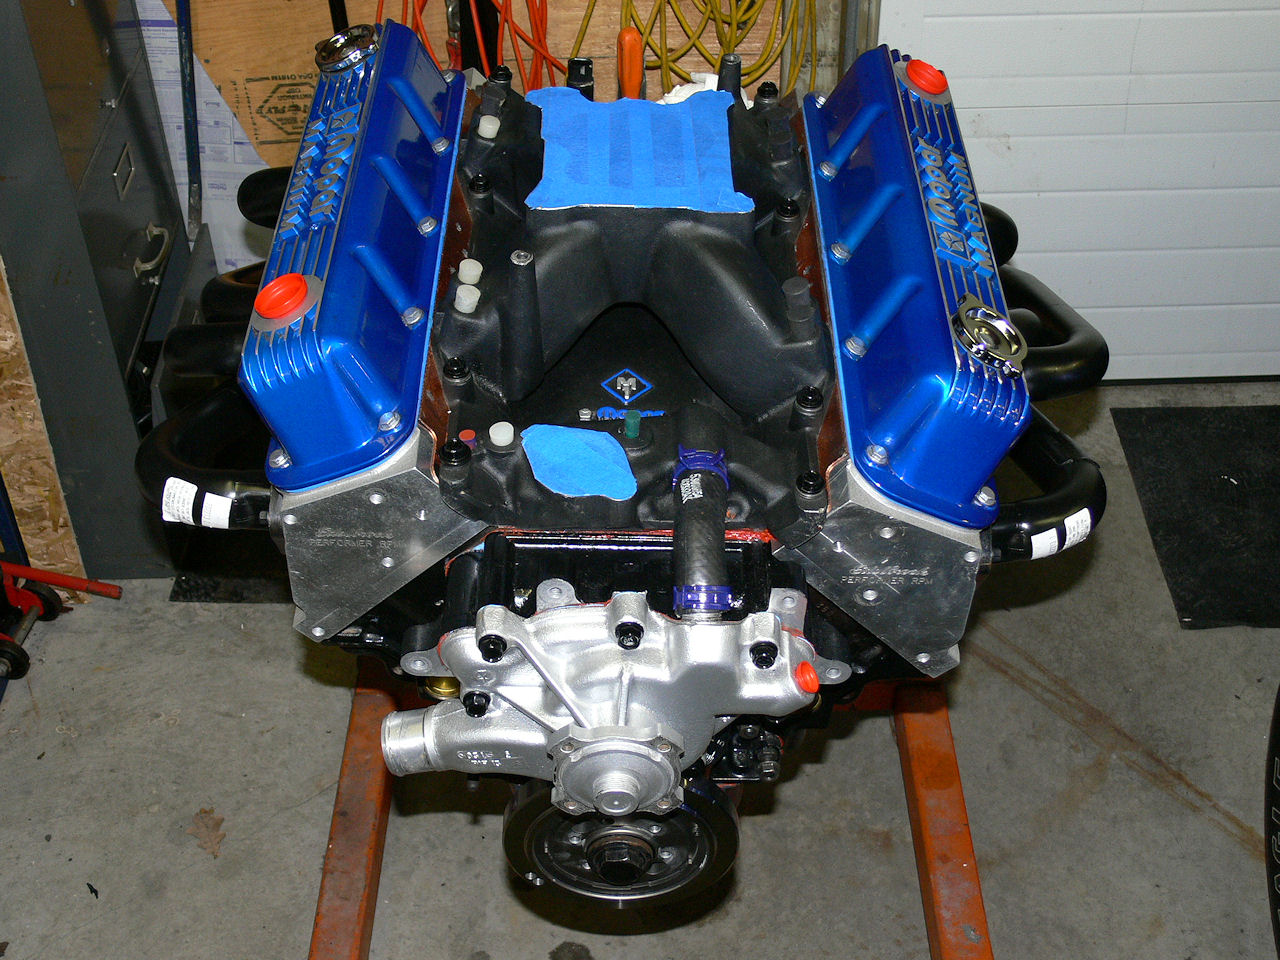
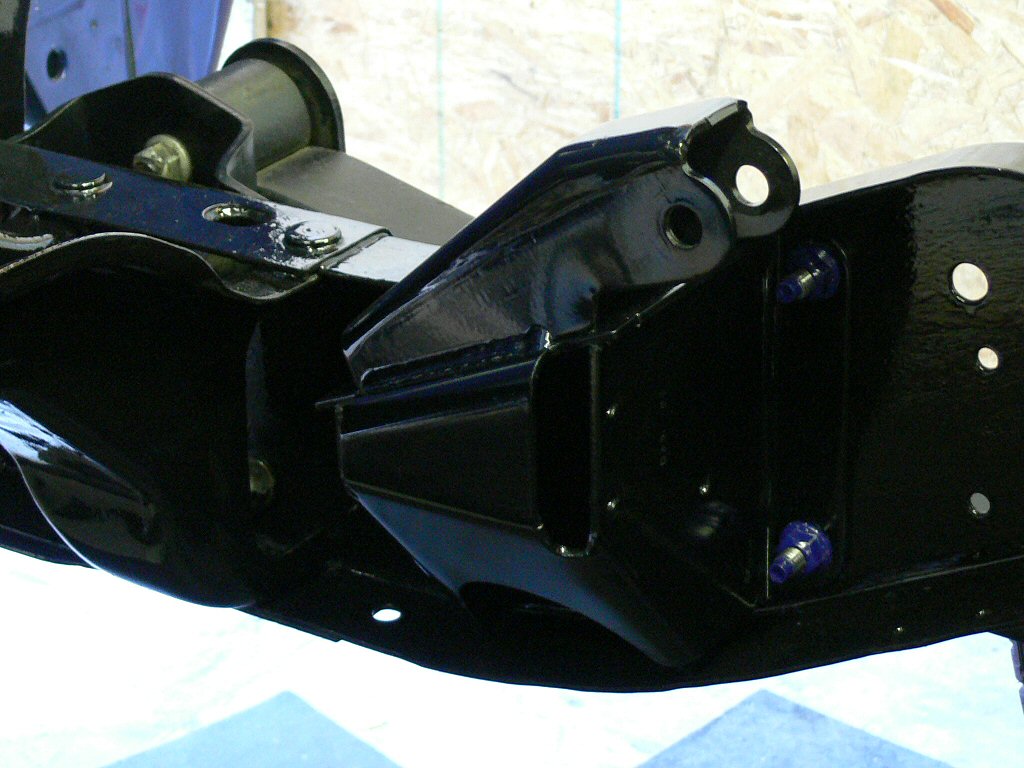
May 5, When I was mounting the valve covers late Sunday night I noticed the bolt heads holding down the M1 were not touching the washers. Was too tired so I backed out all the bolts without disturbing the M1. This allowed the RTV sealant to firm up over the next 36hours. Today I checked the depth of all the holes and added enough washer underneath the bolts so they wouldn't bottom out & retorqued them down. Should help seal up the front & back of the manifold so there will be less chance of leaks. Eddy heads aren't drilled all the way through like the stock heads or Mopar RT heads so the intake bolts will bottom out. Also did a test fit on the headers to make sure everything lines up (checked gasket match) & so I can mark the drivers side collector for adding a bung for the second wideband o2. Ill be sending the hdrs out for ceramic coating hopefully next week while I'm off work. Haven't decided on if they will be silver or black. Look good in black but main/sub brackets for the Procharger I powder coated gloss black as well as the frame rails are gloss black so maybe overkill.
I know, I know, about time I got this thing back together
Hopefully will be worth all the time & effort when reassembled, tuned and finally back to the track after such a long hiatus.
FYI, if your wondering, I used some of my plugs for powder coating and sandblasting
to fill the open holes till its fully assembled & re-installed.
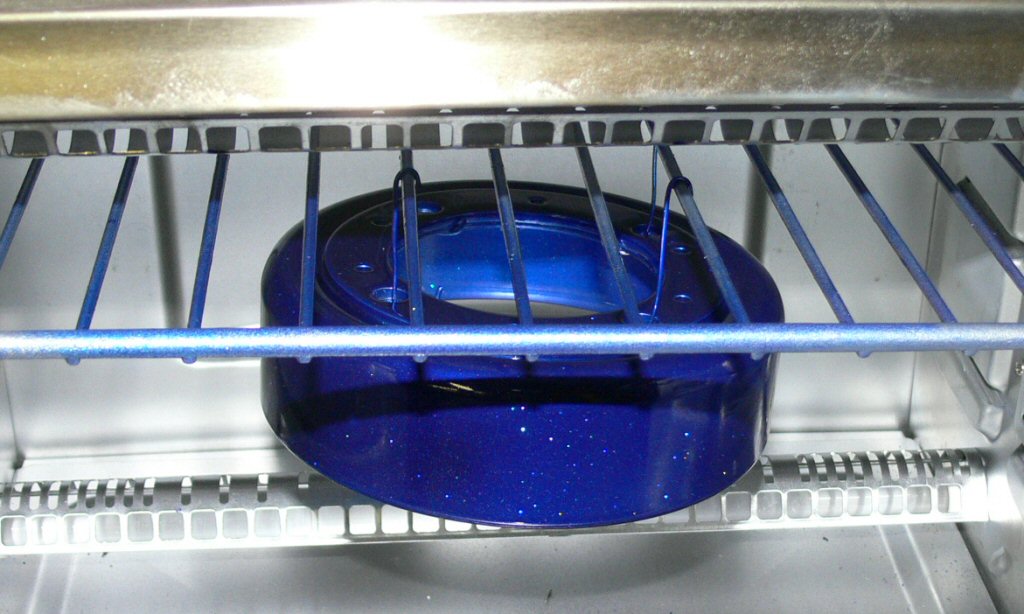
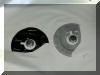
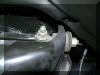
May 7-8, Modified the M1's 2bbl adapter. Cut off both the horns that stick up on it, smoothed them out and wet sanded them. Painted with some Duplicolor hi heat exhaust paint and baked them for 2hours @ 350 to give a good cure. No real pics of before/during but you can see what I refer to in the 1st of the M1/4BBL pics at the top of the page.
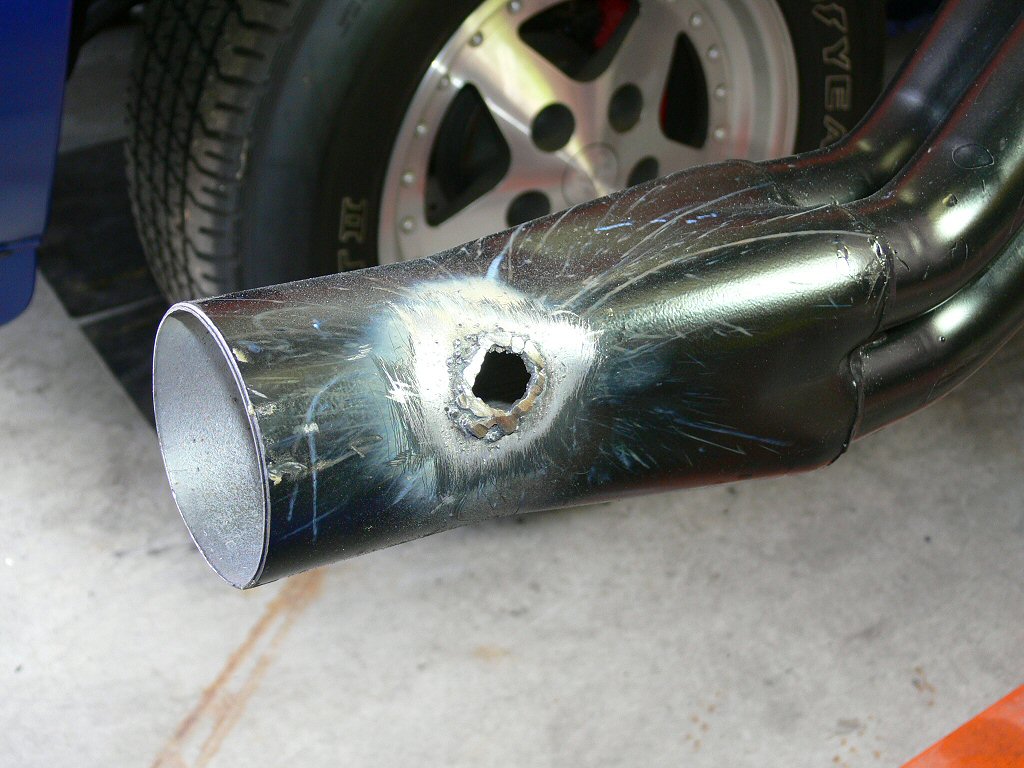
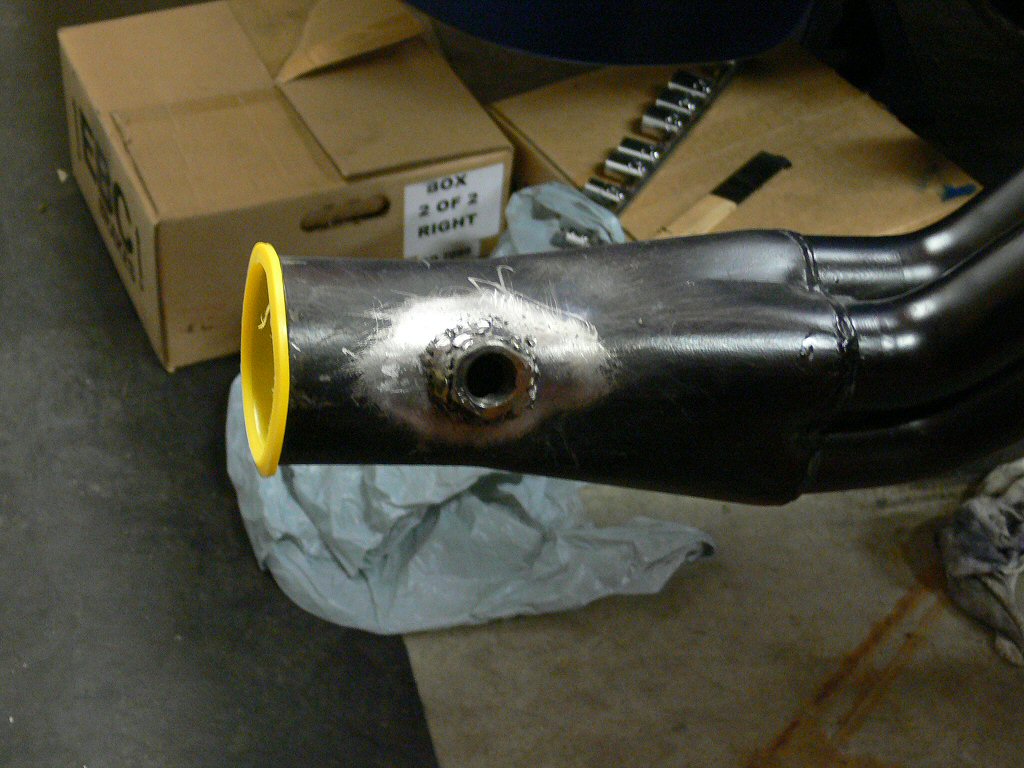
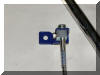
May 13, drilled the hole in the header collector and welded a nut to it for the FAST wideband o2 sensor. Not pretty by any means but it will work. Yes I'm a rookie welder but this POS Mastercraft 70amp mig welder sure isn't helping. Feeds the wire perfectly when not in contact with work. When its time to weld, it stutters every freaking time regardless of tension adjustments. Sure my welds would be improving if it wasn't for that.
May 14, Temps were pretty good today so planned to work on the 2nd coat of POR15 to the back 1/2 of the frame and axles/diff. Unfortunately there were high winds which kept knocking out the power all afternoon. Didn't get started till 600pm so only managed to get in 2.5hours of painting before temps started to drop. With the truck sitting on the ground was a bit trickier than the last time when I had it as high as it would go on the jack stands. Figure an 1.5hr more of painting to finish but wont be able to do it till mid next week cause calling for much cooler temps till then.
May15, Wasted over 1/2 the day assembling a grinder stand to mount my 8" grinder on, securing it to the concrete floor and swapping out the coarse stone for a 8" wire brush. Home Depot 3x, Crappy tire once. Cleaned up more bolts, couple of the stock pulleys, installed new water temp sensors in the m1.
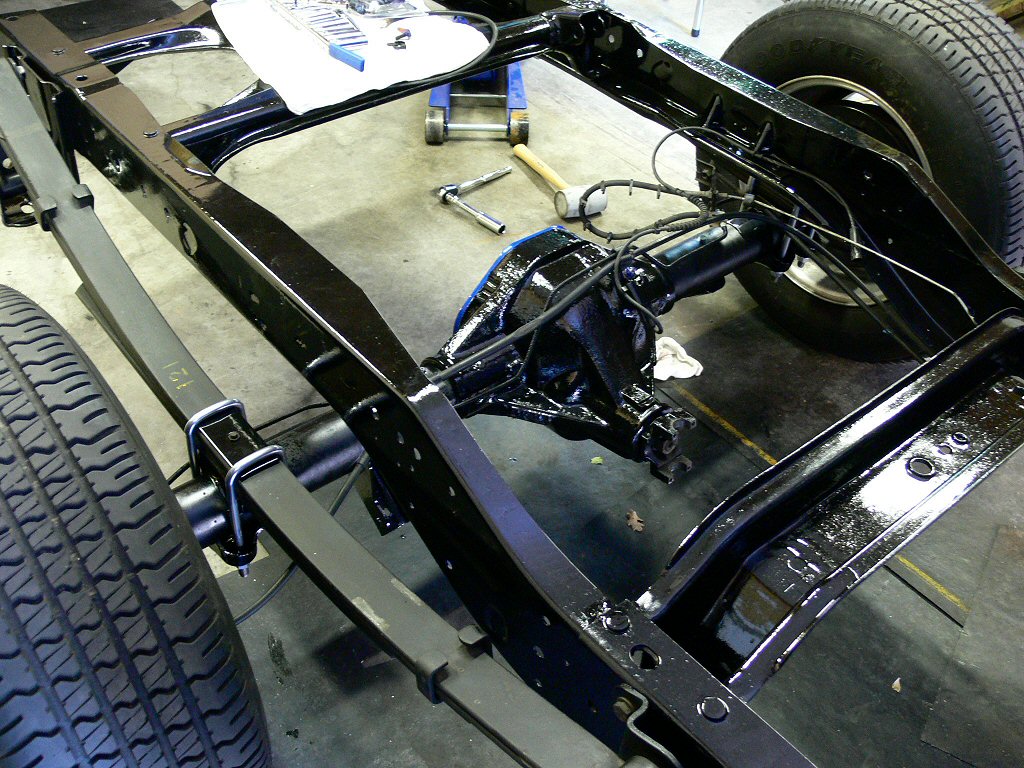
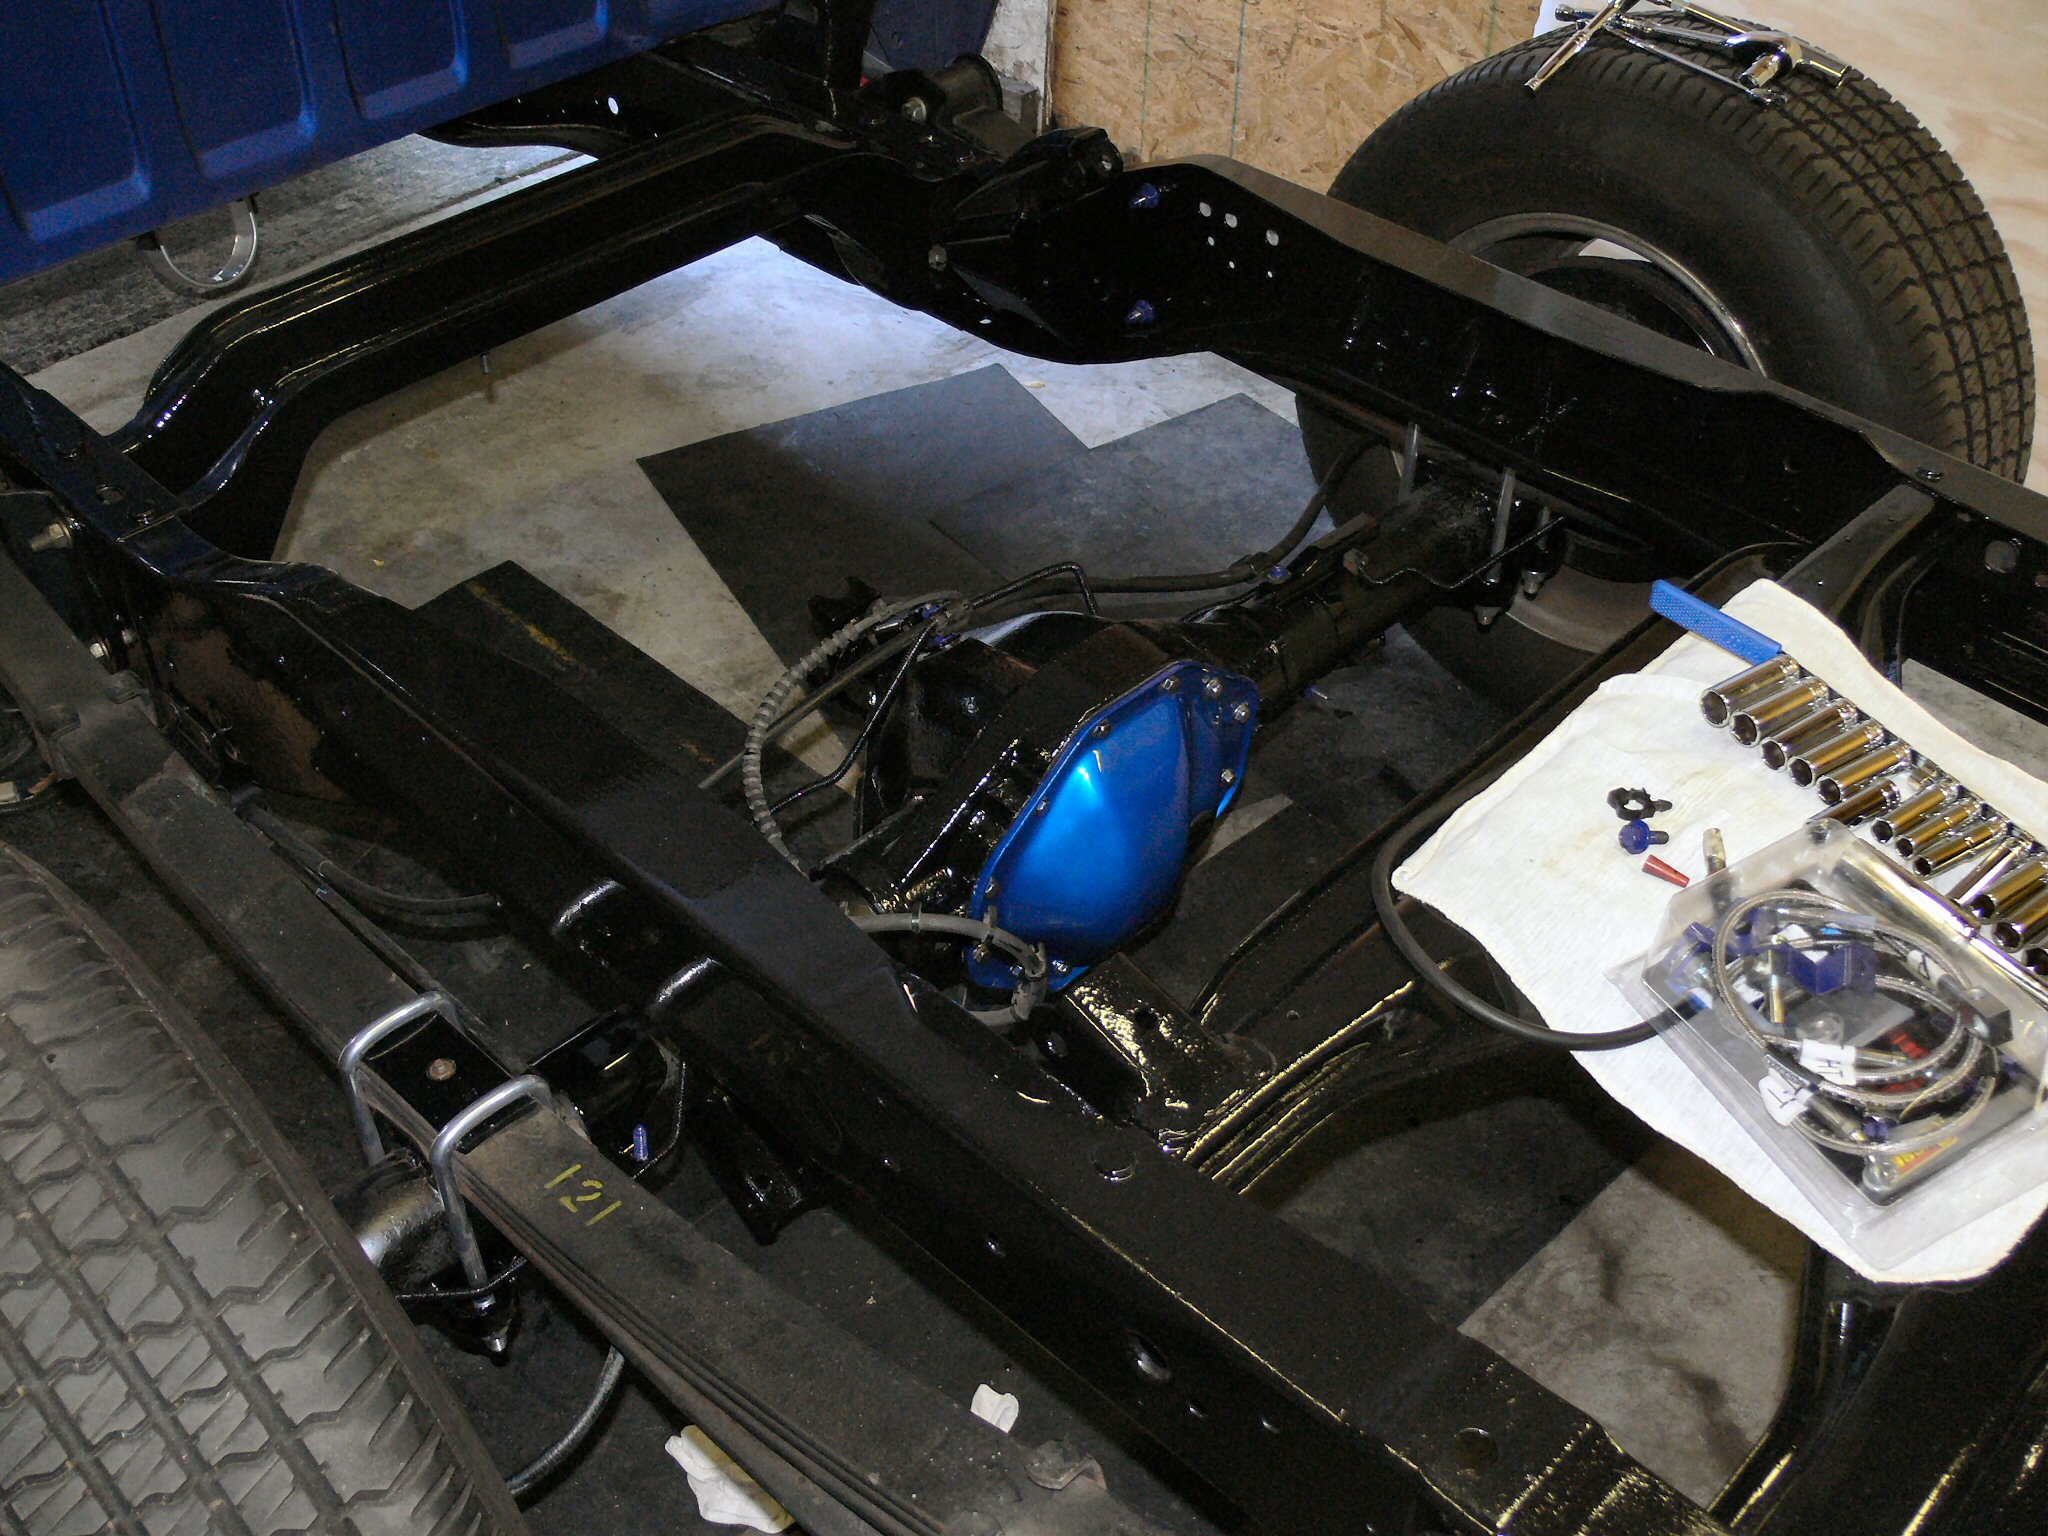
May 19, finally reasonable temps today, finished off the POR15 gloss on the back 1/2 of the frame and axles/diff. Seemed like a never ending project especially when I finished the engine bay & below cab then stripped it all back off & redid the whole thing front to back (sanded out splatters/over welds). With it all in gloss looks a bit too shiny so Ill go over the axle tubes with flat black POR15 in a couple days.
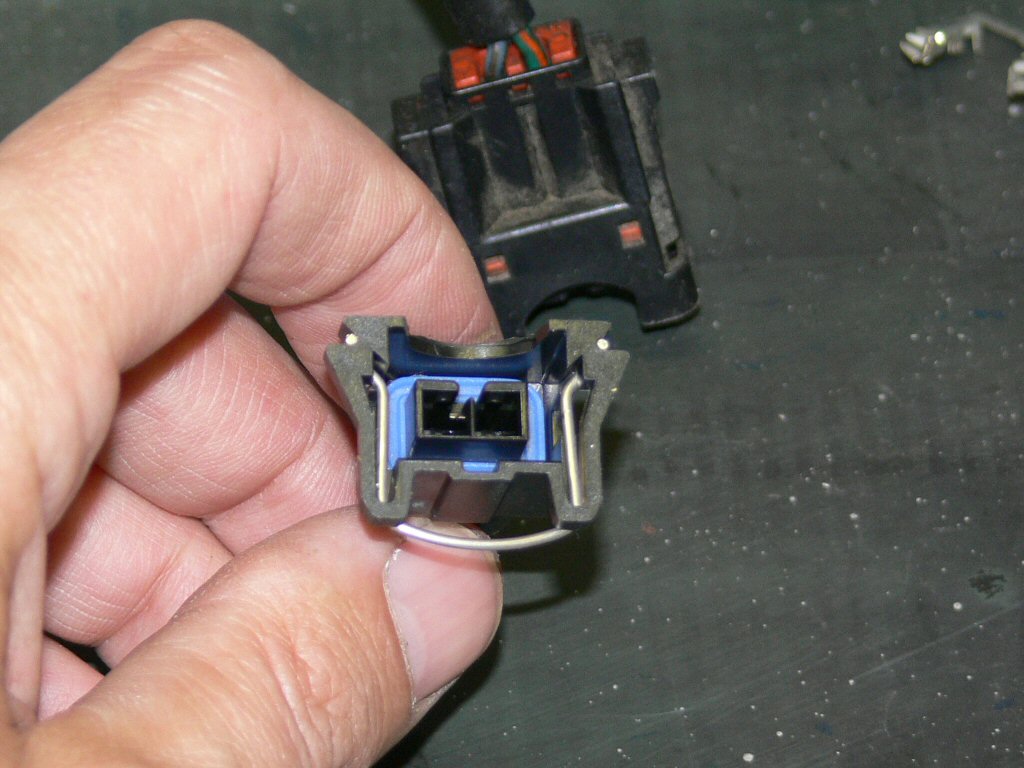
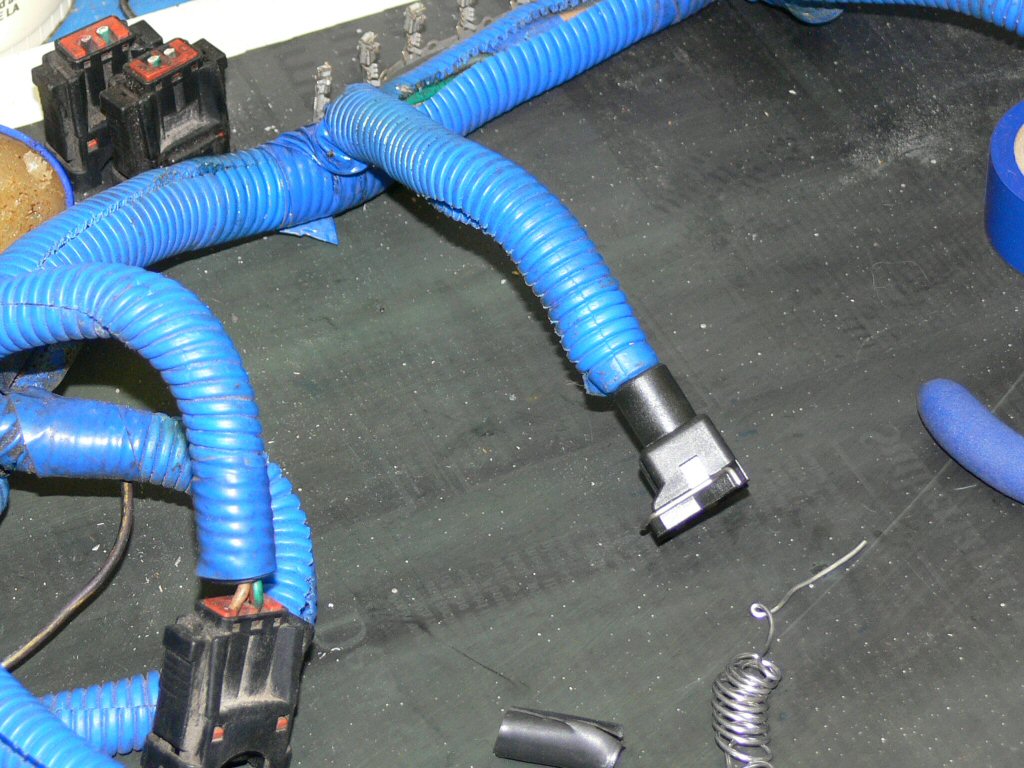
May 21, installed the new MSD injector electrical connectors on the wiring harness. The harness is out of Dak RT (01) and it had the newer style clips with release tabs on the sides but I still wanted to change them. I like the spring locks on the MSD clips and just in case any of the connectors were starting to get brittle or would in the near future figured its easier to do it now with the harness out of the truck.
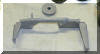
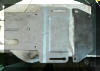
May 23-24, painted the axle tubes with the POR15 flat paint I had. Missed a couple spots and over the next 2 days touched them up twice. For some reason the spots looked gloss after finishing both times. Container the paint was in (plastic cup) dried flat??? Got fed up screwing with it so I just lightly sanded with some 400 grit emery. Its done, not perfect but looks a ton better than that undercoating crap. Took the 3m paint stripper wheel & wire wheel to the trans cross member. Got it all but couple spots that couldn't get into with the wheels. Have to see if it will fit in the blast cabinet. Wont get to it till next weekend
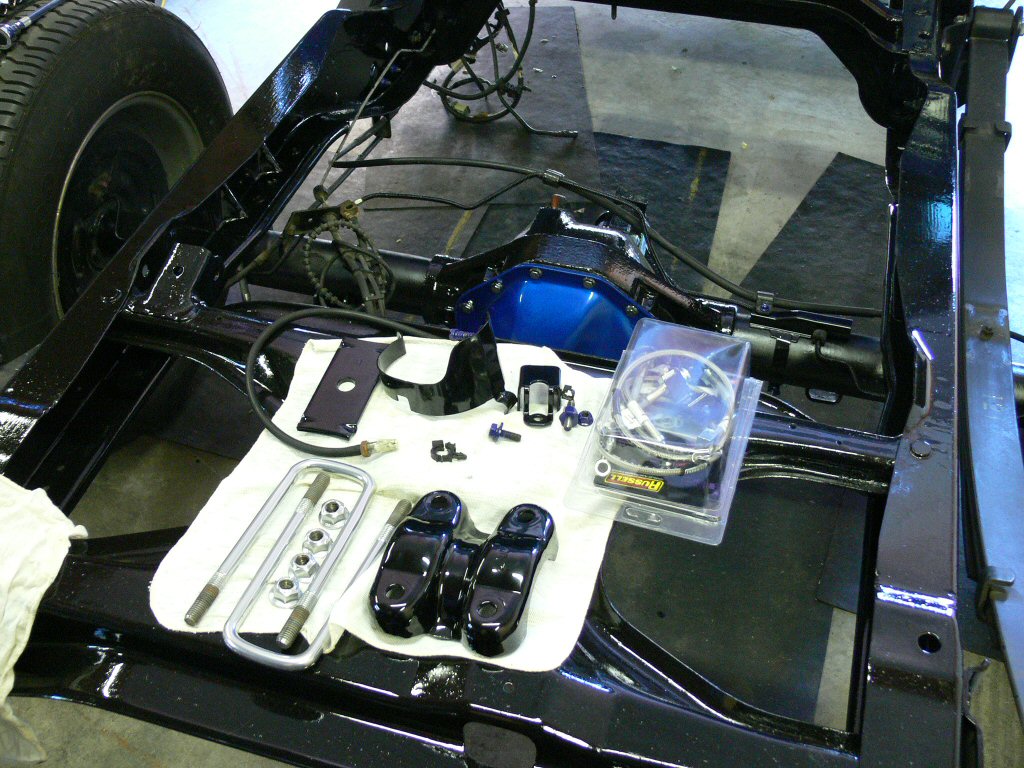
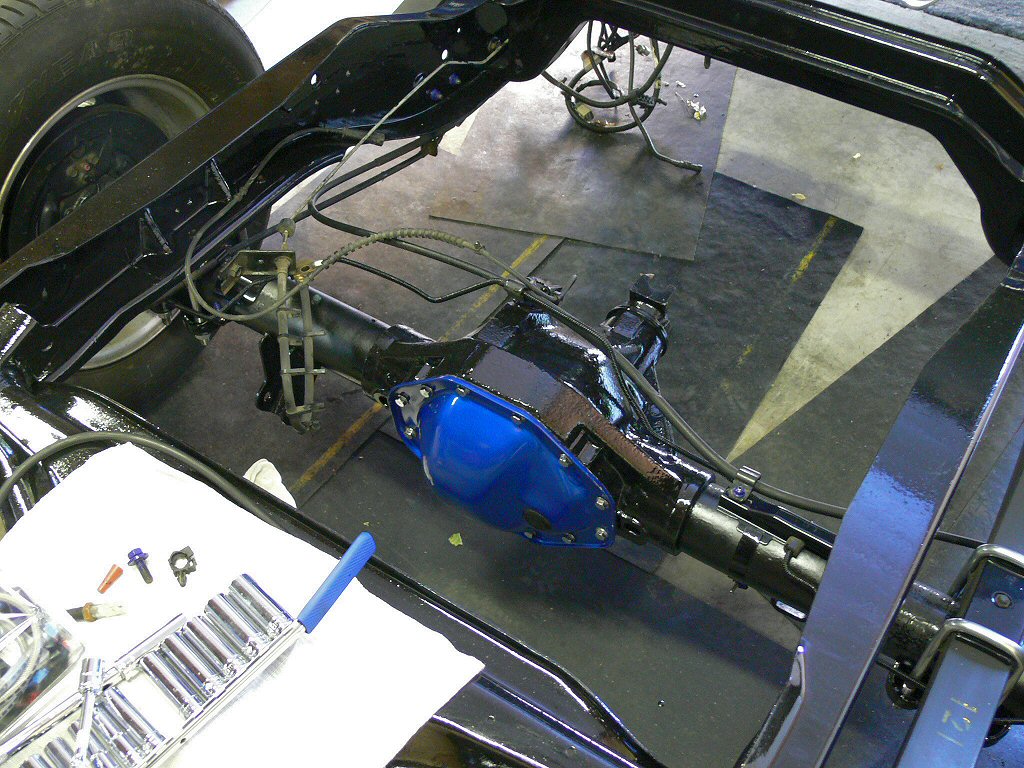
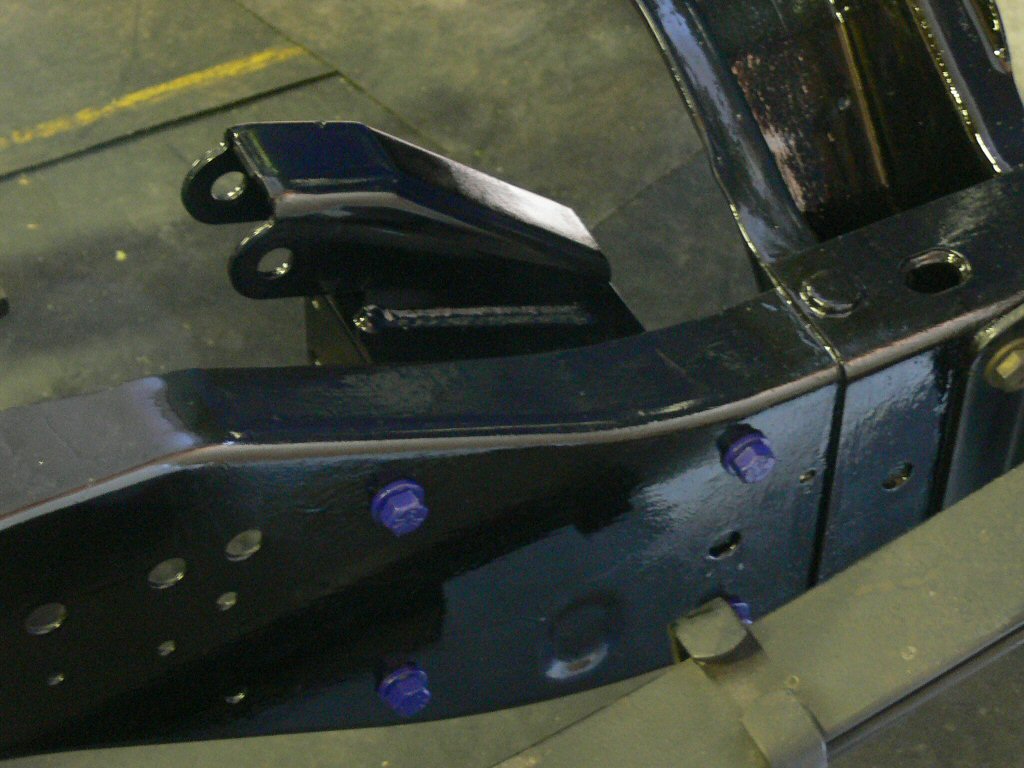
May 25, reassembled most of the back end pieces onto the axles, leaf springs & shock tower on passenger side. Still need to install the braided brake line. Finally feels like I am making progress.
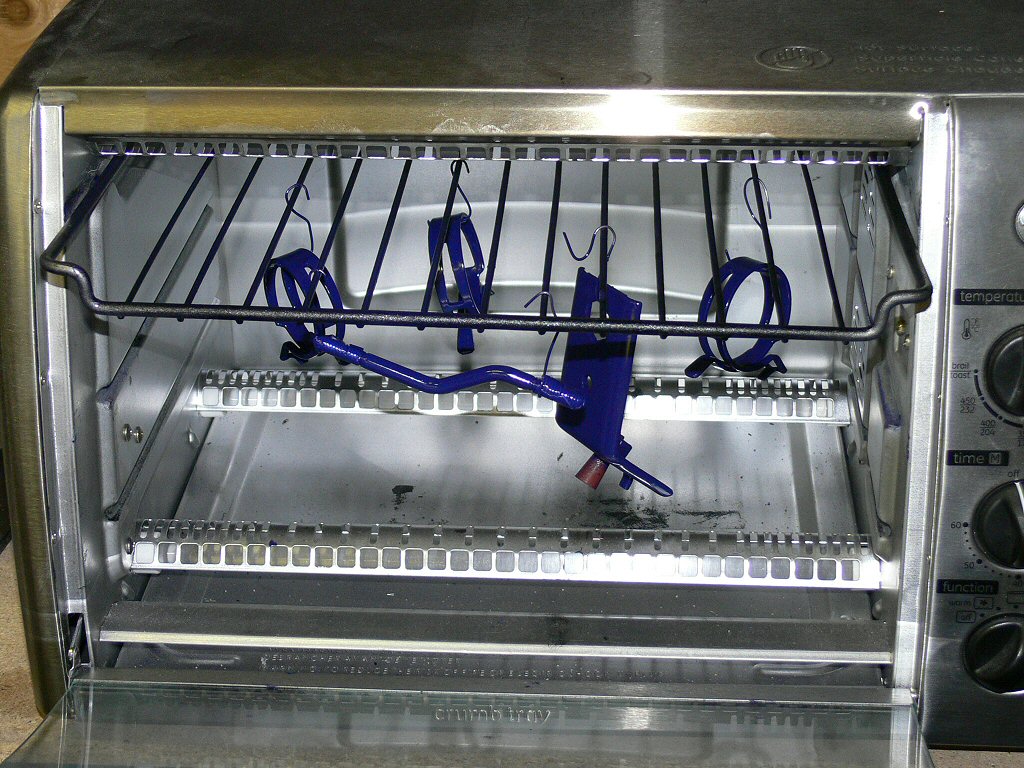
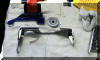
May 30, Removed the flex brake line off the diff & installed the new braided line (need mounting bracket to complete). Sandblasted the brake like mounting bracket as well as couple rad hose clamps and the S bolt (when NA) and finished off the trans cross member (it fit). Powder coated all 5 pieces my Indy blue mix.
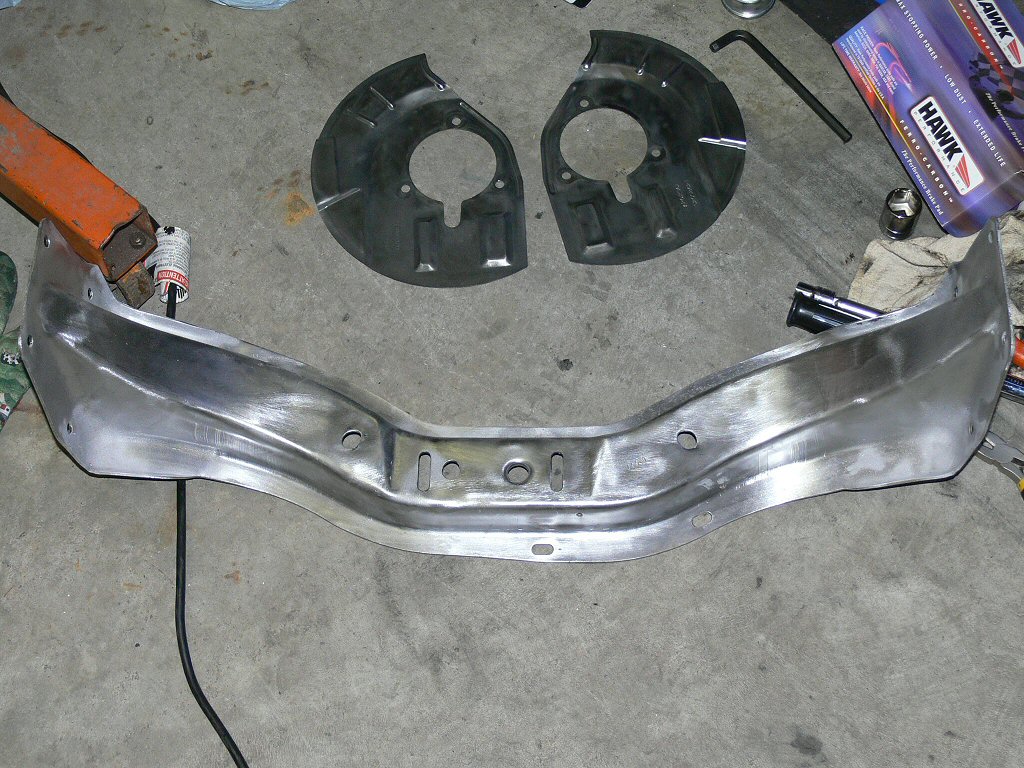
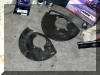
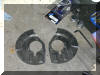
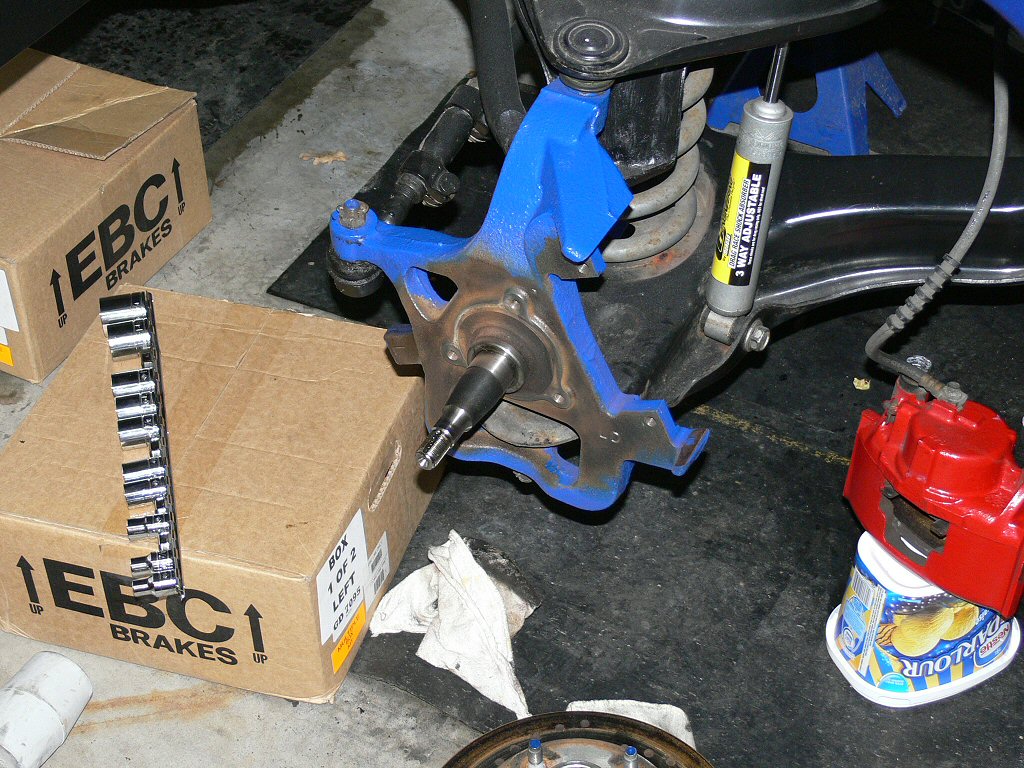
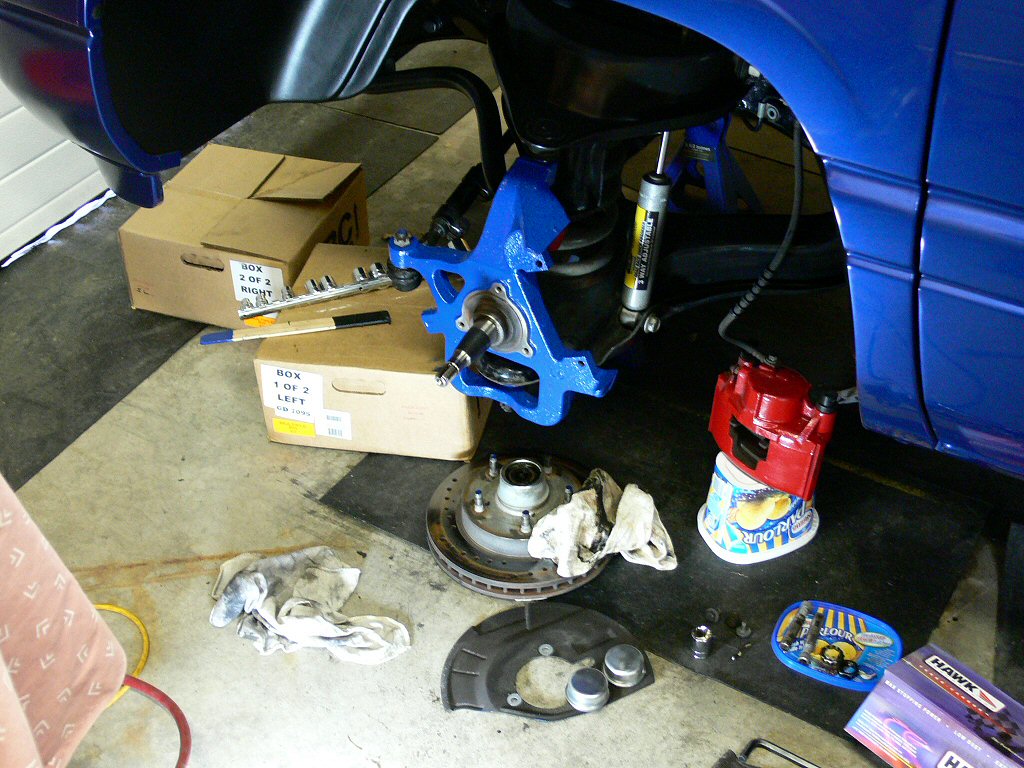
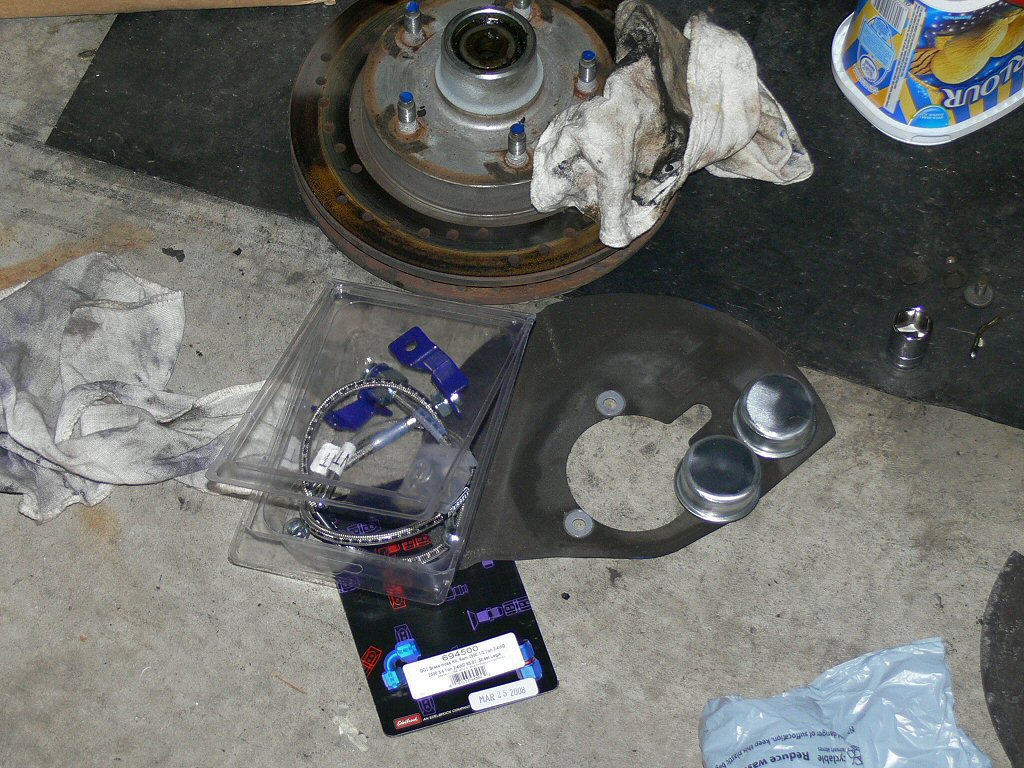
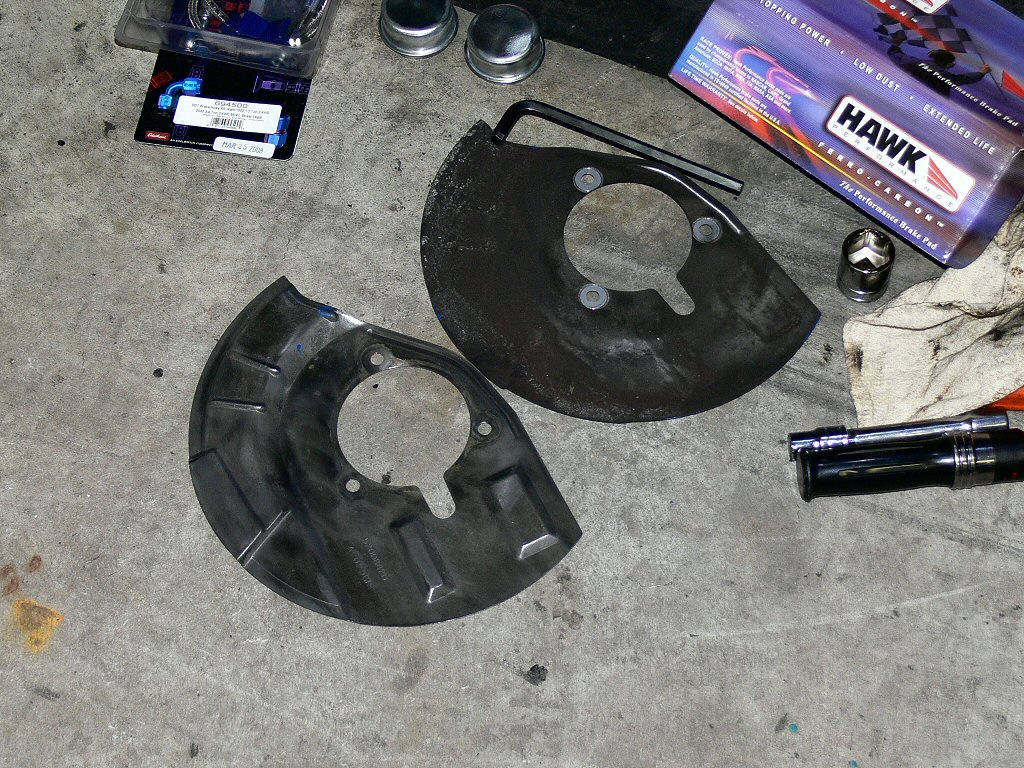
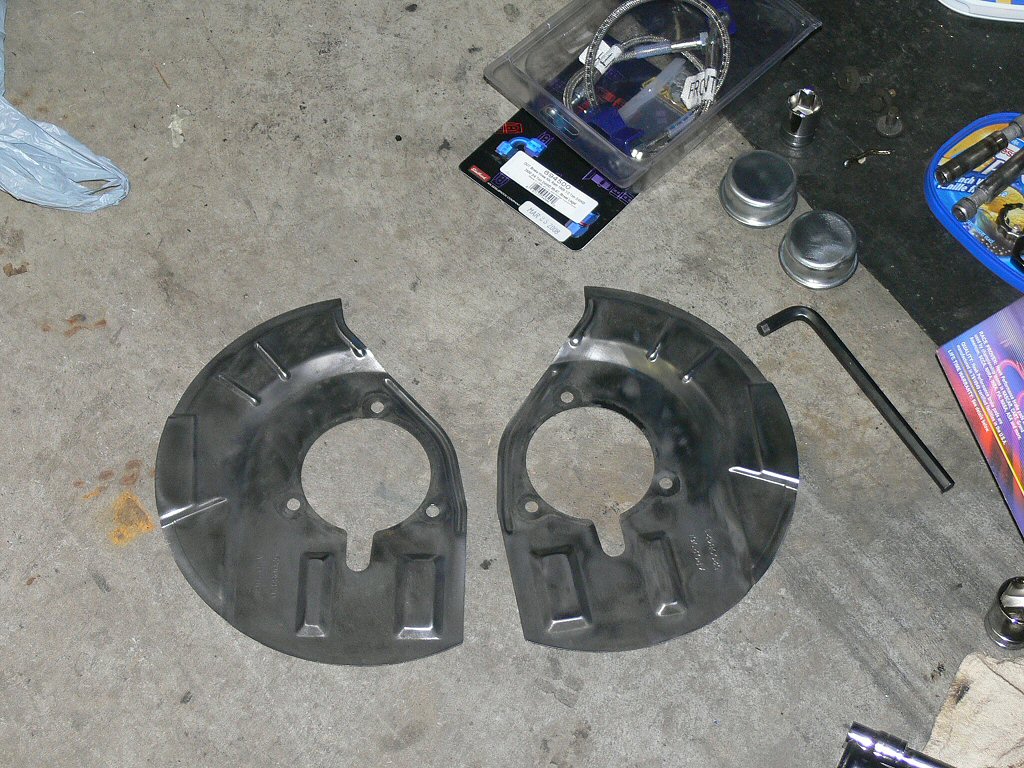
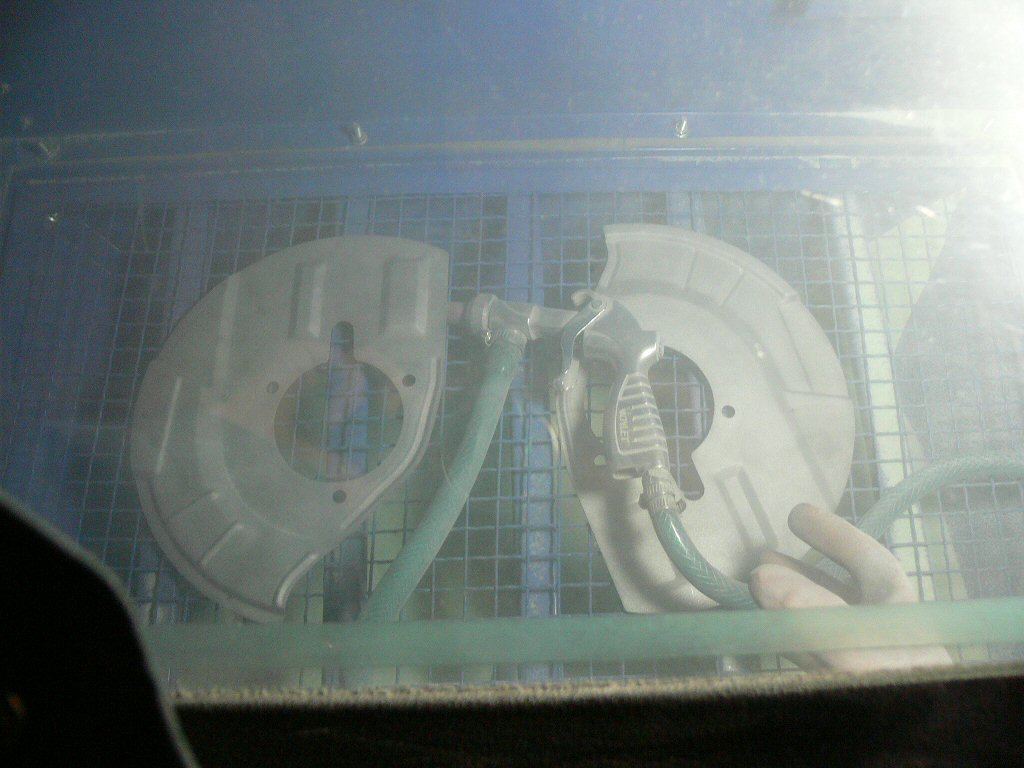
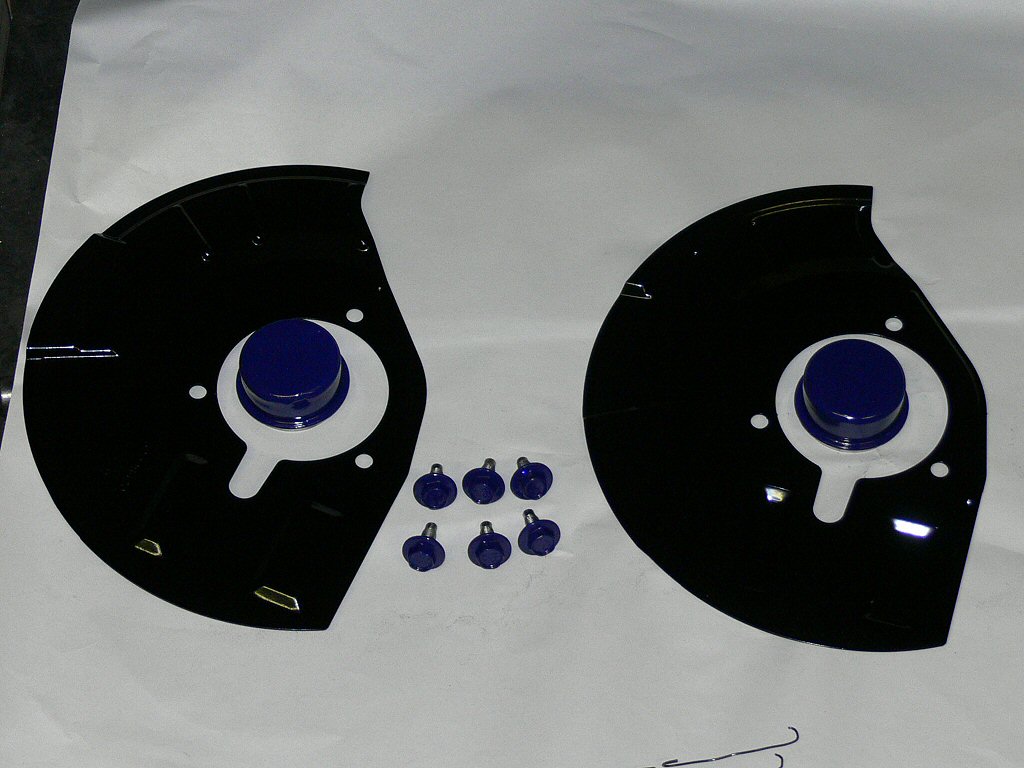
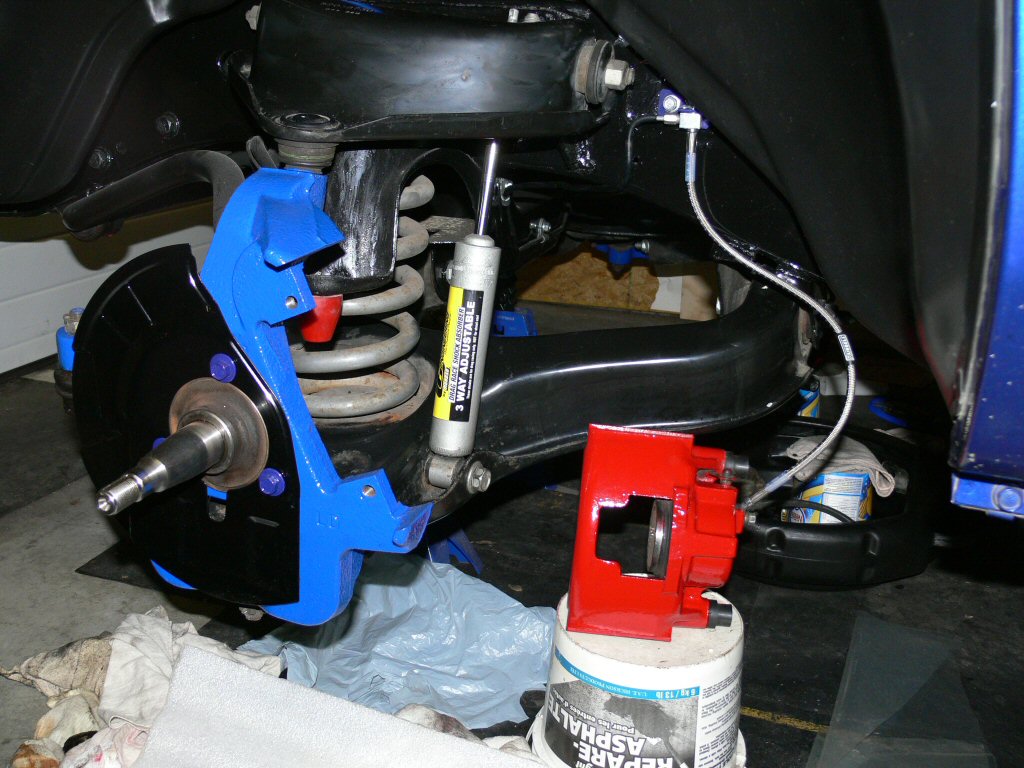
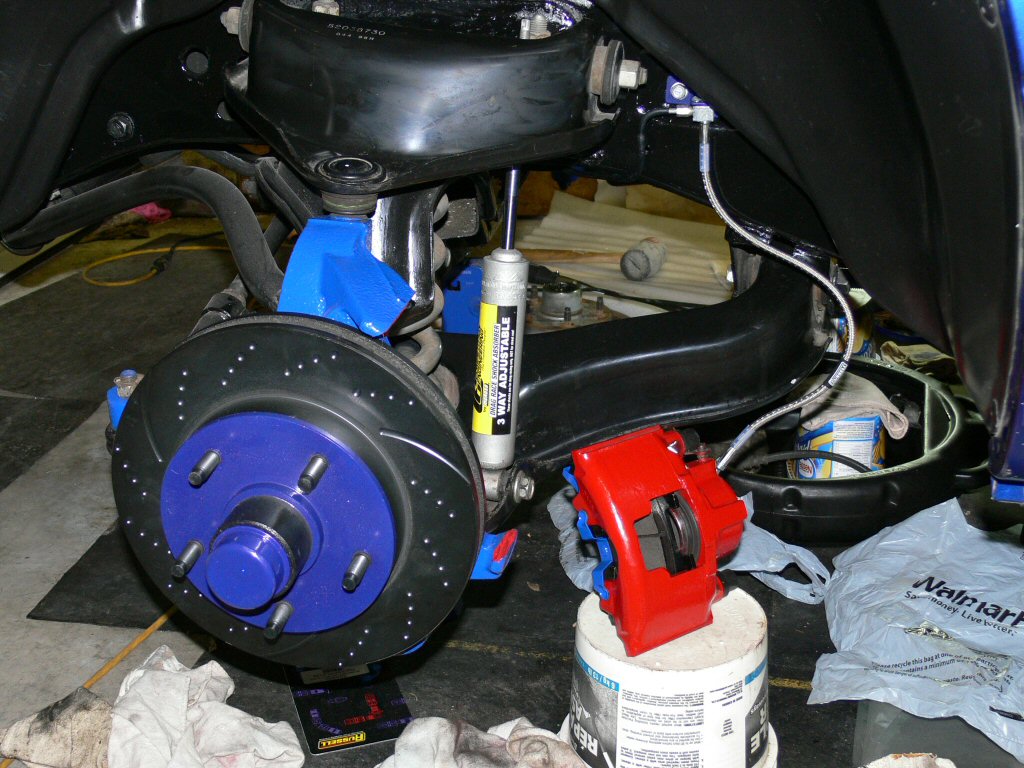
May 31, Been the coldest May I can ever remember. Only 3-4days this month got to 70 or above with most below 60 & we have had tons of rain. Today was high of 52*(41* overnight). OMG its hard to paint or powder coat with this weather. Removed the front callipers, rotors (looked like crap from sitting so long) and dust shields. Wire wheeled the area behind the shields & finished painting the spindles (never painted behind the dust shields) as well as gave the rest of the spindles another coat. Took the wire wheel to the grease caps & the dust shields. Sandblasted the dust shields but my air filter/moisture trap broke for the compressor. Spent 2hours finding a new one (Princess Auto) before I could come home & finish the sand blasting. Powder coated the dust covers in gloss black. Cleaned up all the bolts holding the dust shields on and will powder coat them later when I get a chance.
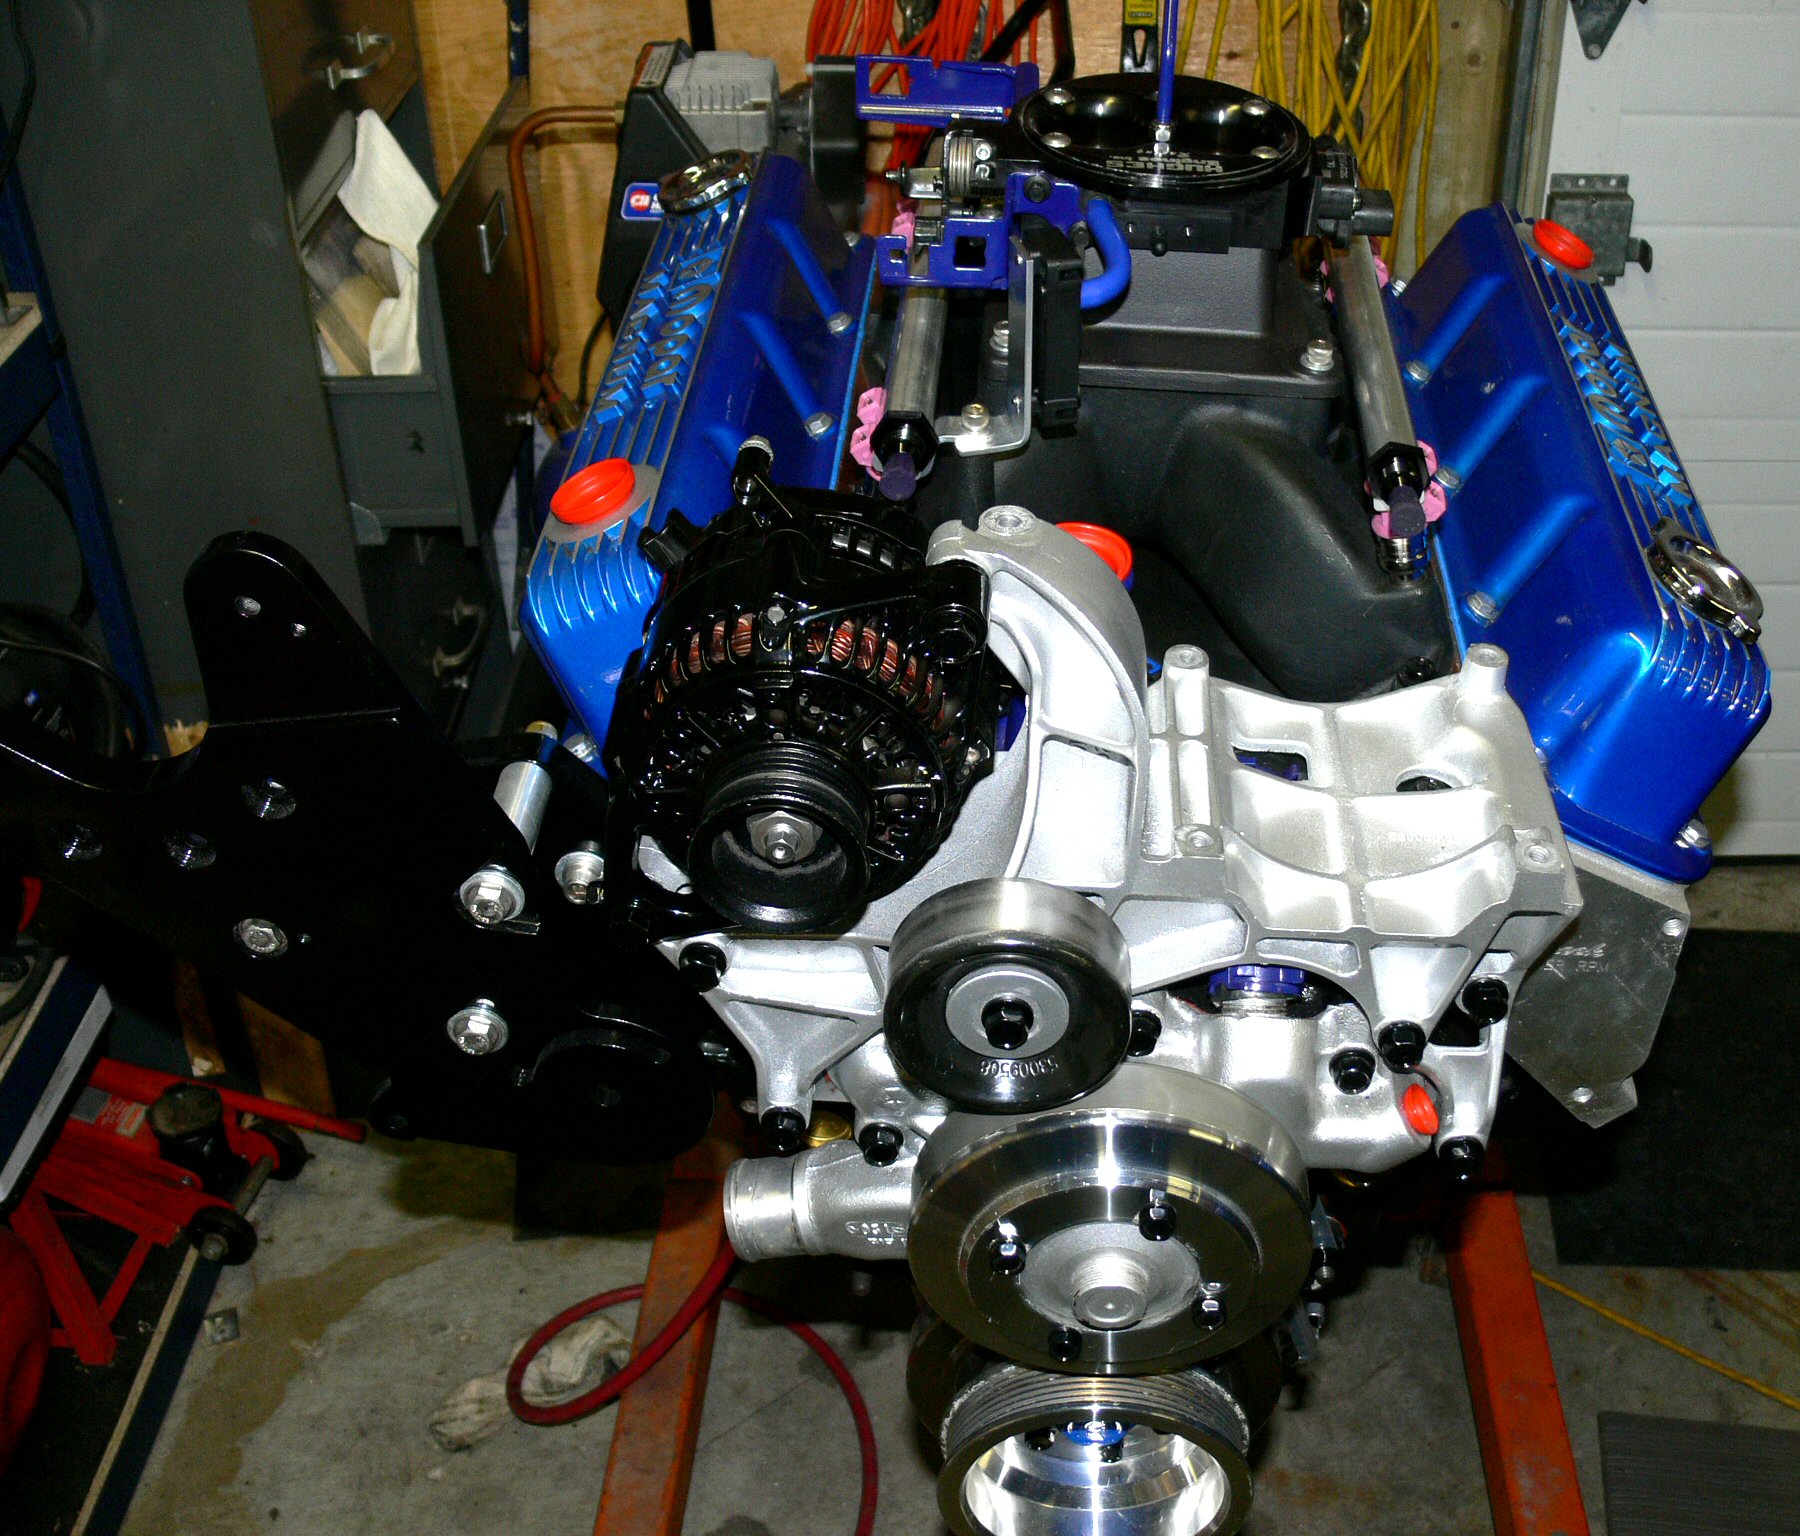
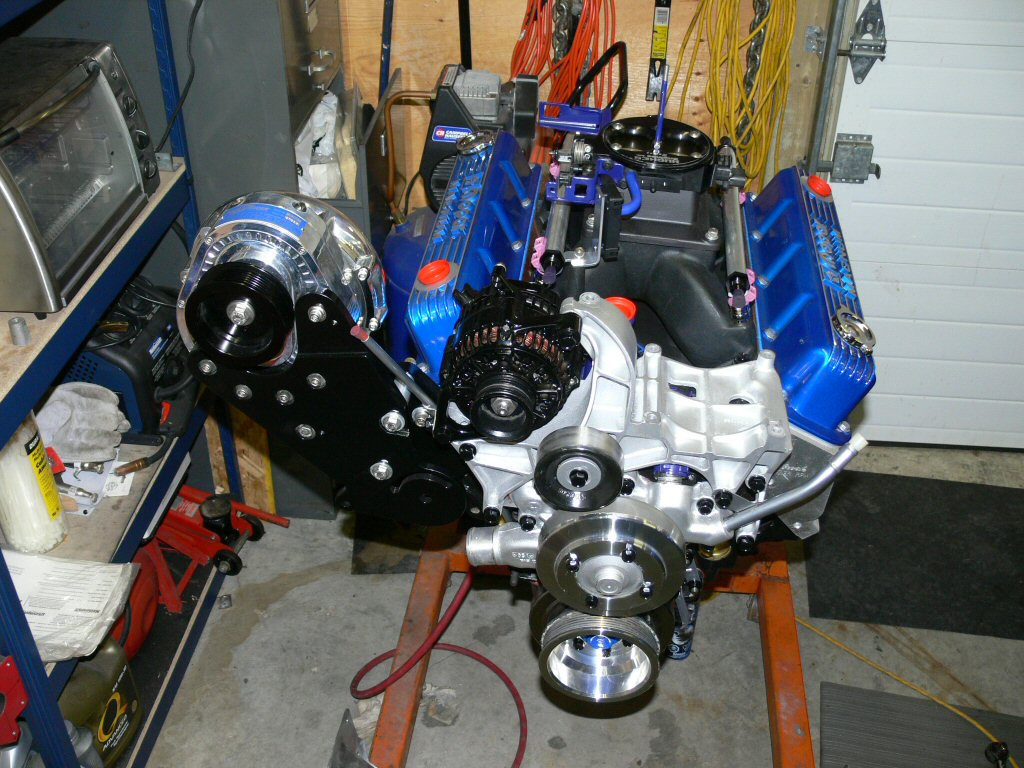
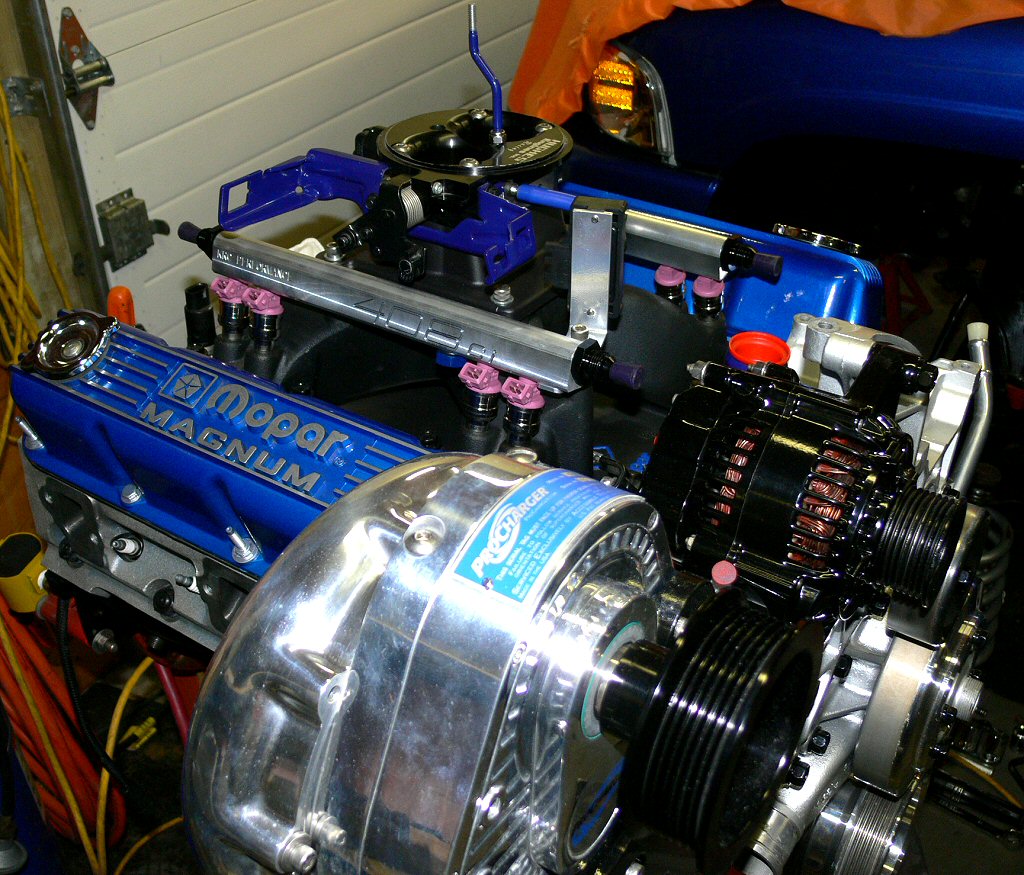
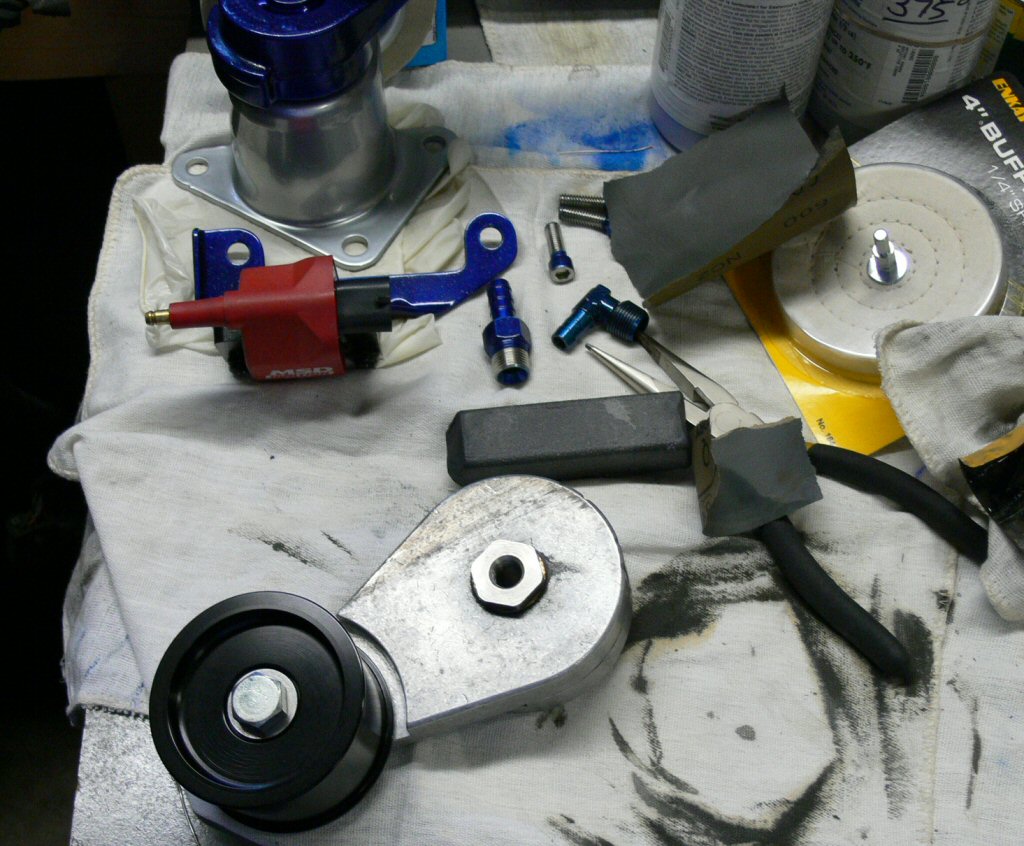
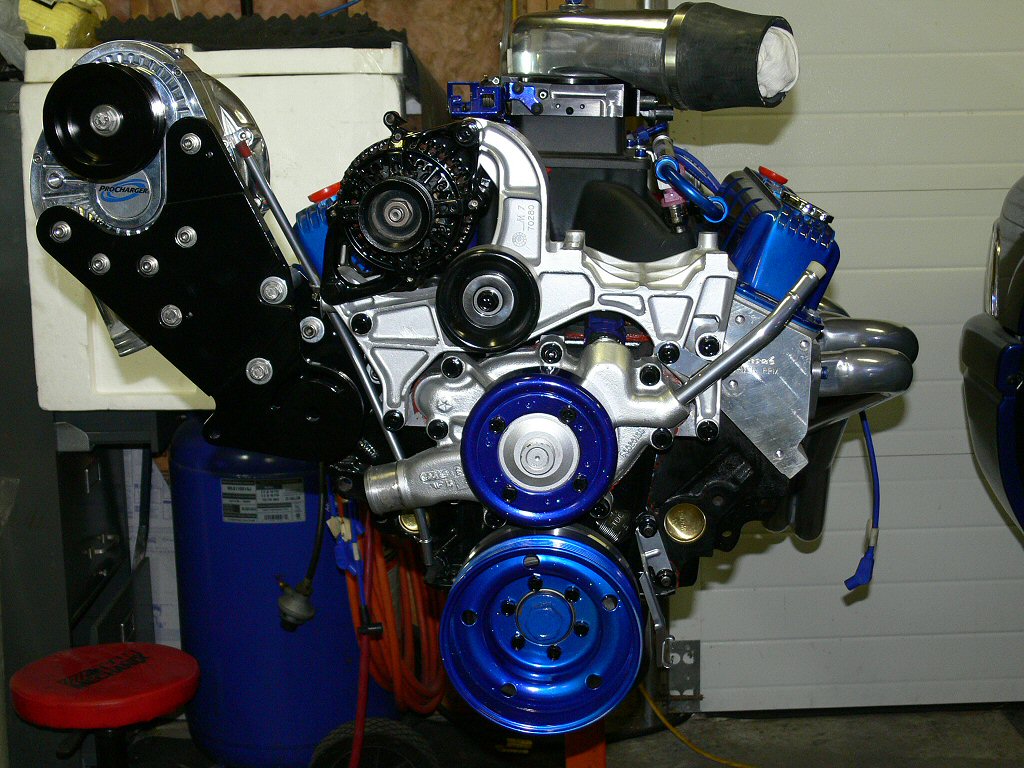
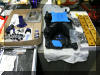
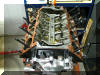
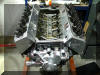
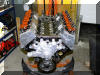
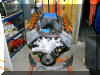
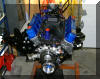
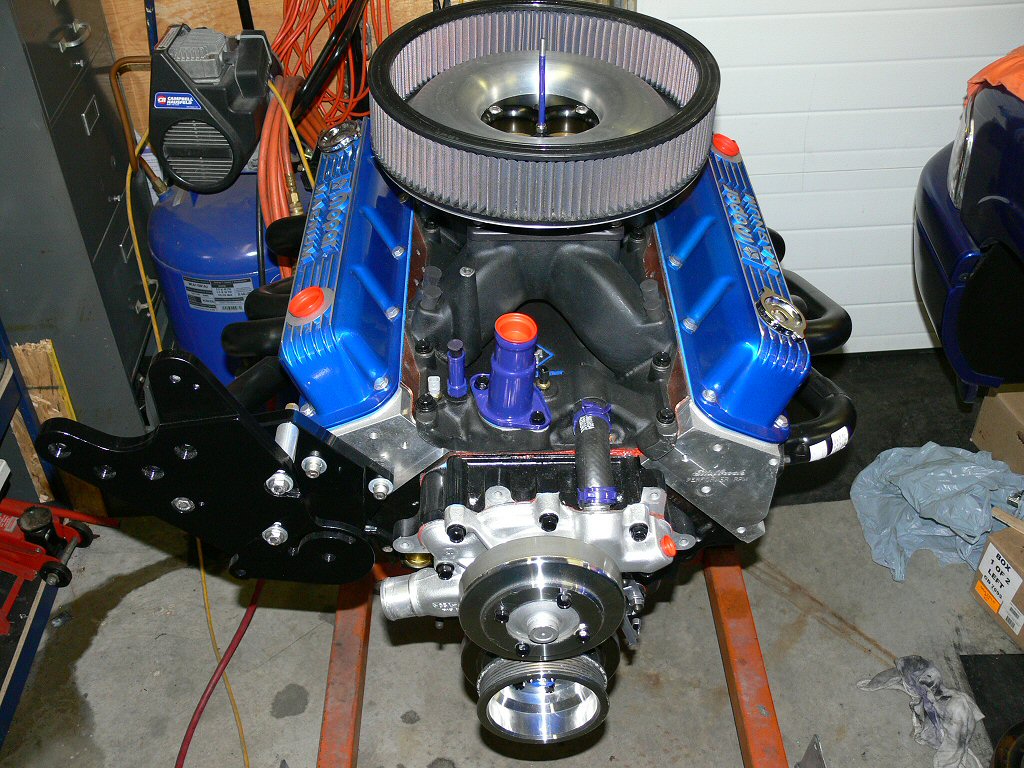
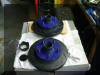
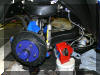
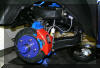
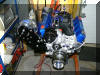
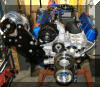
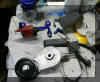
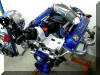
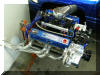
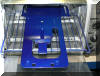
I started to do a mock up of the engine accesories to make sure none of the powder coating would interfere with assembly. Also wanted to check the color scheme & to see what I had left that I wanted to powder coat.
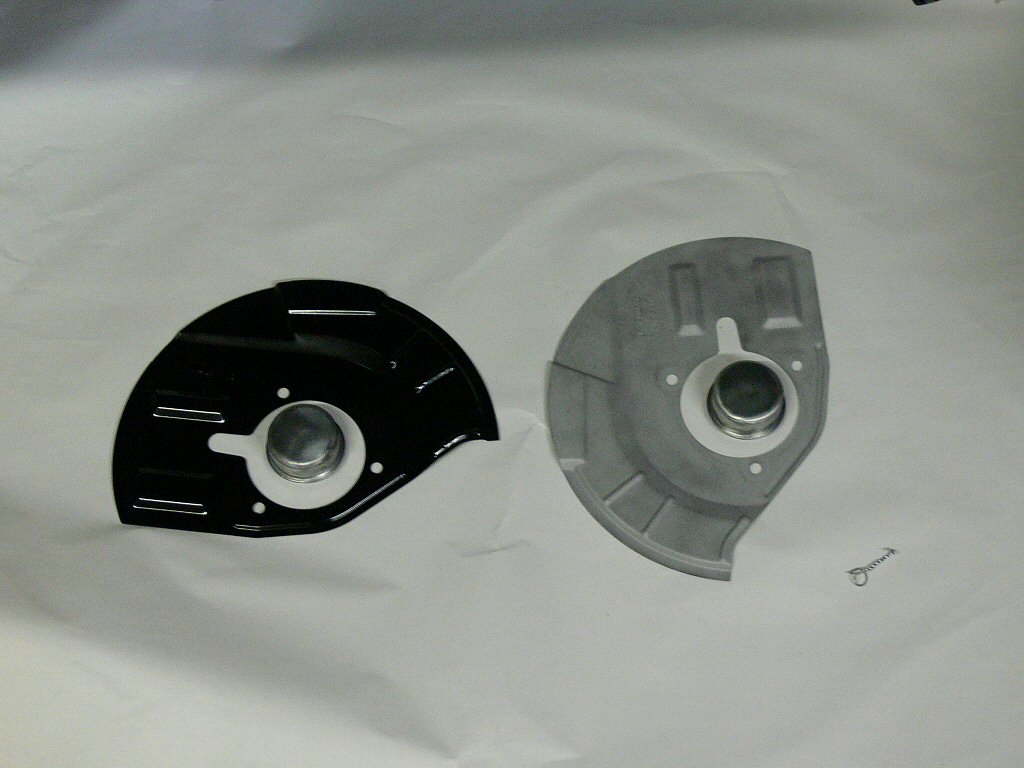
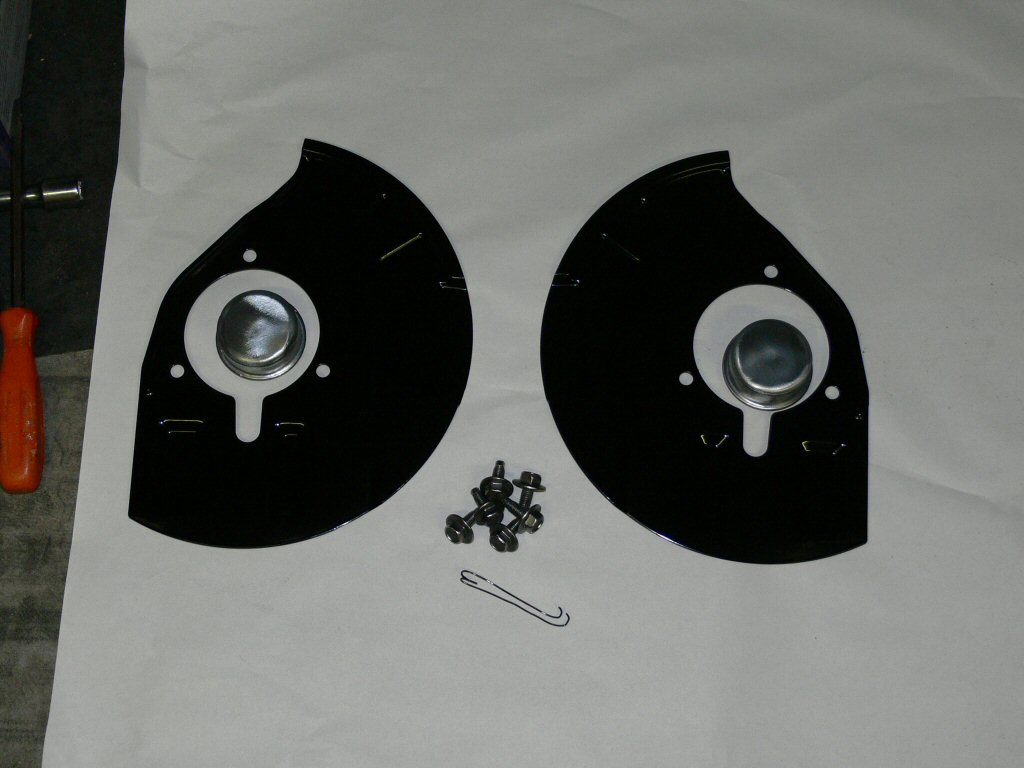
June 1, Sand blasted the dust cover bolts and powder coated them as well as the grease caps in my Indy blue mix. Put a final coat of Duplicolor calliper blue on the spindles.
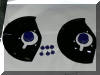
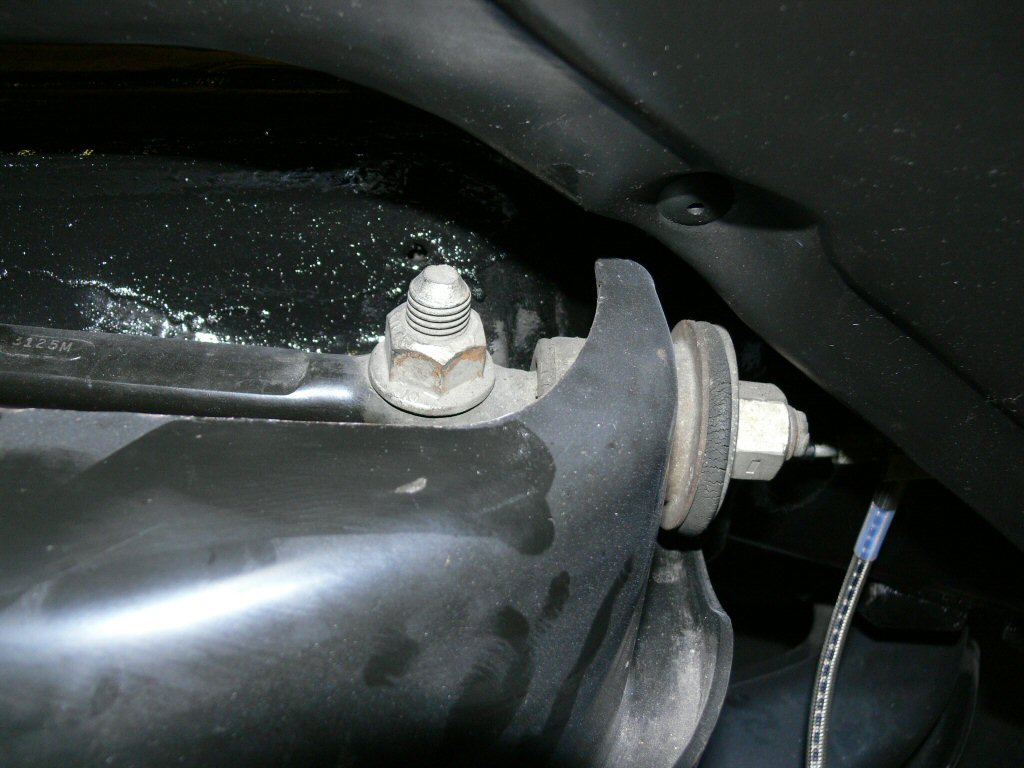
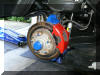
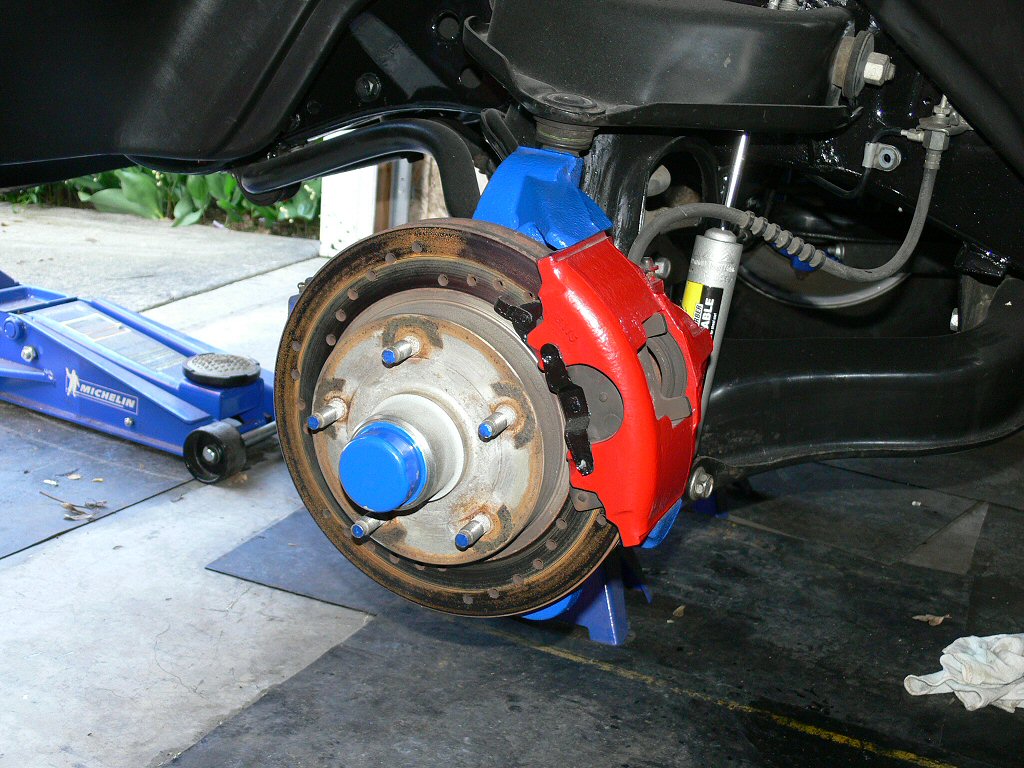
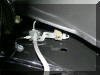
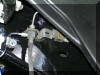
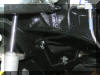
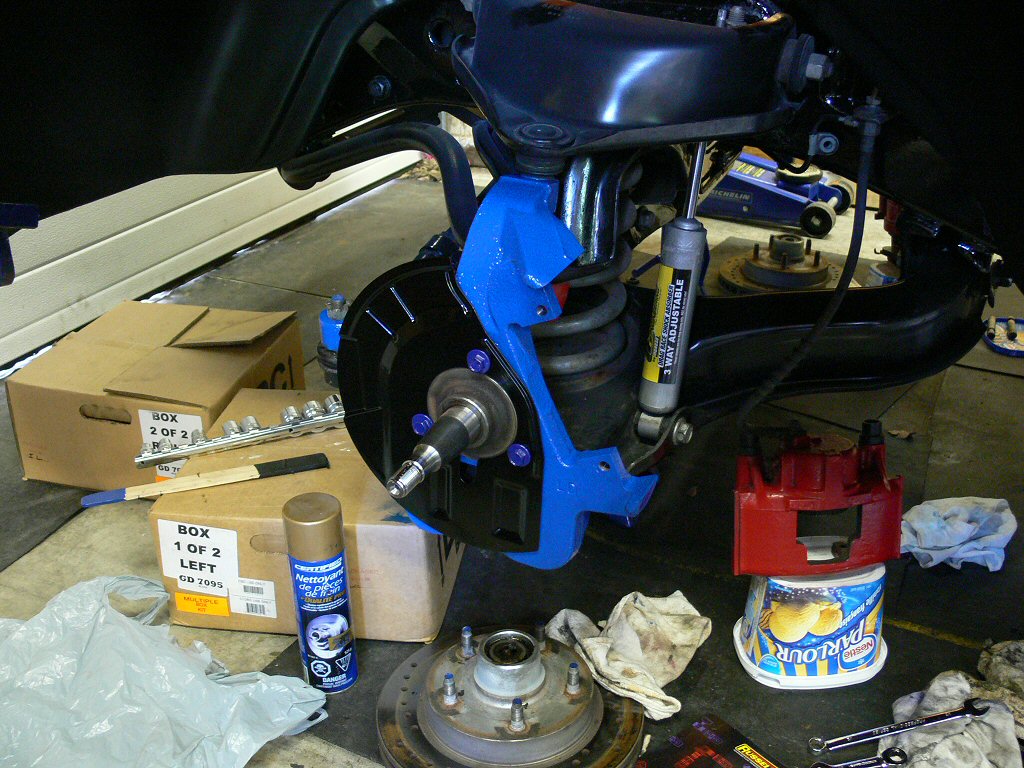
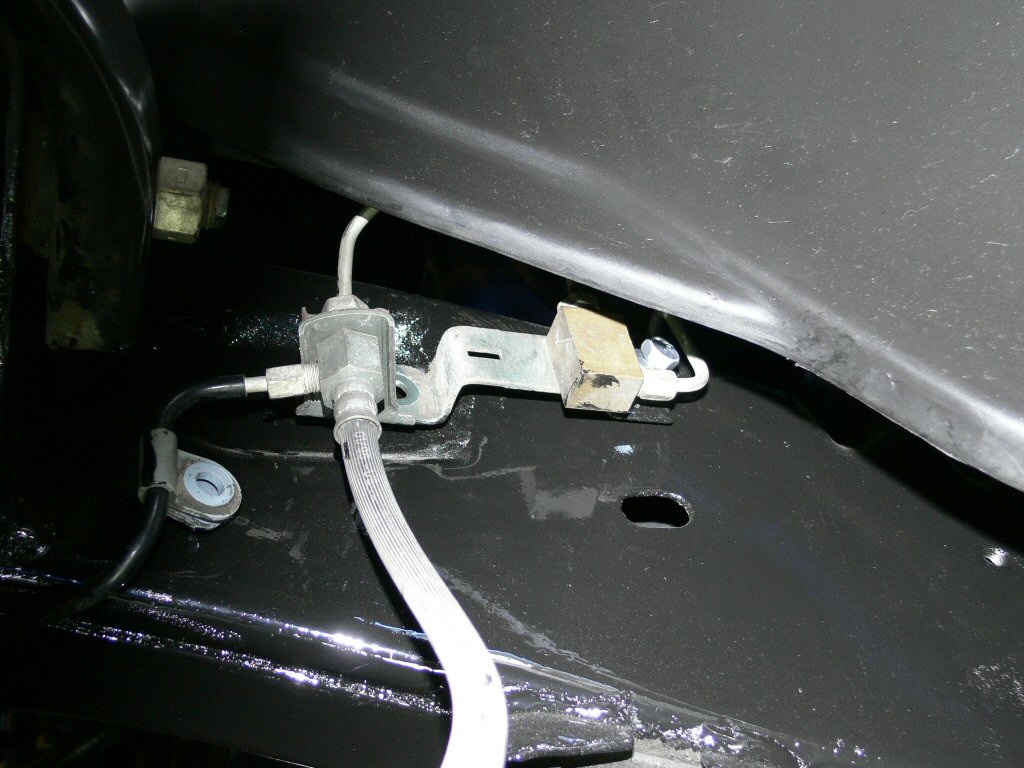
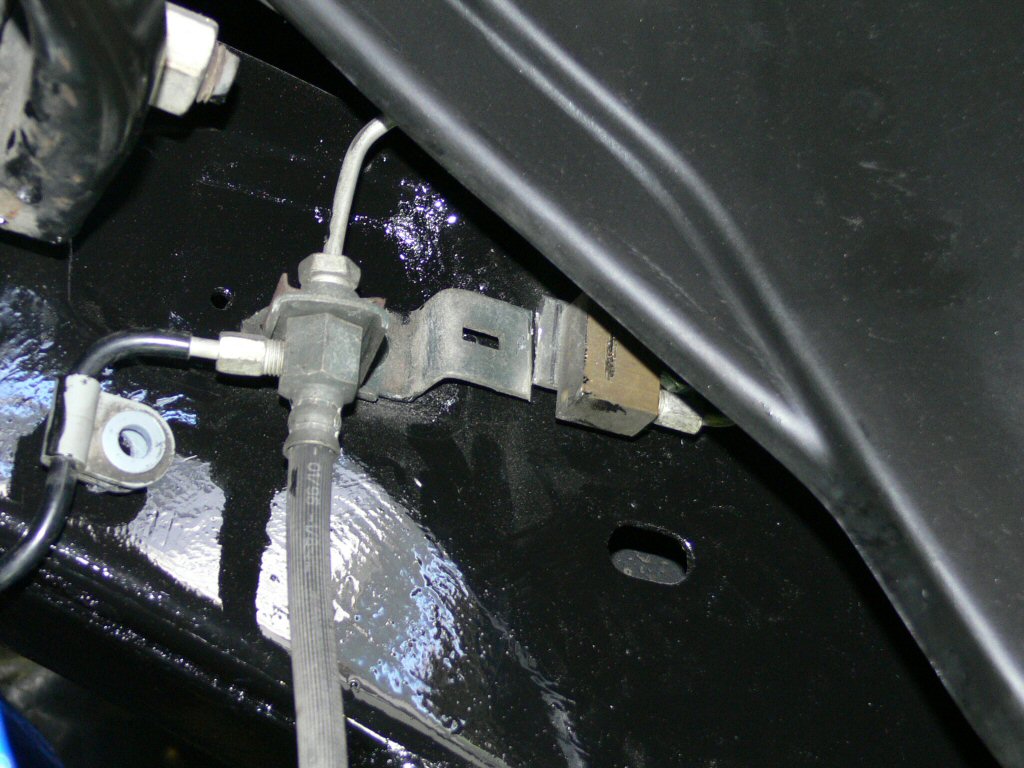
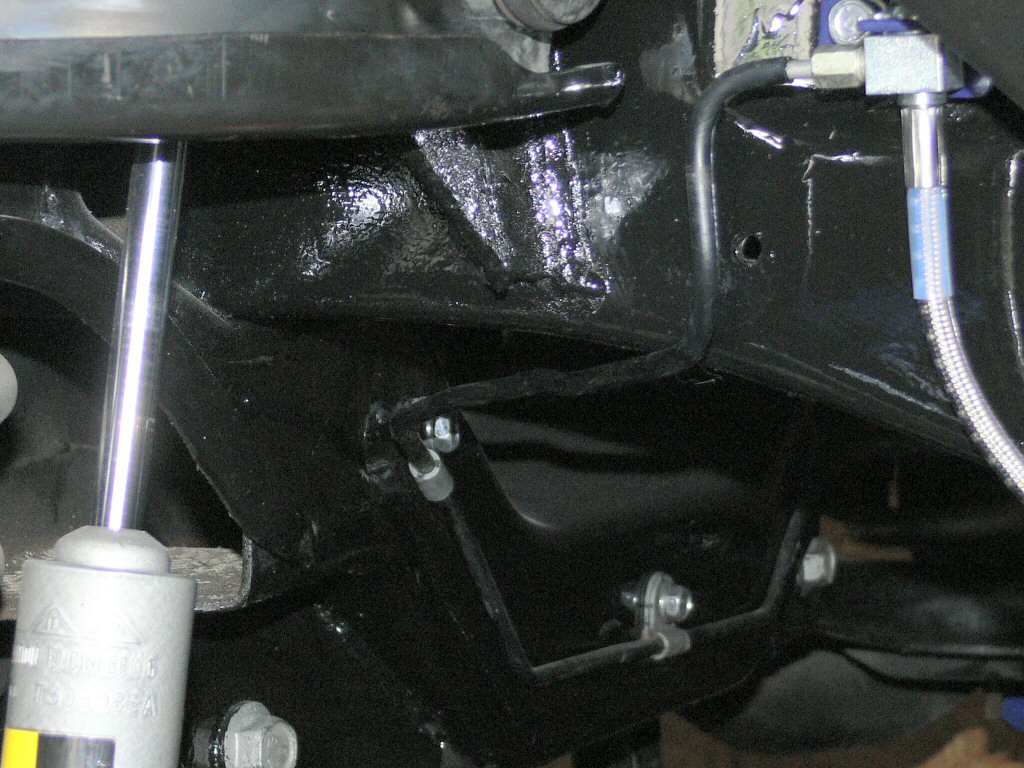
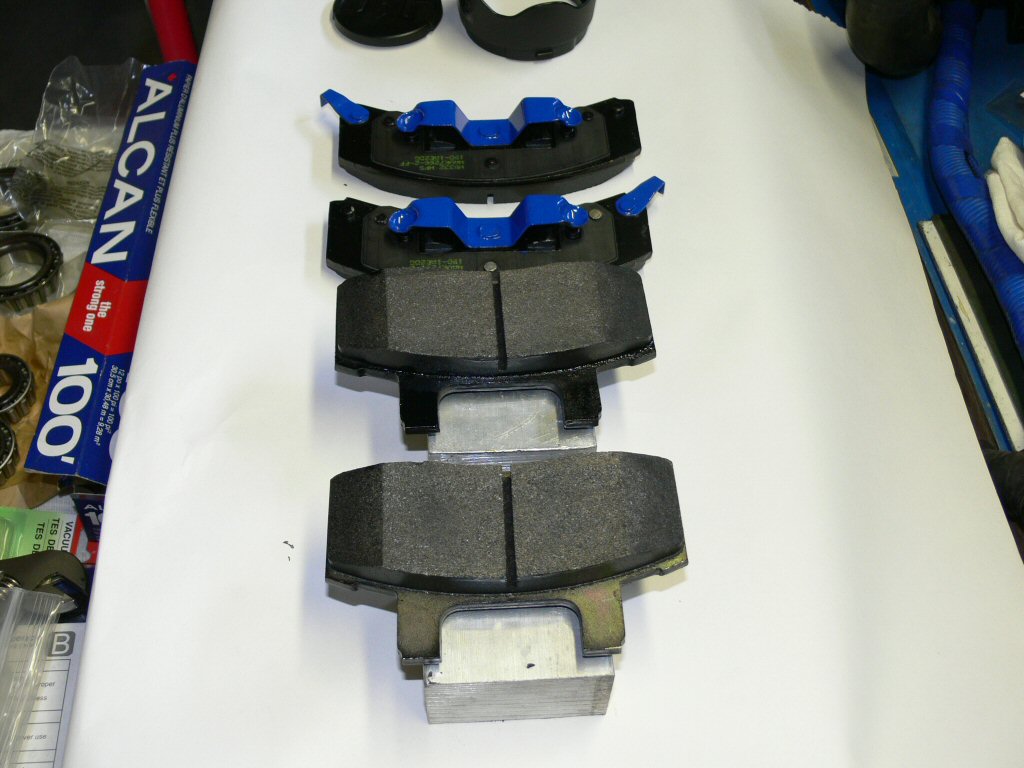
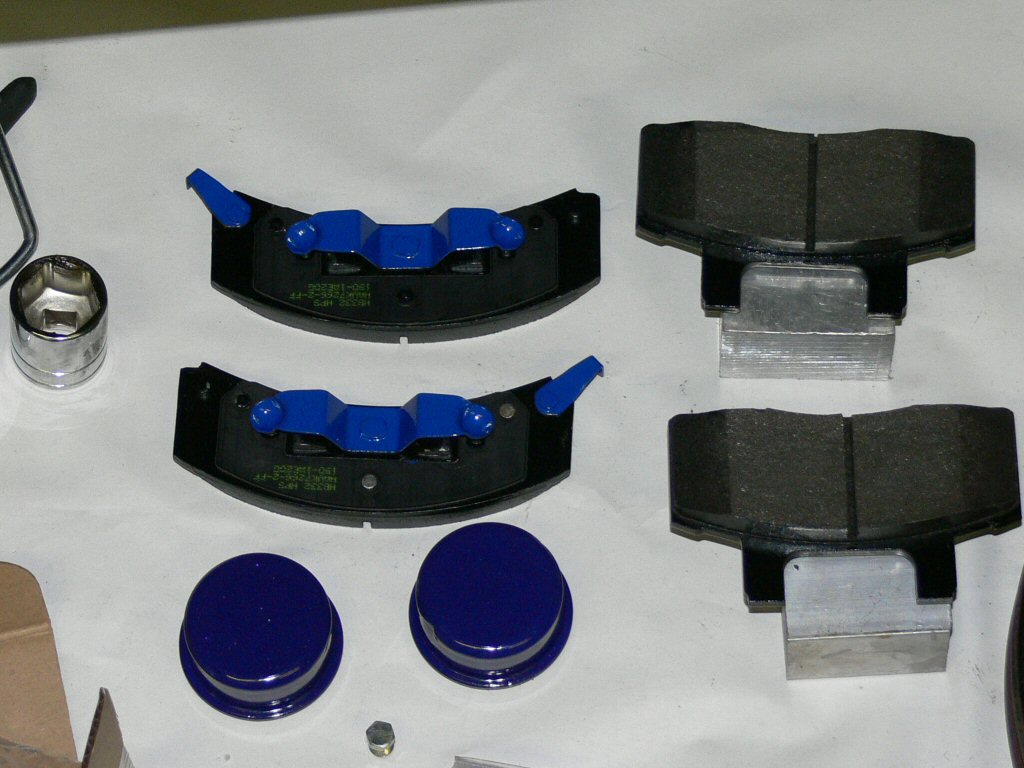
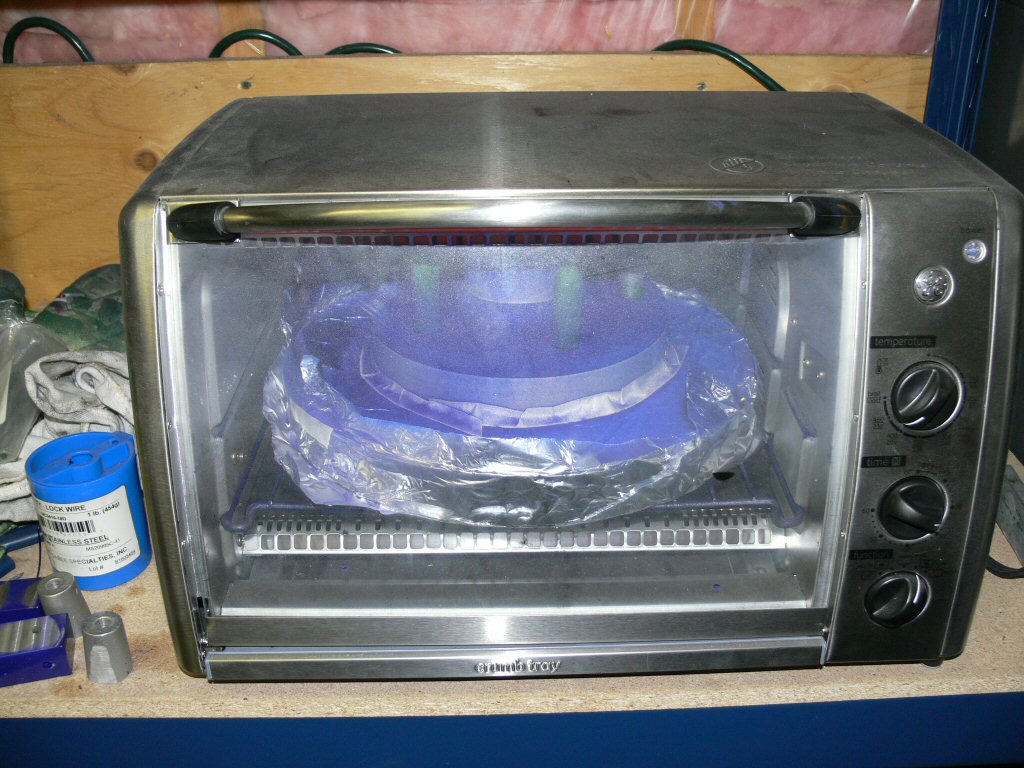
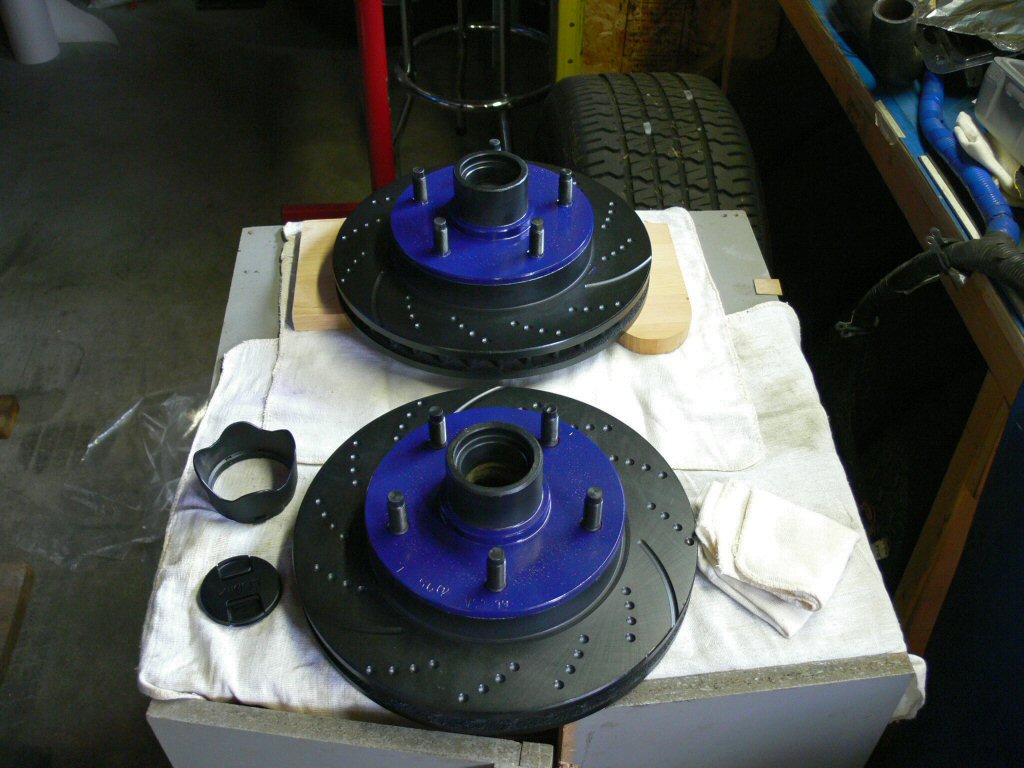
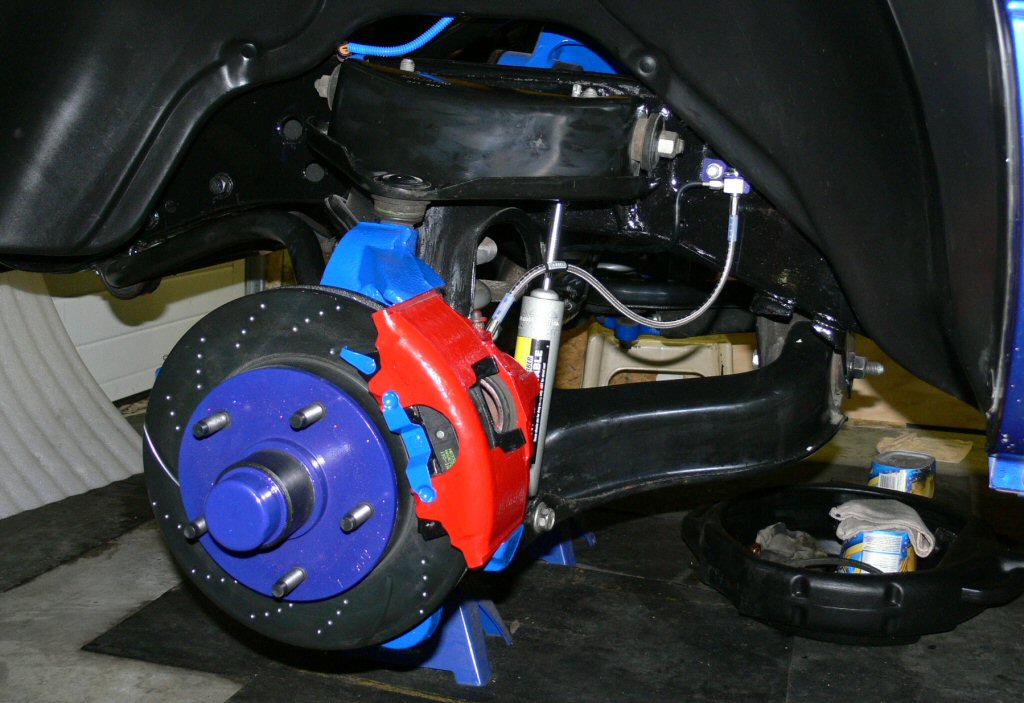
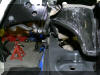
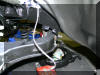
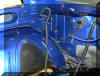
June 6, Got both the brake lines in up front now. Drivers side had to cut the oem bracket in 1/2. New line uses the bolt hole on the left side (instead of one on right) and it pushes the line to the right. Needed to straighten out the passenger side line that across the engine crossmember so it would reach to go in the side of the new bracket (need a couple more pics so you can see). Put the final coats on the calipers as well as detailed the brake pads. Powder coated the EBC rotor hats in the Indy blue mix. Took forever in the oven to heat up the rotors to temp before the powder would flow. Not sure but probably 1.5hours each in the oven and then 2hours cooled down each. Few more pics below.

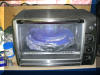
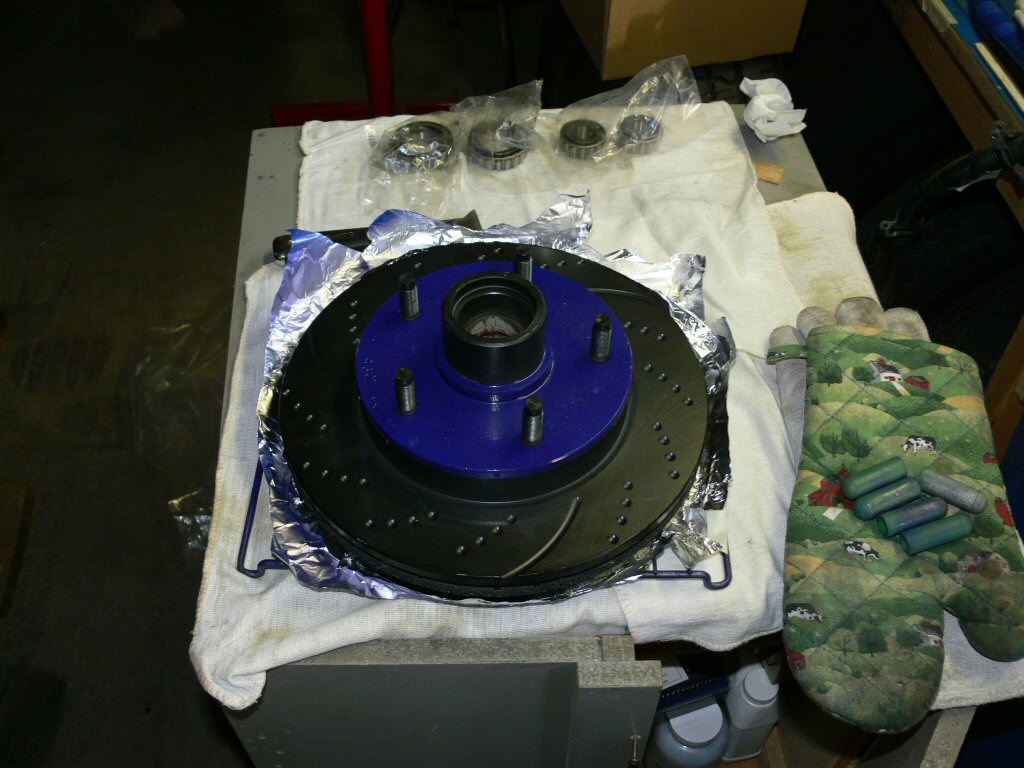
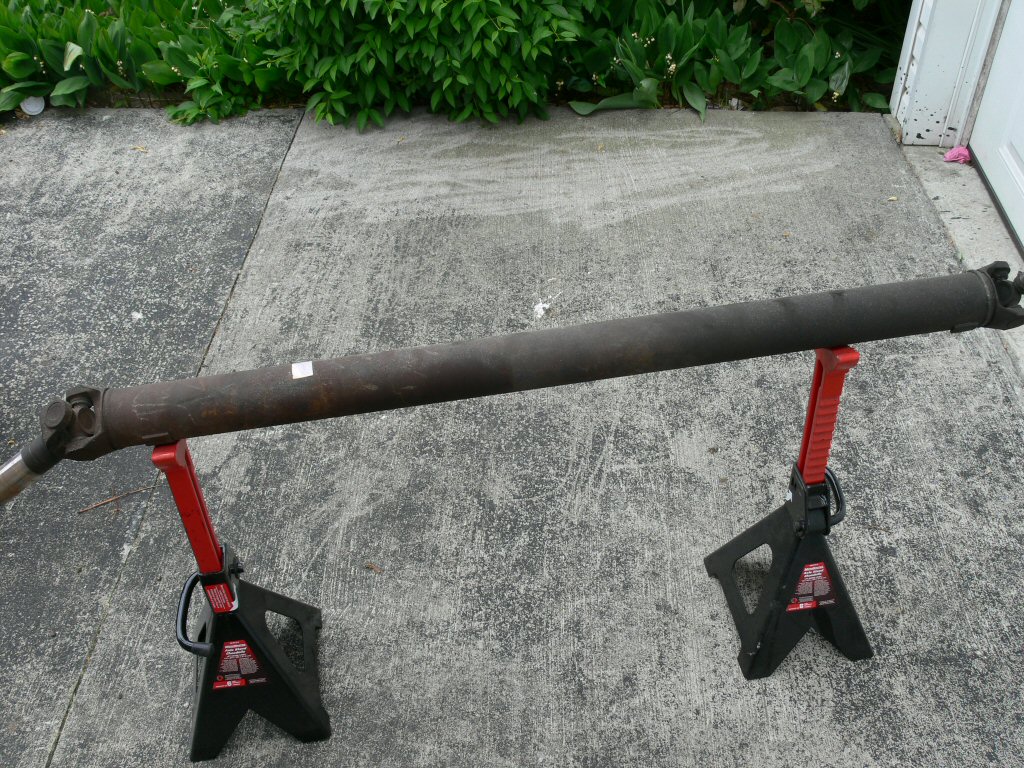
June 7, Global warming, right. 2weeks from summer & its only 55F at 1pm. This weather is just plain stupid! Got the new rotors installed with new bearings & seals as well as cleaned up the driveshaft with the wire wheel. Still debating if I'm going to powder coat the driveshaft or not. Want to replace the u-joints either way.
June 9, dropped off the Pacesetter LT headers at Fireball Coatings. They are welding on some flanges, coating the outside with ceramic and polishing them. Also getting the insides coated with XMC 3stage coating. Instead of 30-40deg temp drop it will have 60-70deg temp drop. Hopefully wont take too long.

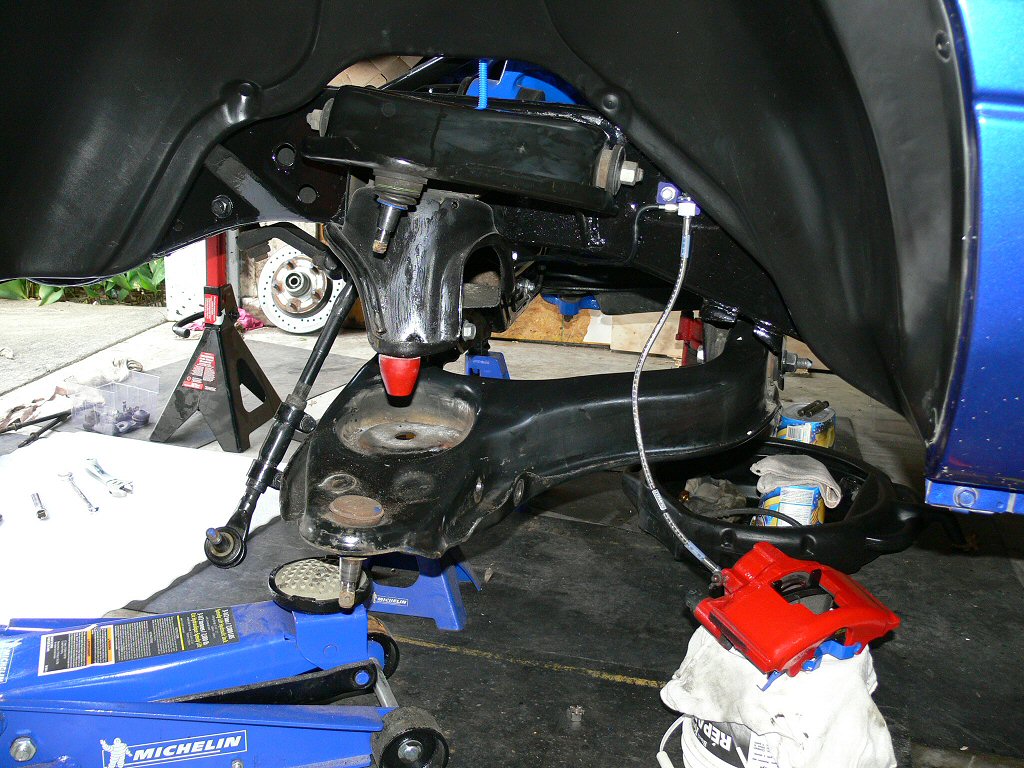
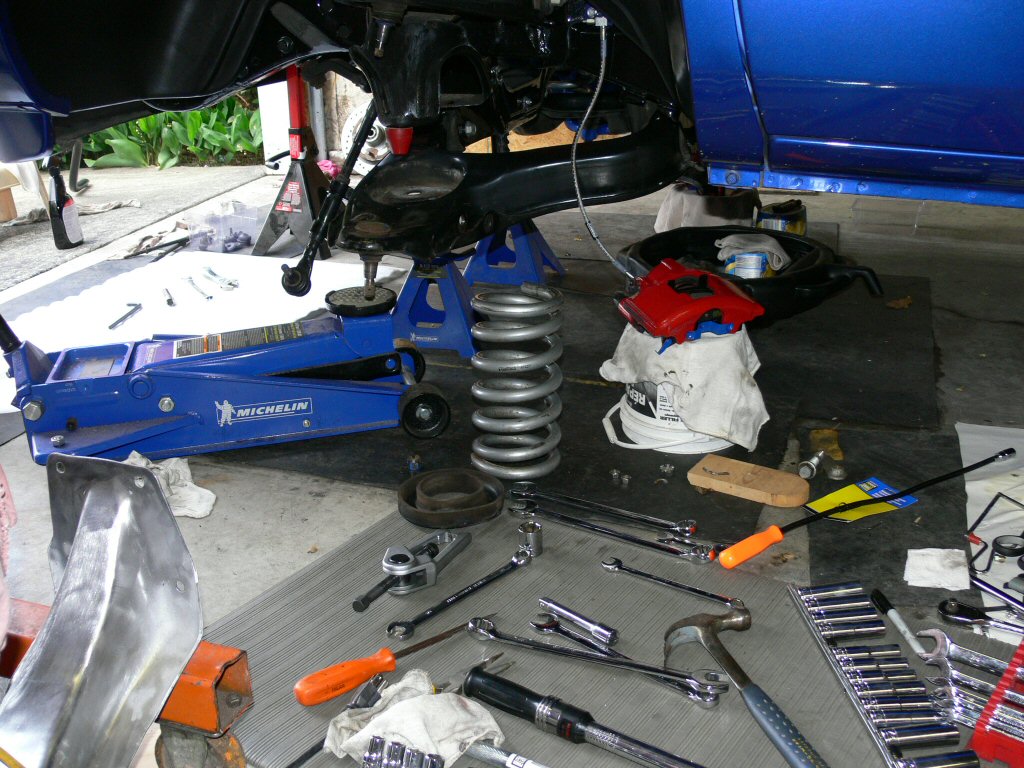
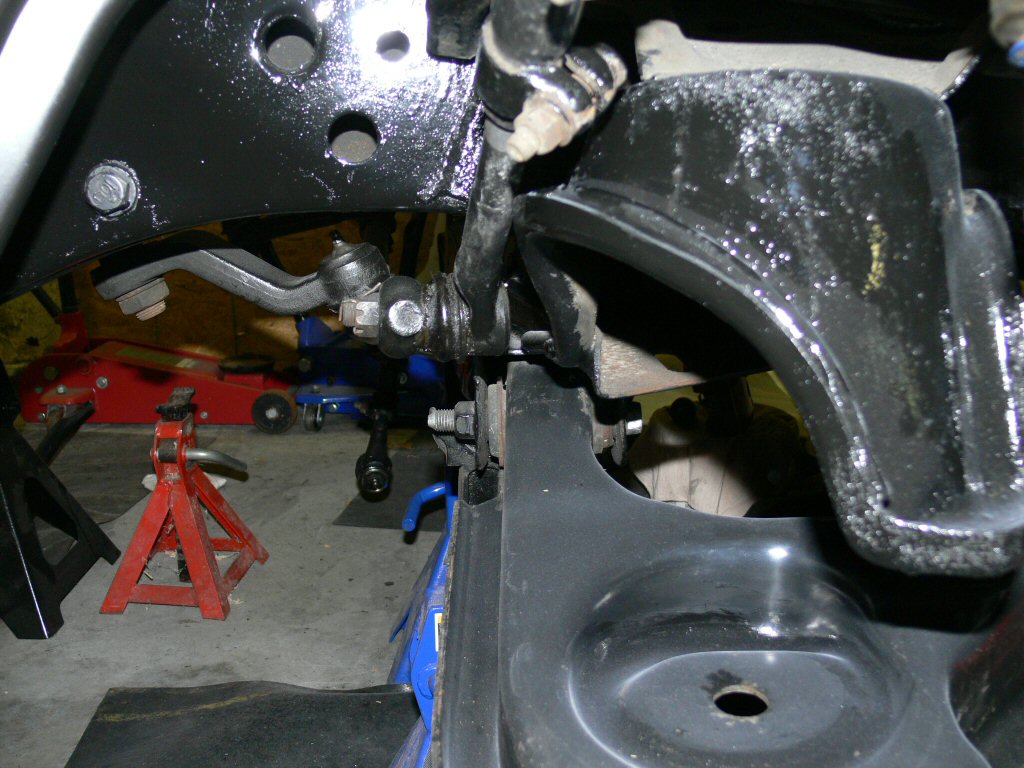
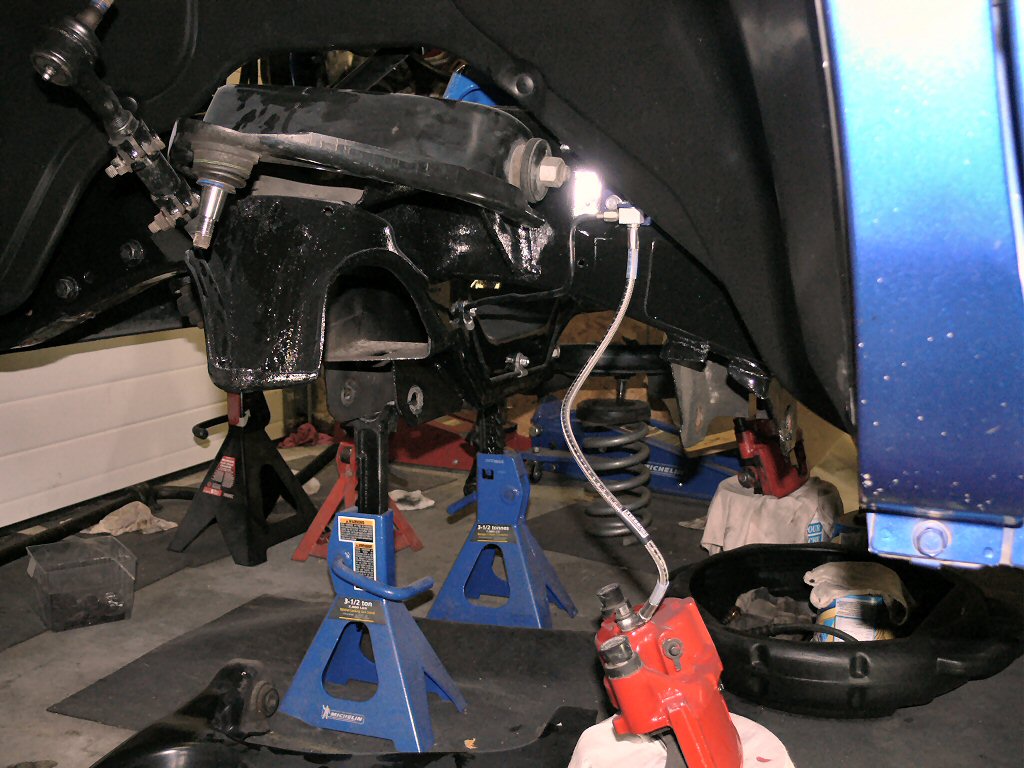
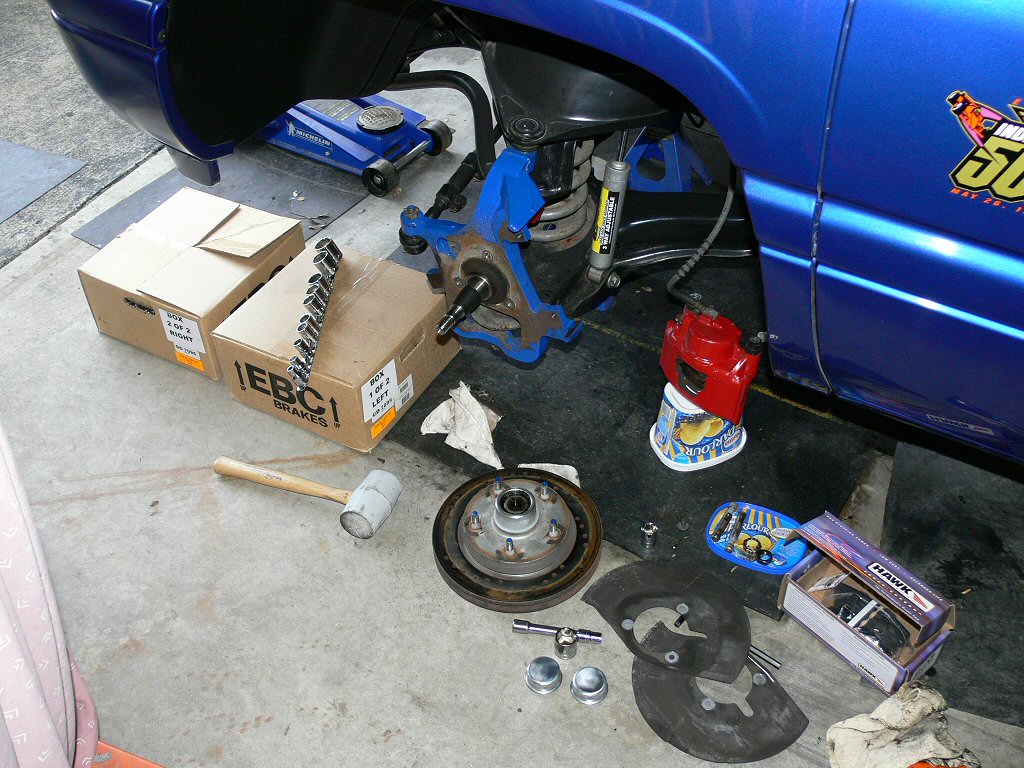
June 12-14, Pulled the spindles/rotors off, ball joints need replacing. Also the bushings for the control arms don't look too good either so be replacing them with Energy Suspensions poly bushing kit (arms, sway bar, leafs & body mounts). Be going with Moog greaseable ball joints. Hopefully the bushing kit doesn't take too long. Should be able to pick up the headers Tuesday or Wednesday with any luck.
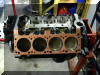
Ill clean things up a bit more while I have it all apart. Everything seems to fit ok except the oil dipstick tube. I need to remove the powder coating off where it goes into the block, other than that everything went together fine.
With the spindles off I was able to paint the back sides of them much better. Also went over the back of the calipers again to make everything looks like new (better than new). Ill add more pics later. Powder coated bolt for the idler pulley and the one for the dipstick tube as well as nuts for the trans line bracket. Tried a new color mix that while not that close to the Indy paint looks wicked. 3parts Translucent Grape, 2parts Starlight Blue & 2parts Starlight Purple. These 2 parts from the sway bar will get replaced with the bushing kit so I wont be using them.
June 18-19 Put in order for a bunch more powders from Eastwood, POR Canada ordered more POR15 undercoat and topcoat both in gloss. Summit ordered 2 8an swivel top 180deg hose fittings as well as Taylor 20' 1/0 gauge battery cable. Ill be moving the battery from the front of the bed to the back of the bed and the cable Im using now is too short. Found out should have the headers ready to pick up on Tuesday and the bushing kit and balljoints on Wednesday.
June 23-24, POR15 arrived. I cleaned and prepped the metal for the trans crossmember and as well as the front suspension spring cups (thin in spots) gave it the first coat. Wednesday finally the headers are ready so I'm off to pick them up. Fireball Coatings is about a 2 1/2hour round trip. Fingers crossed they do a good job.
June 25, Picked up the headers. Wow, those guys need to be better organized. Called before leaving to pick them up and was told they were ready. Get there & they bring out some other headers that aren't mine! Hour later they finished mine & I was finally on the way(& almost late for work). They are coated inside & out with ceramic and polished. Also got the extra XMC coating on the inside that keeps the heat in the tubes better. Suppose to give 60-70% heat reduction instead of 30-40% with the ceramic only coatings. With the extra coating & having flanges welded on came to $565Cdn with tax. (ouch)
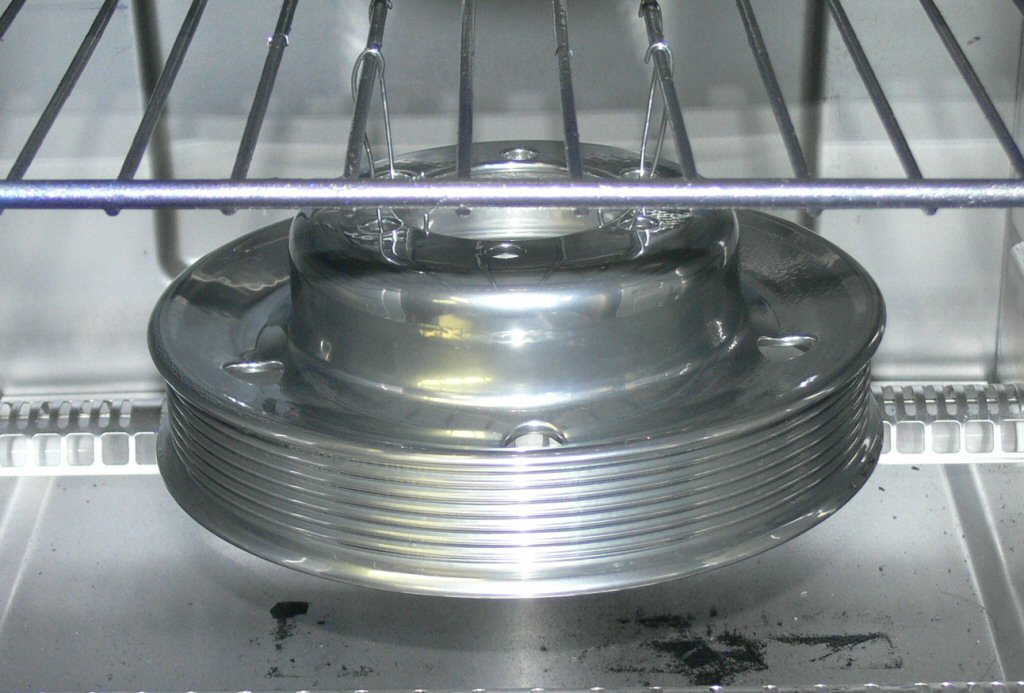
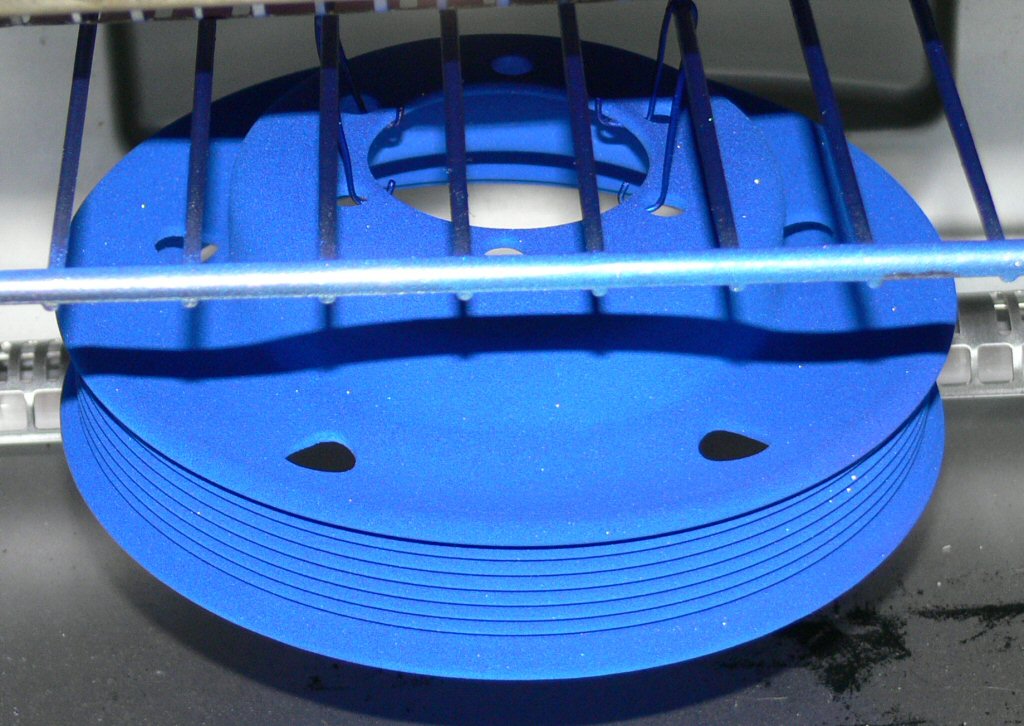
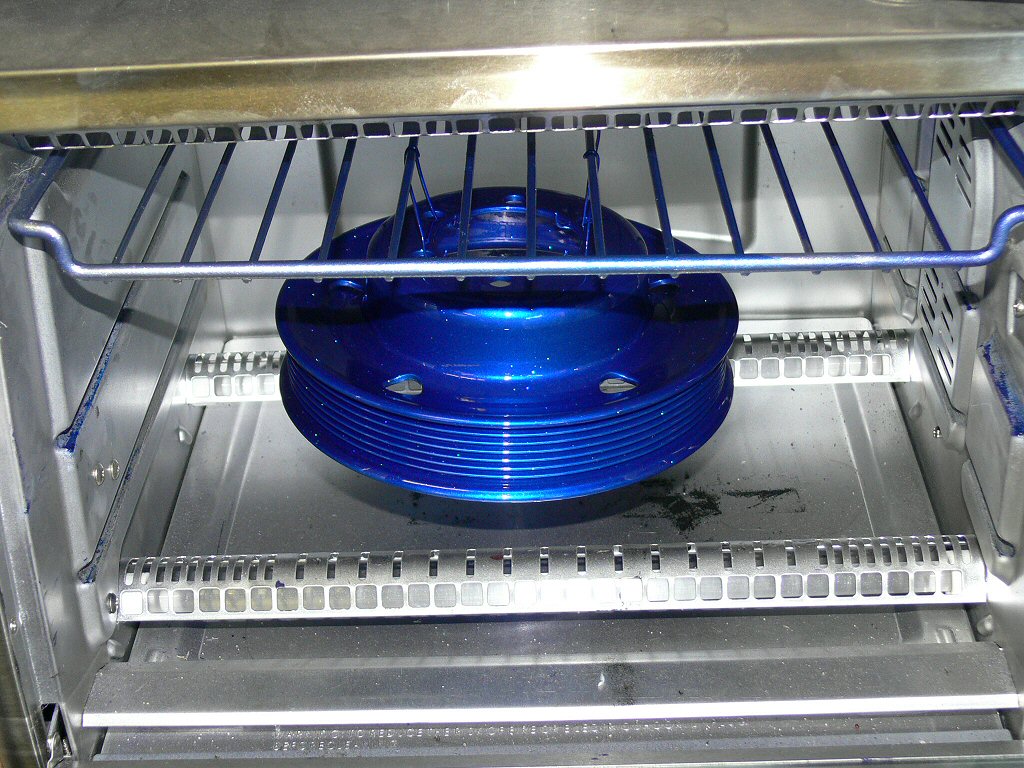
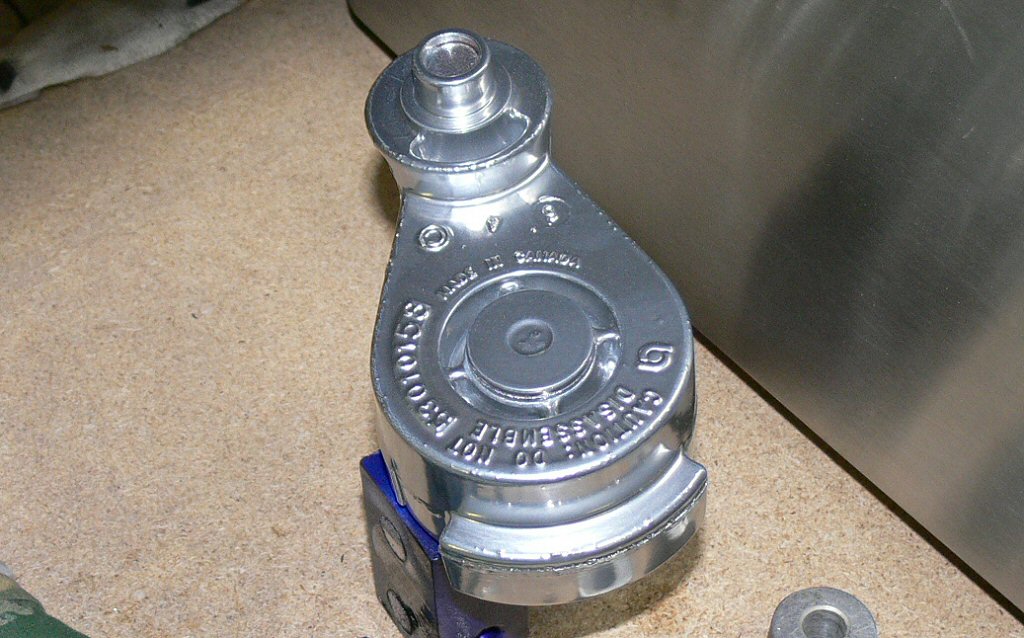
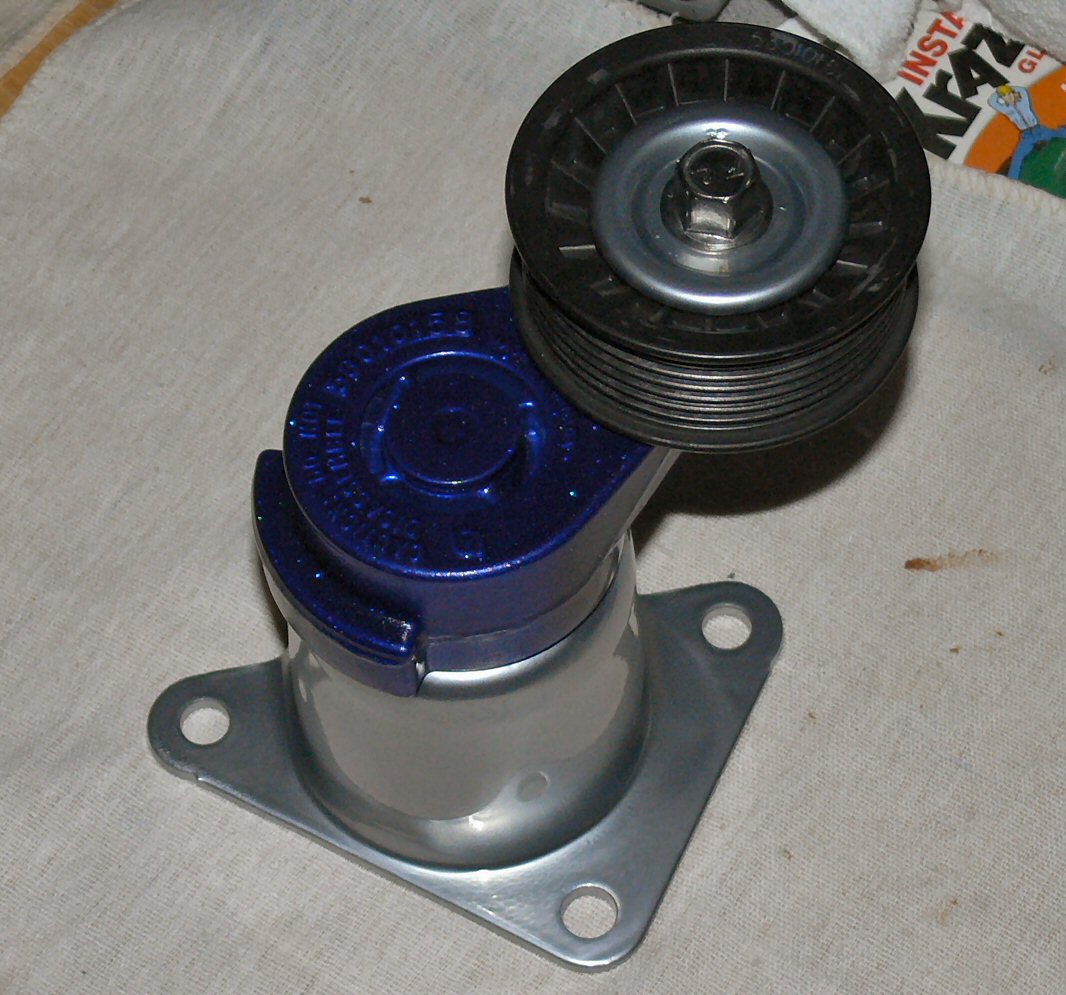
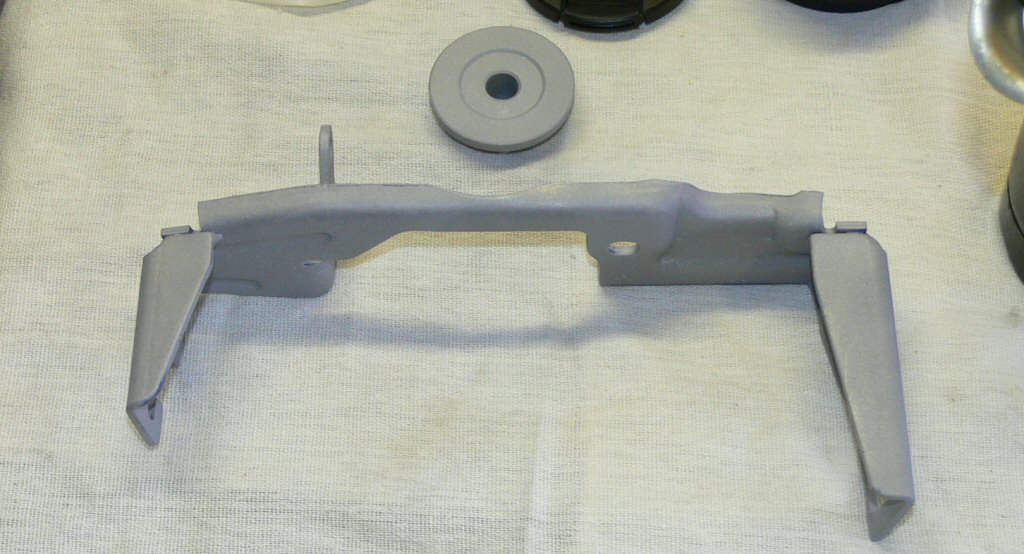
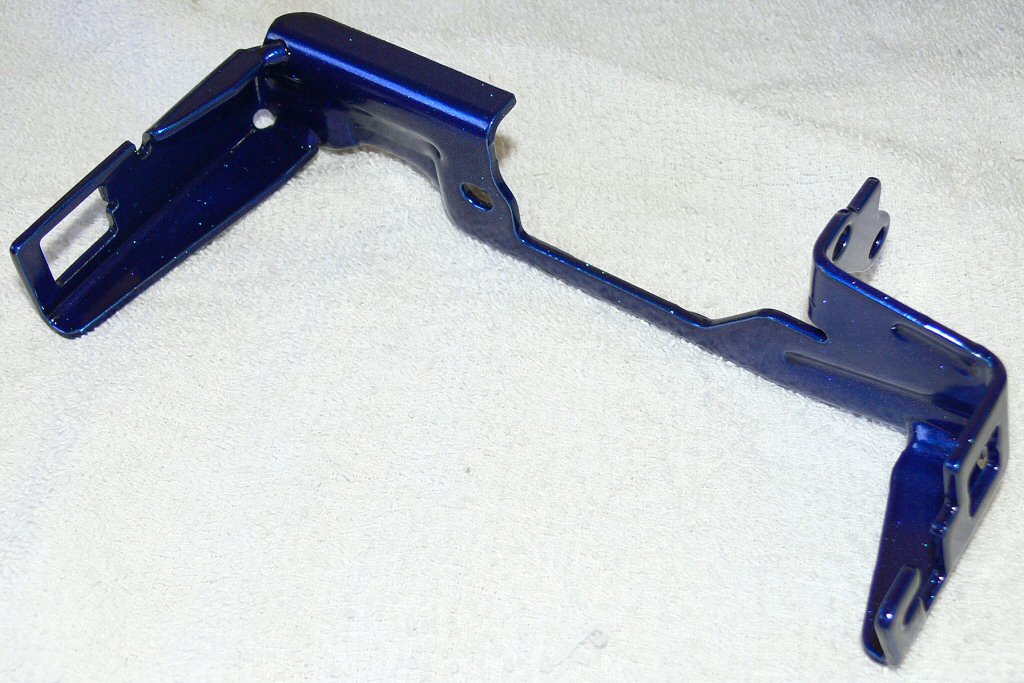
June 26- July 4, Finished off painting the trans cross member & spring cups. Sand blasted the stock crank & water pump pulleys which took quite some time. Small compressor constantly waiting for it to refill the tank. Also blasted the coil bracket & the stock tensioner & bracket. Pwdr coated the coil bracket in my new Indy mix. The water pump, tensioner & bracket got a coat of reflective chrome with clear ontop of the bracket and the Indy mix on the tensioner.. No sign of the bushing kit or word on how long it will take. Summit says 10more days till they can ship so figure my source for even longer (uggh). Could this build drag out any longer?
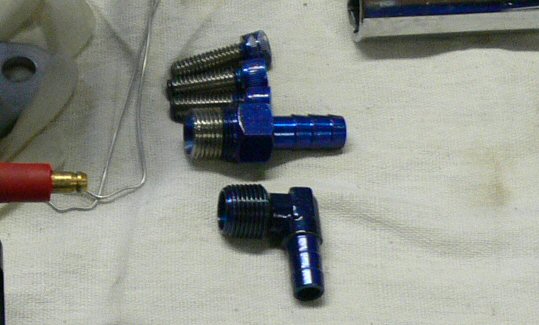
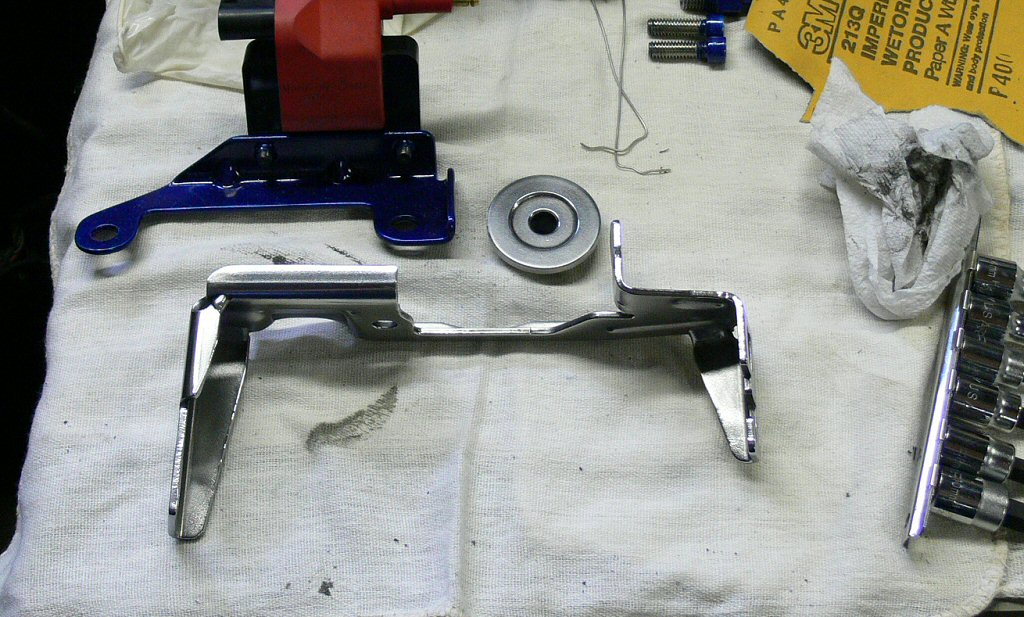
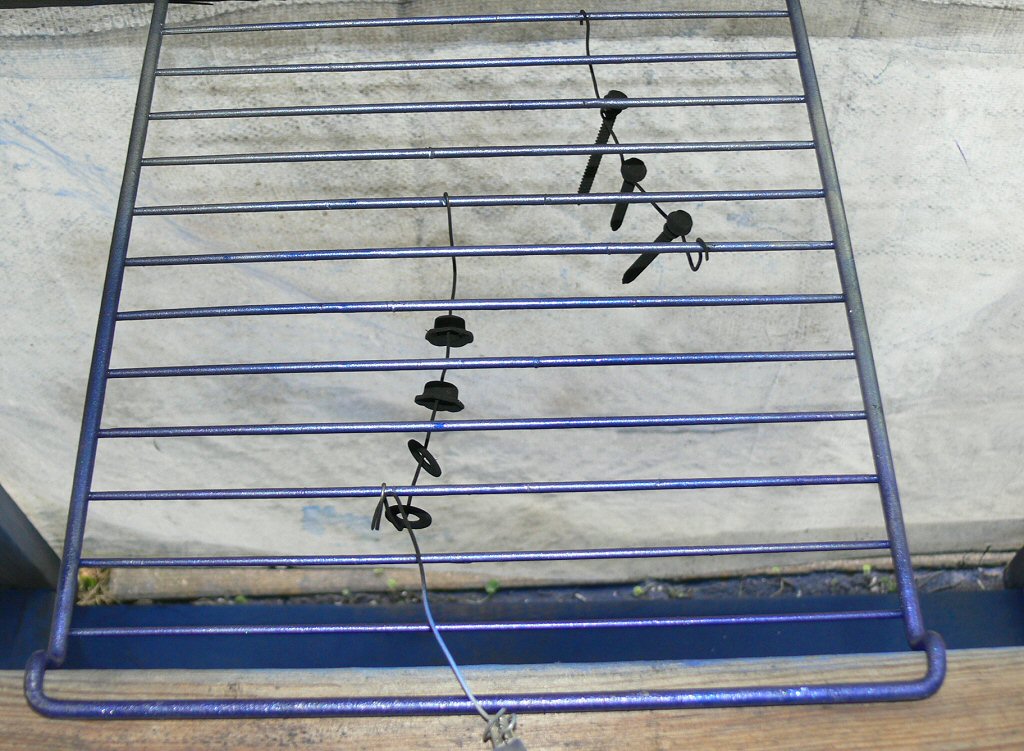
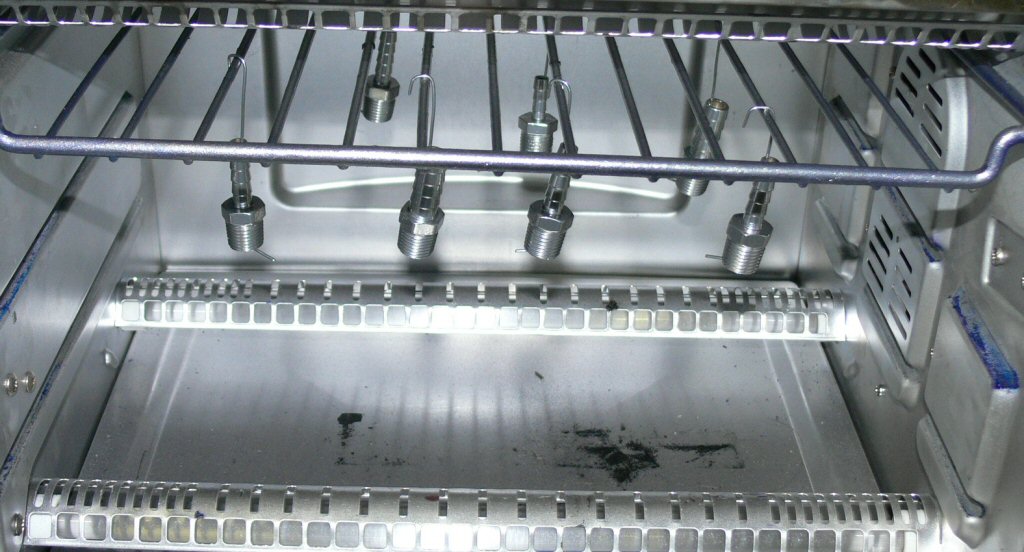
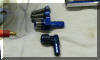
July5- 8, Coated 3of the fittings(one fitting installed in M1) Ill be using for my vacuum lines as well as 16 SS allan bolt heads for the tb, fuel rails and headers. (not sure if Ill use them on headers though). Decided to move the MAP sensor to the back of the drivers side fuel rail to hide it from view. Sandblasted, wire wheeled then polished the throttle bracket and coated it with the Indy mix. (turned out perfect).
Also with no word on how long for the full Energy Suspension kit I ordered the sway bar, control arm and leaf spring kit (body kit backordered) cause they would ship today (14-18days by the time crosses border) Ill add a bunch o pics when I get a chance.
July 9-13, Finally gave up on one piece that has driven me crazy for some time now. Idler pulley has an insert piece that goes inside the bearing. I had it painted with same paint I used on the water pump. Decided to go chrome powdercoat. Well turned out ok, then cleared it and it bubbled. Sandblasted again, chrome & clear again it bubbled. Then sandblasted again and polished it. Clear coated it, it bubbled again. Now just have it polished lol. Removed the pulley from the ATI tensioner and sanded/polished it and put it back together and mounted it to make sure bolt would make it through the main bracket. Cut and made up hose fittings for feeding both fuel rails and tied them together at the back of the motor with 8/10an Y. Had to put the dist, vacuum block and map in to make sure I had room. Removed the upper and lower control arms. Ended up stripping all the POR15 off around the spring cup and cleaning the rest of the area up. Did a crap job first time in this area cause I couldn't get at it. With the arms off I just cant leave it like that lol. You can see why I want new bushings
As you can see, there is a reason its taken me so long to get this build finished. I cant leave anything untouched
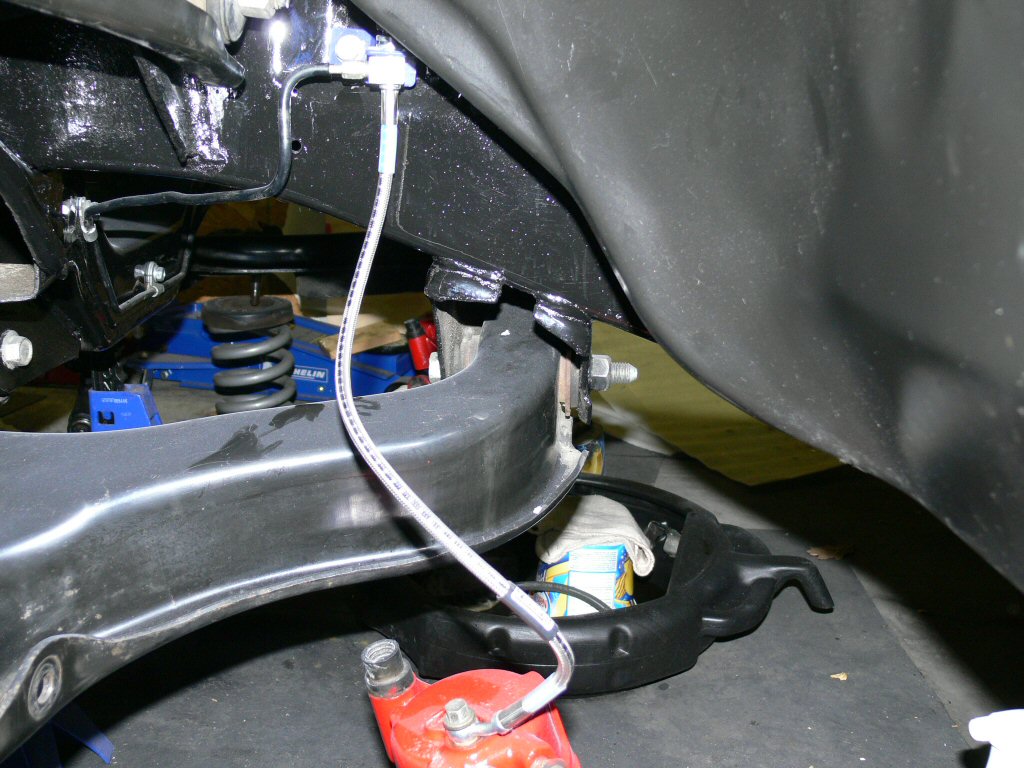
July 16, finished cleaning up around control arm area as well as getting rid of all weld splatters, degreased, gave zinc/phosphate wash, rinsed off with water, dried and gave first coat of POR15. Order from Summit arrived, pair of polished Magnaflow muffs and the Energy Suspension bushing sets. Got all the suspension pieces except the body mounts (backordered/reason I didn't get complete kit).
July 17, Order from Eastwood's arrived today. Air brush, hose, cleaning kit & regulator/filter as well as 2 more lbs of Starlight blue PC. Wife's birthday today so doubt Ill get any garage time.
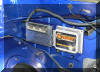
July 18, Removed the AC, covered up all openings for all pieces of it and stored up on my rack. Cleaned up passenger side fender, removed some of the vac/hoses from valve covers to cai for the Procharger setup. Made cardboard mock up pieces for my FAST system to figure out where it will mount as well as regulator for the fuel system. Put the 2nd coat of POR15 around the front suspension.
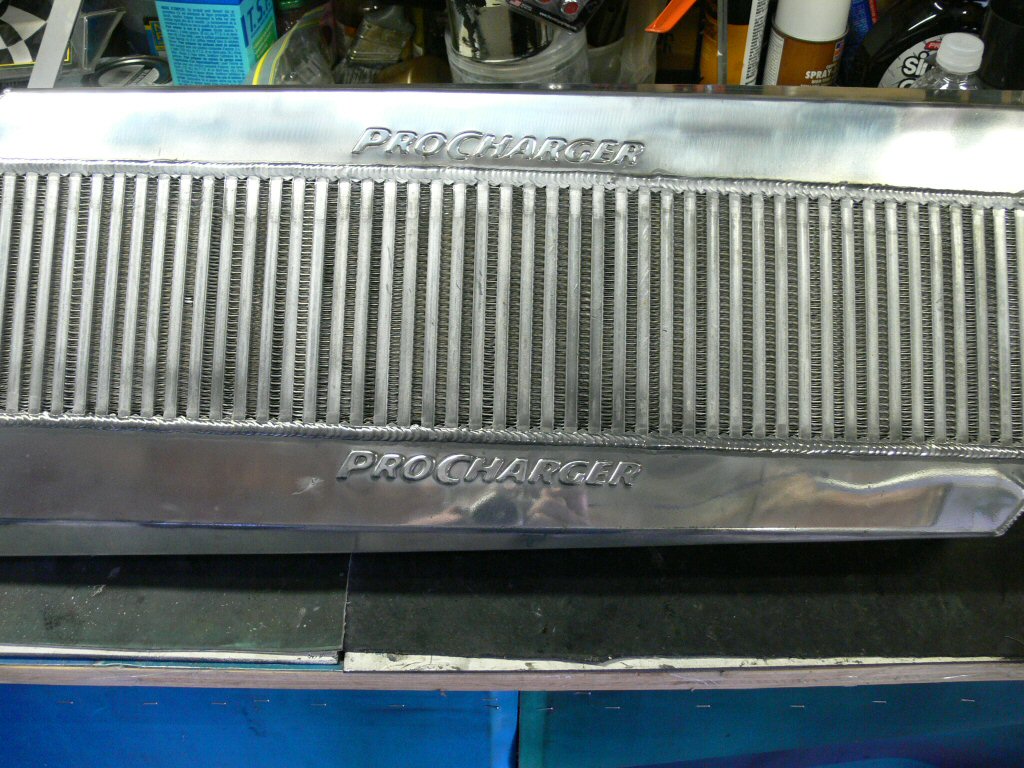
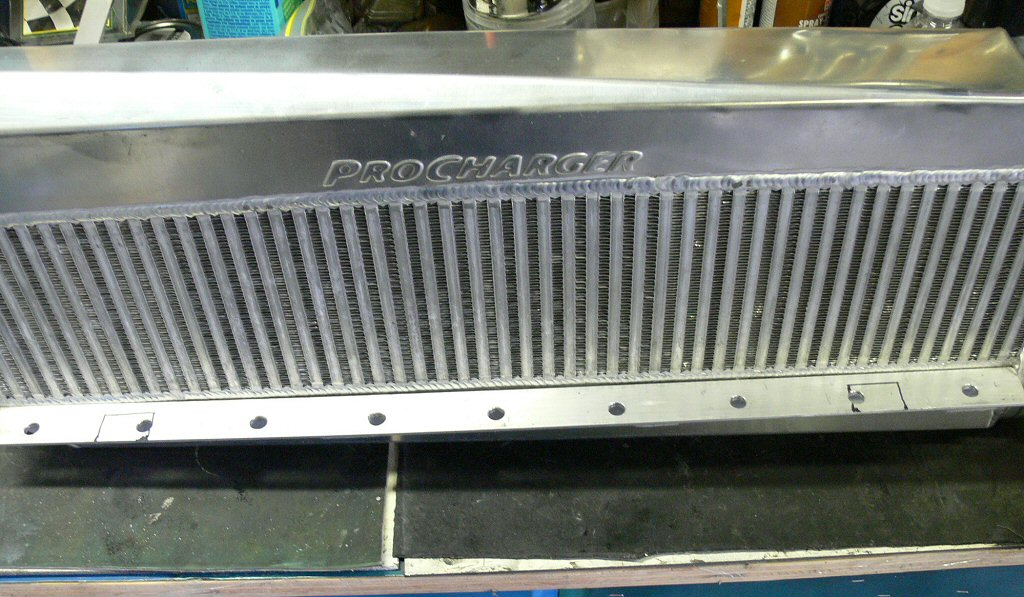
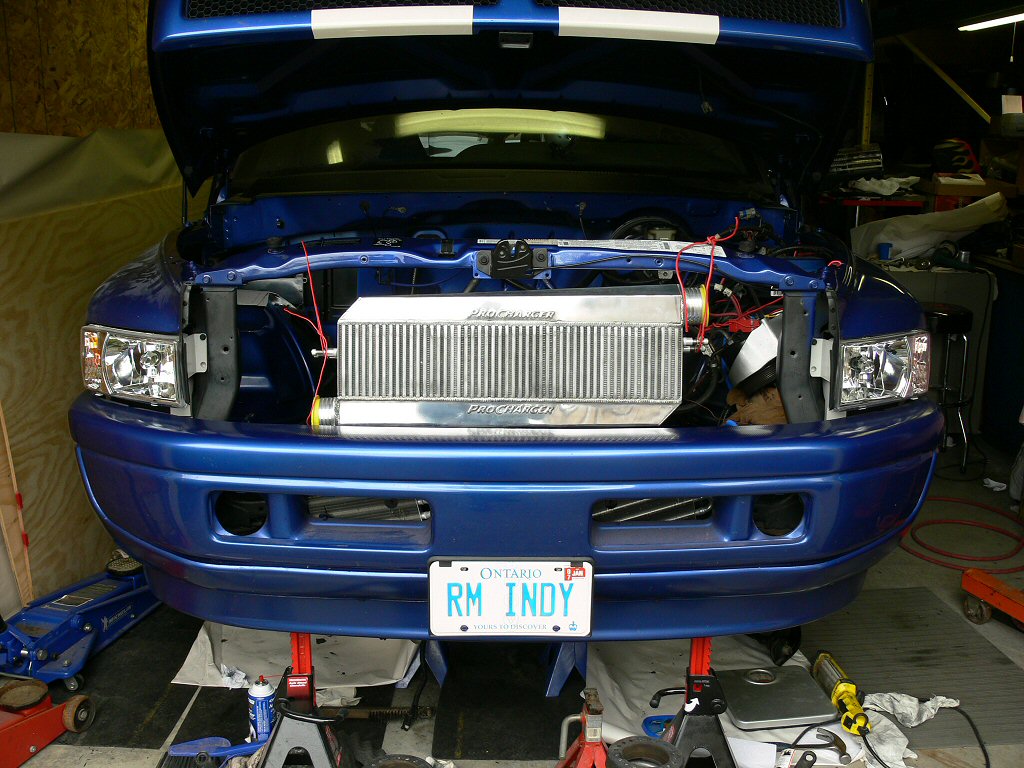
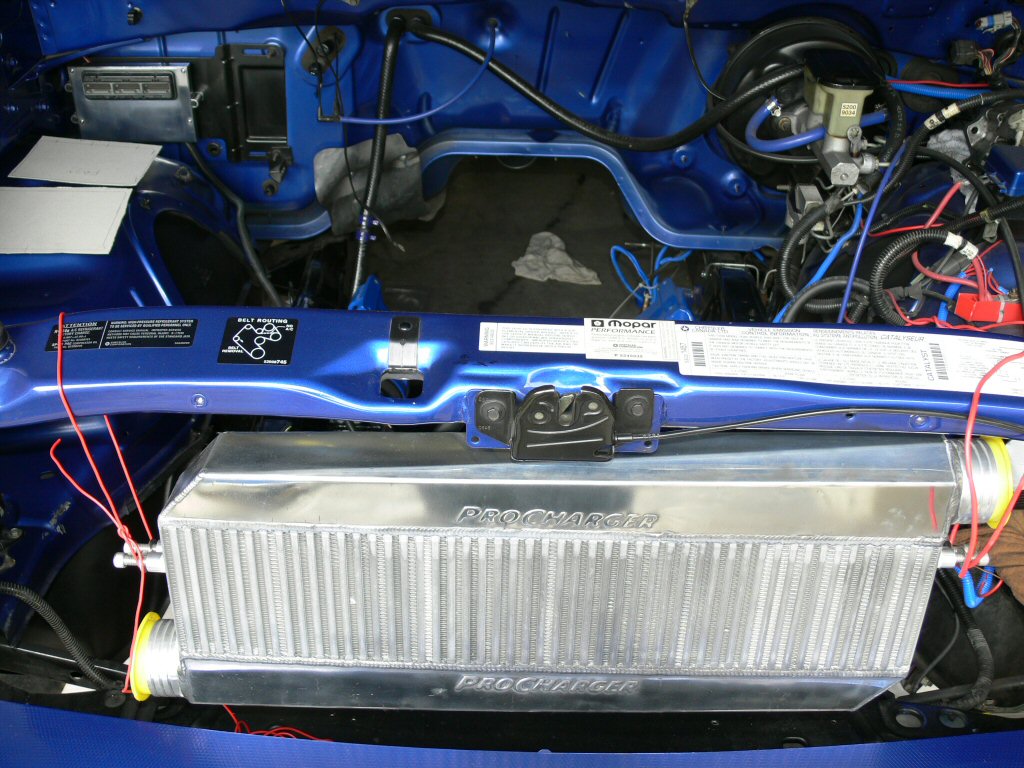
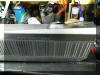
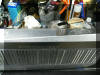
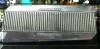
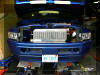
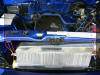
July 19, With the condensor removed I hung the intercooler from the rad support to see how it would look/fit. Had to notch out the L bracket that runs the length of the IC for the rad support supports (upside down V) Now sits far enough back that I can close the hood. Need to get some alum to make brackets to hang the IC. Ended up polishing the intercooler for 2hours cause it was looking kinda crappy.
July 20, The Energy Suspension end links for the sway bar are in an ugly goldish color, gave them coating of my Indy blue mix, 10pieces in all.
July 21, BIG THANKS TO JIM JESSOME (HP Indy Engines), Dropped off my Moog greaseable balljoints(great deal), took my ATI tb hat in to the machine shop to get decked & he's going to take out the bushings from my u/l c arms.
Powder coated the bolts that hold the upper c arm down as well as the main brackets for the sway bar (all in my Indy blue mix). When Jim brings back the c arms, Ill be powder coating couple pieces there as well. Not going to bother with the arms themselves. Take me forever to coat and not sure how much longer they will be on the truck.
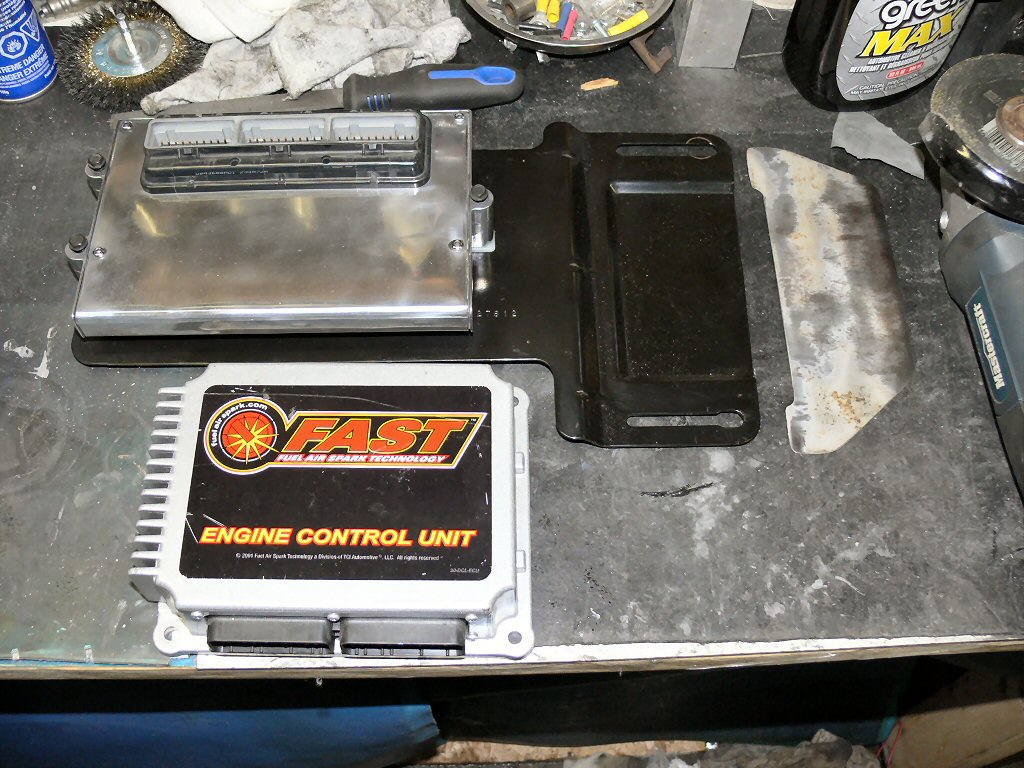
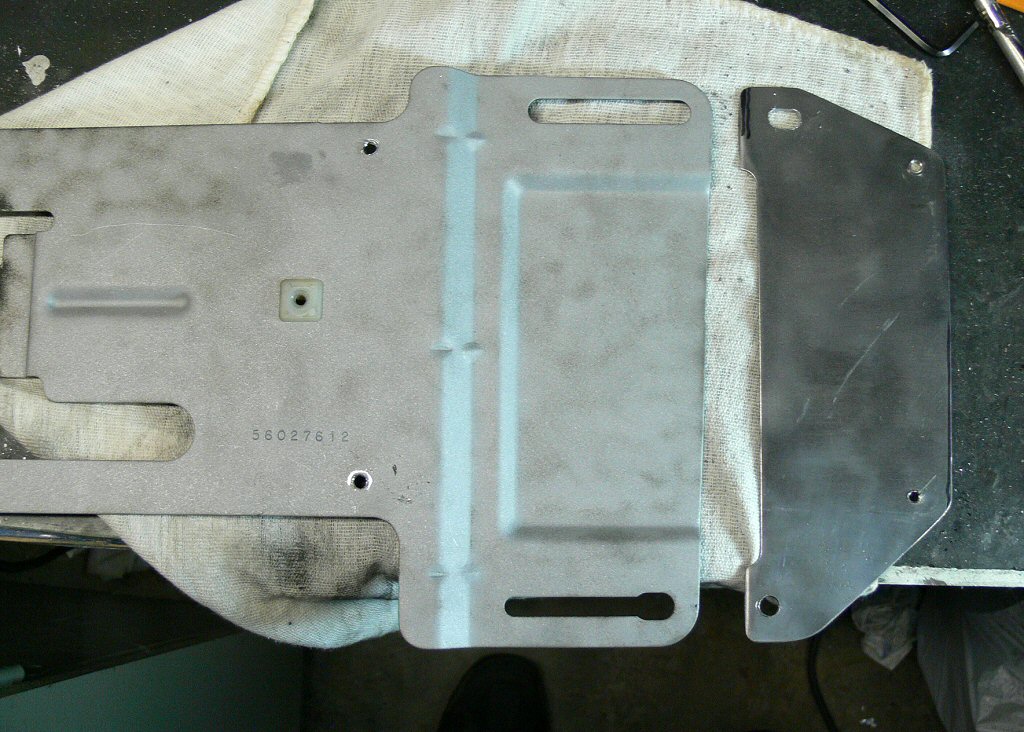
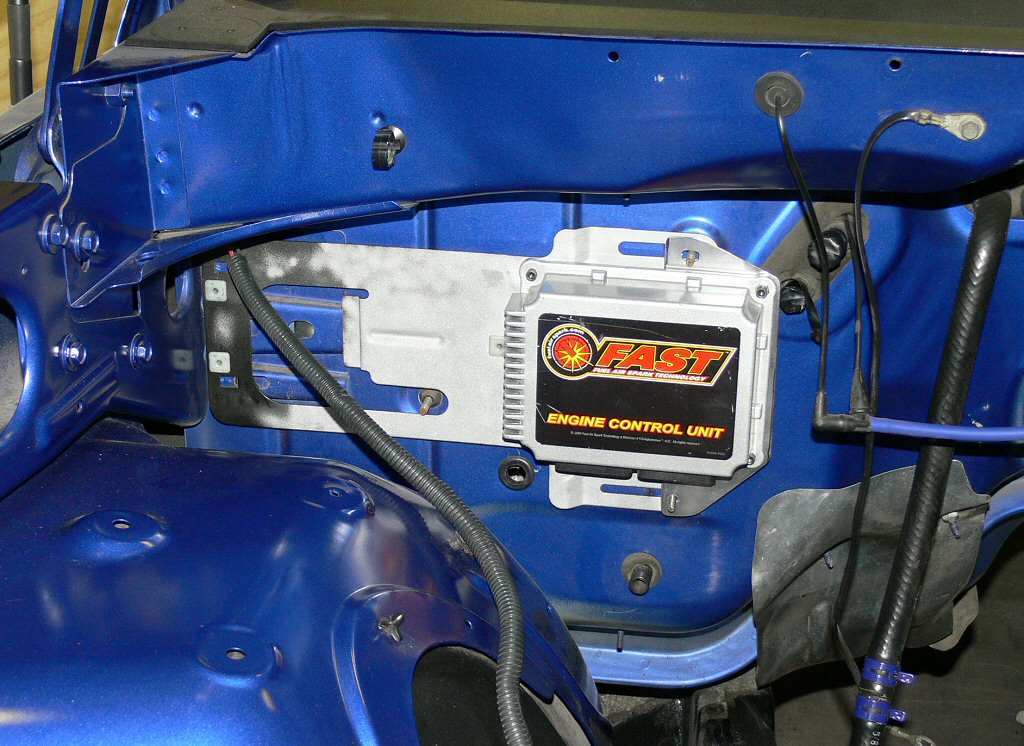
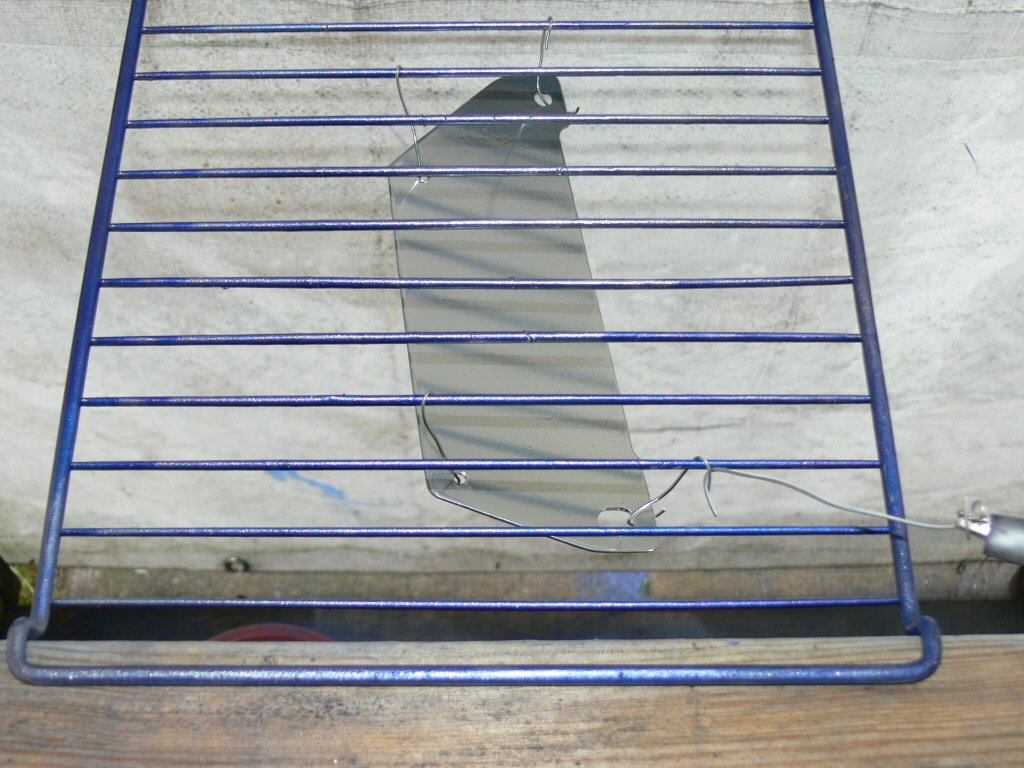
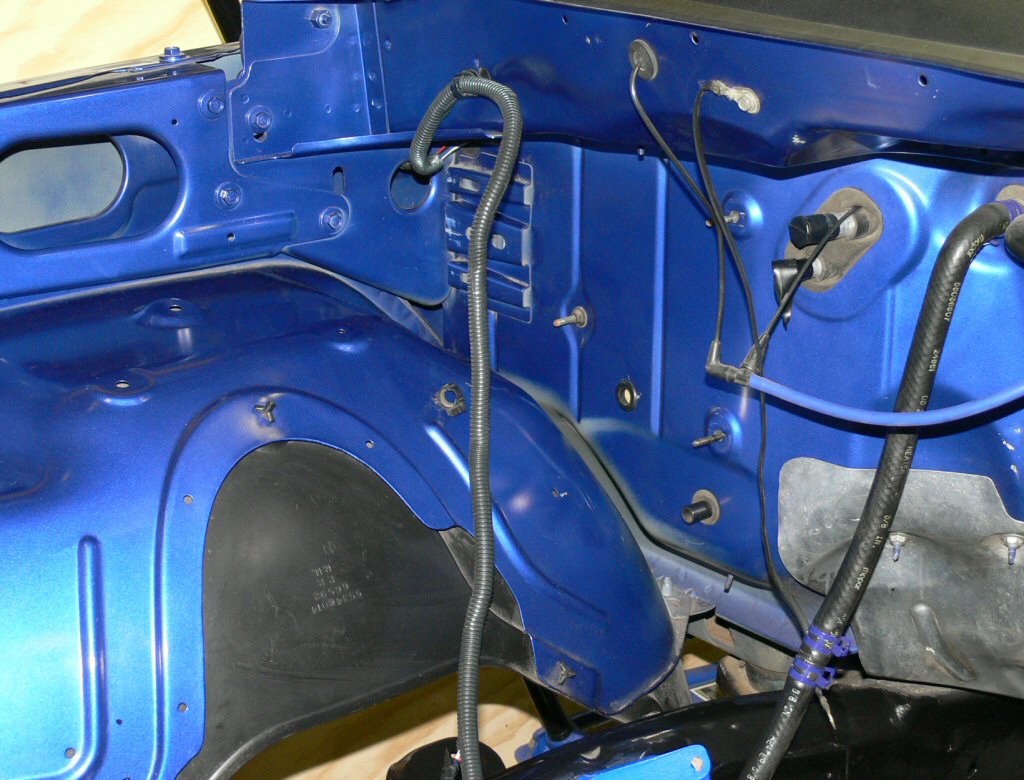
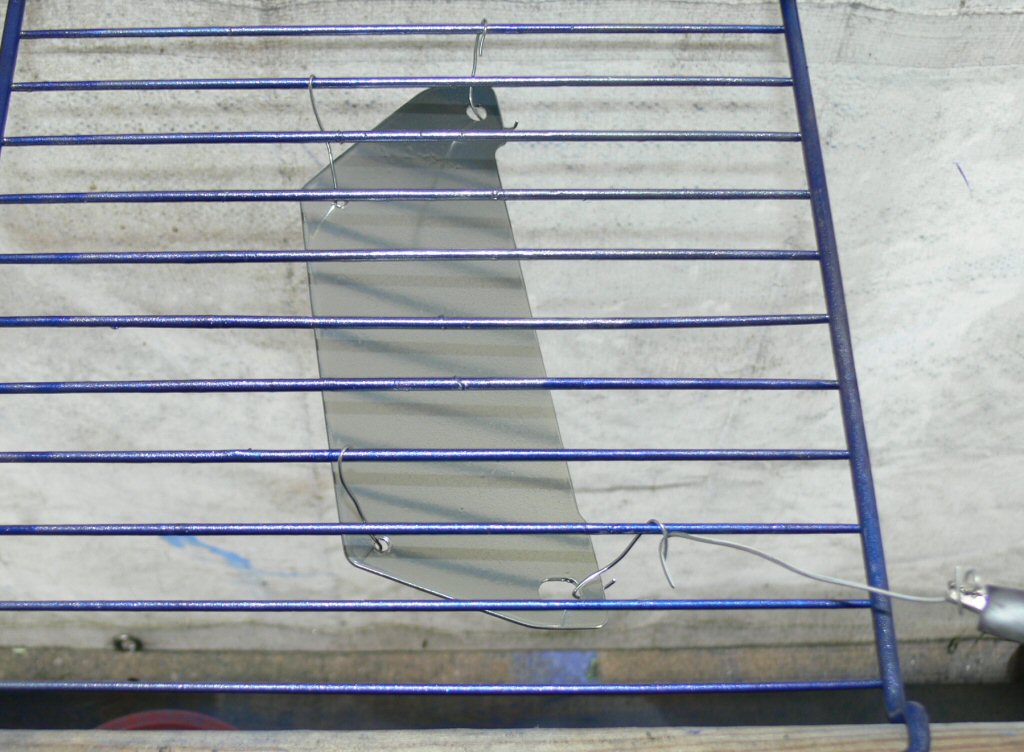
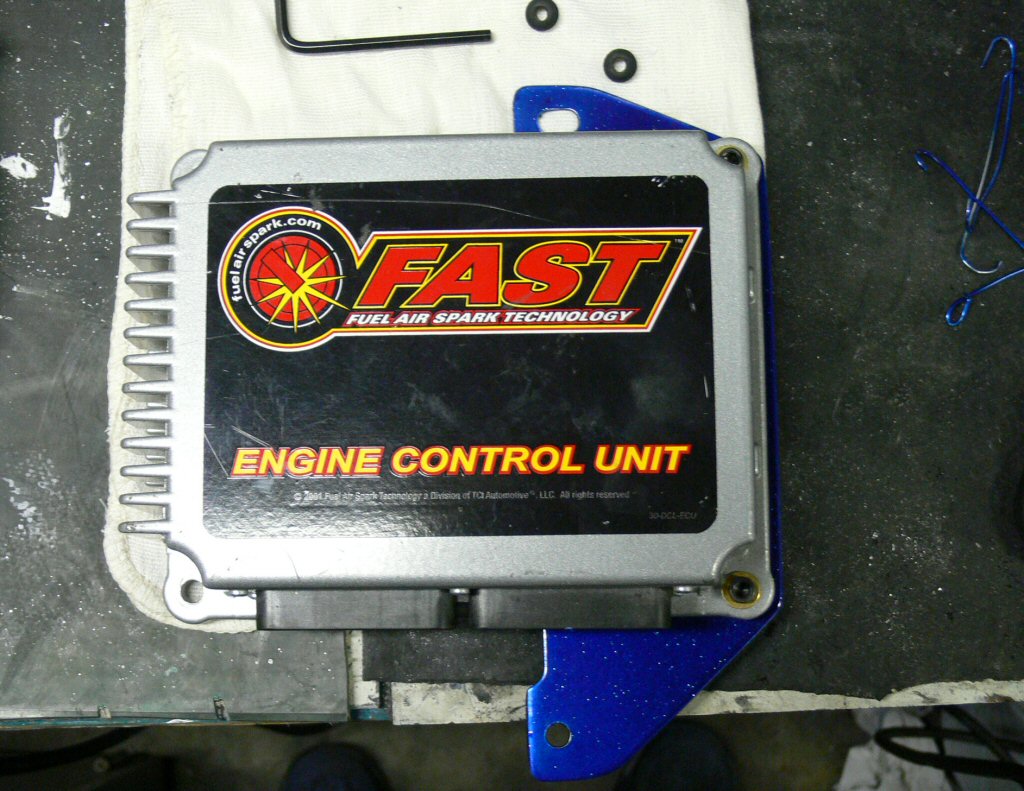
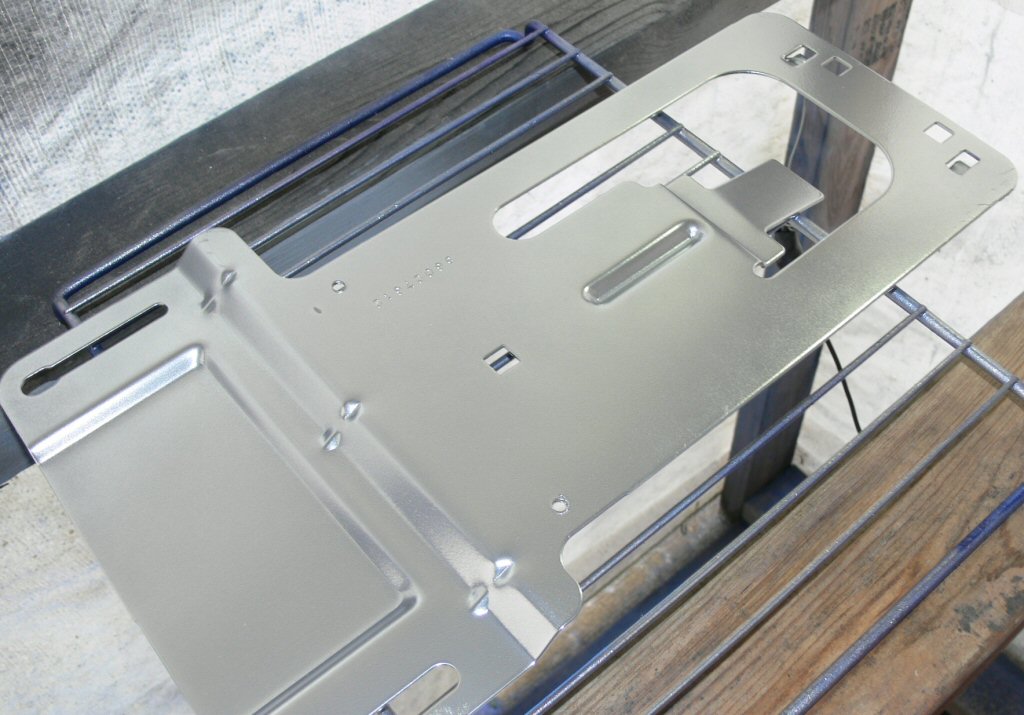
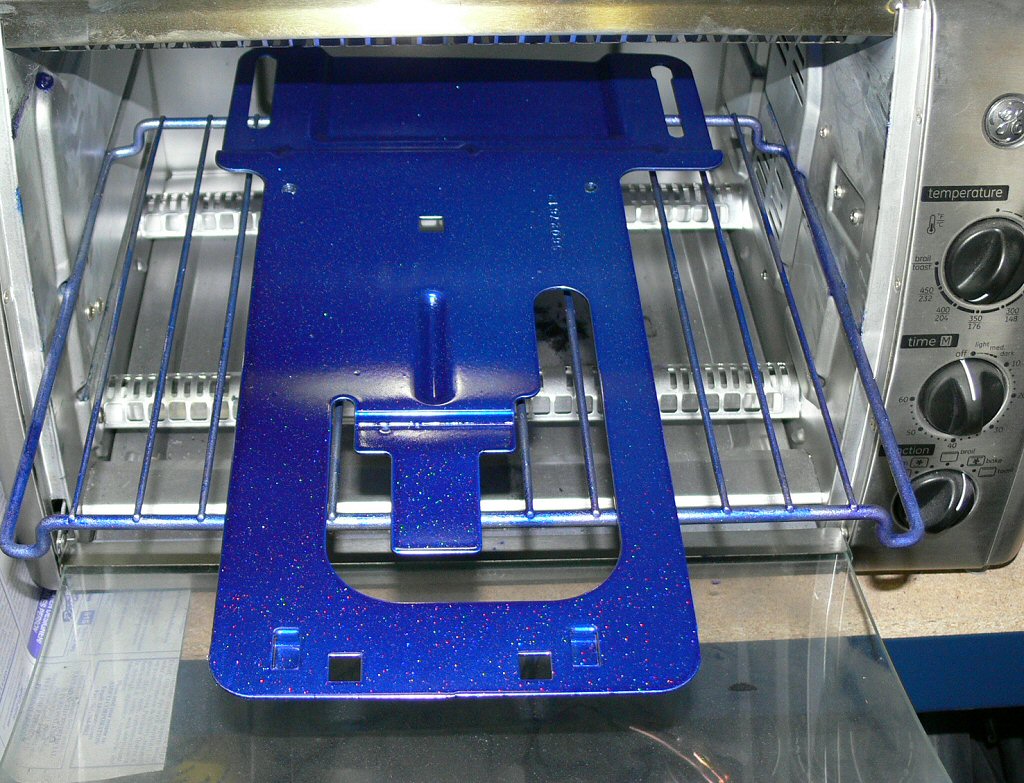
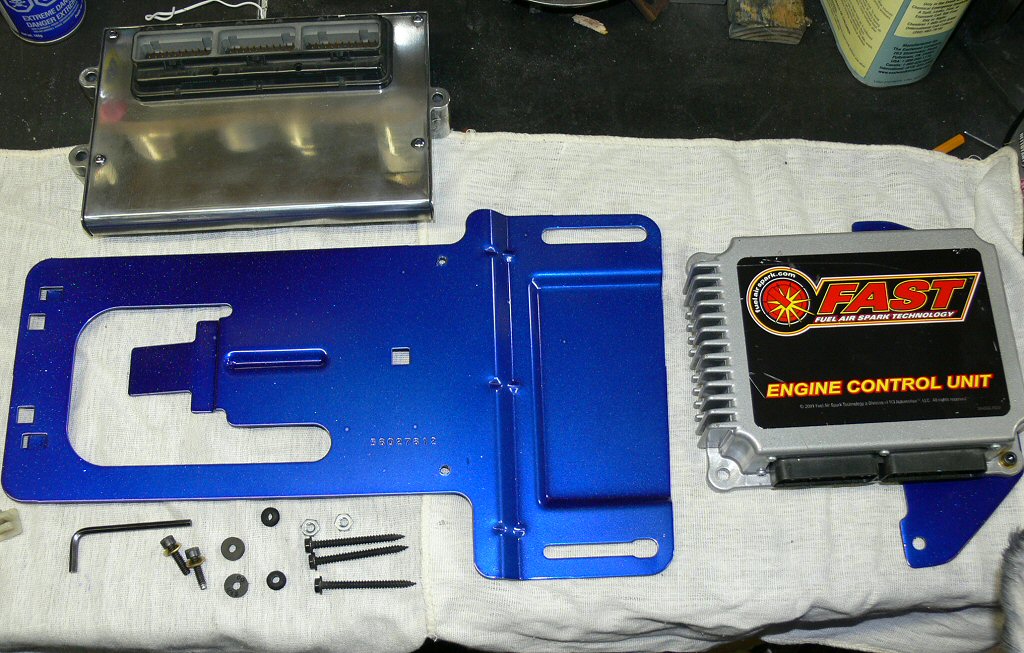
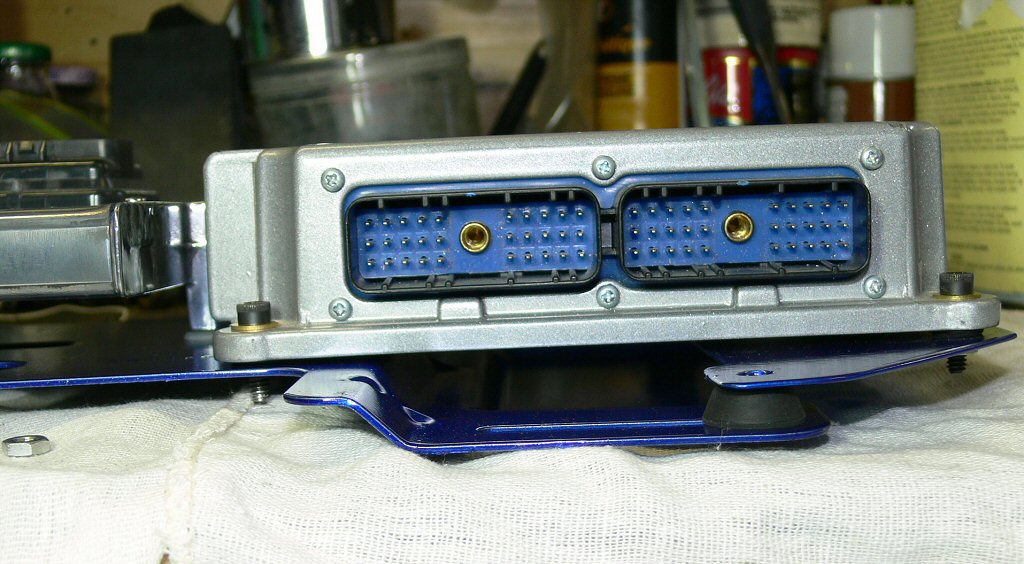
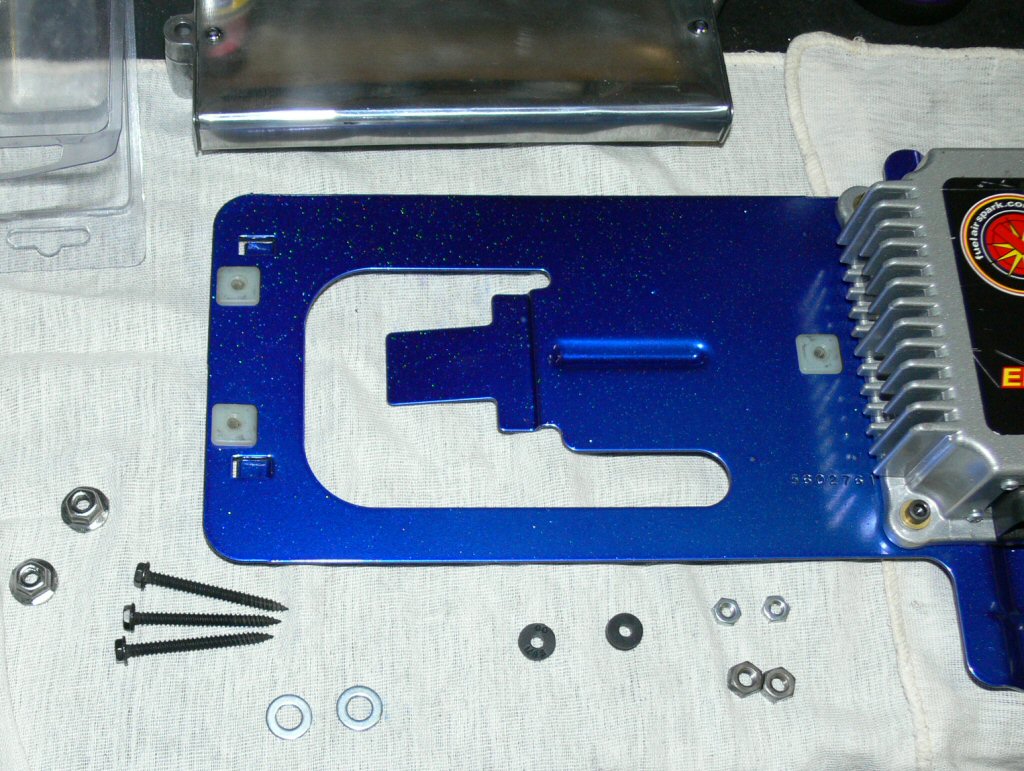
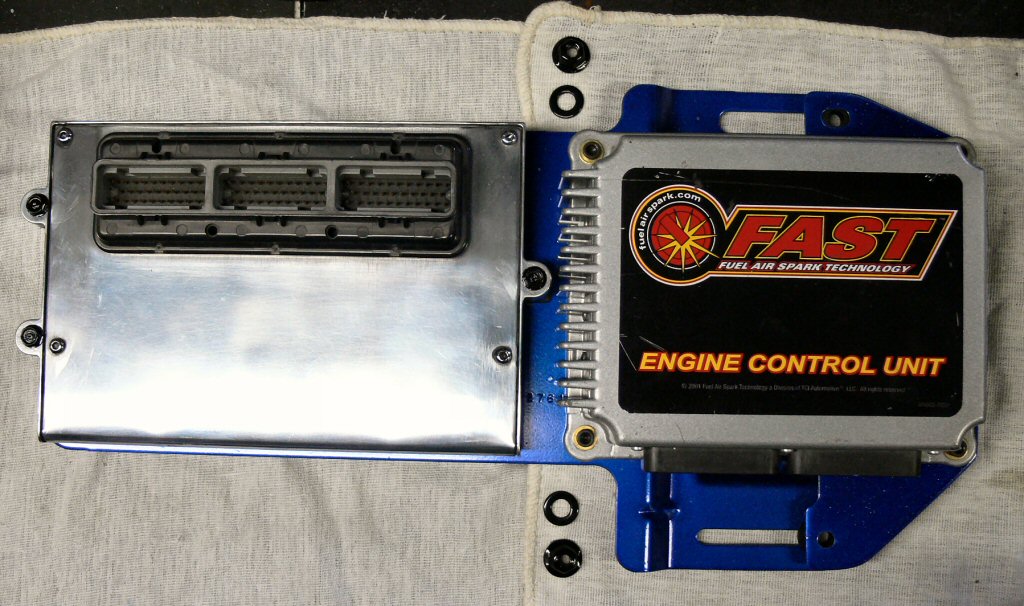
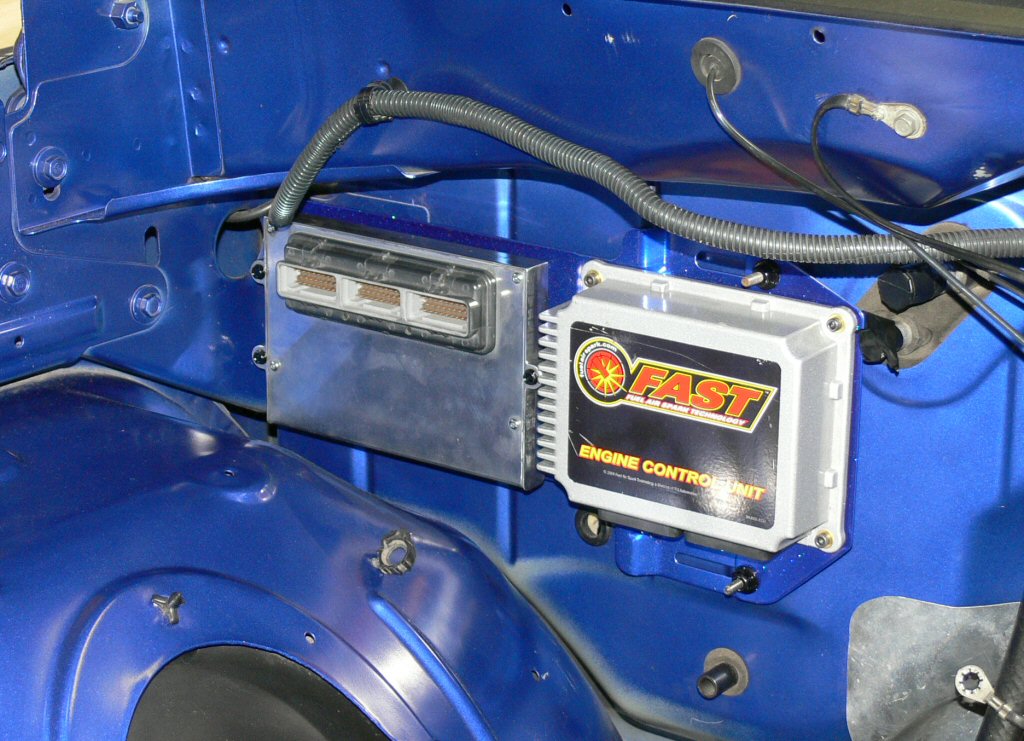
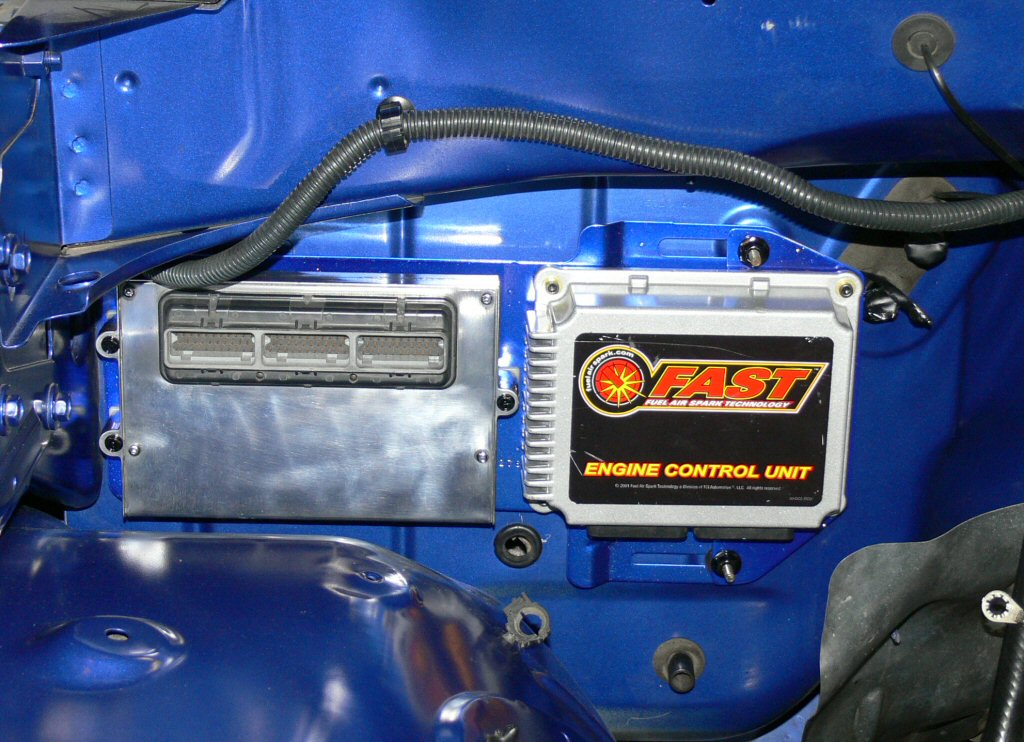
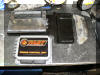
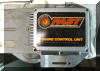
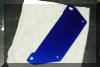
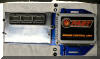
July 25-26, Removed the bracket holding the pcm to the firewall. With the ac canister removed I will mount the FAST computer in its place. I fabricated a smaller bracket to attach to the 2bolts coming from the firewall that holds the factory bracket. The bracket isnt flat so that and how it has 3 tabs that slide into recepticals on the firewall make it more difficult to figure out where to drill the holes for the bolts to come through. Once I tweaked it a few times I got it perfect.
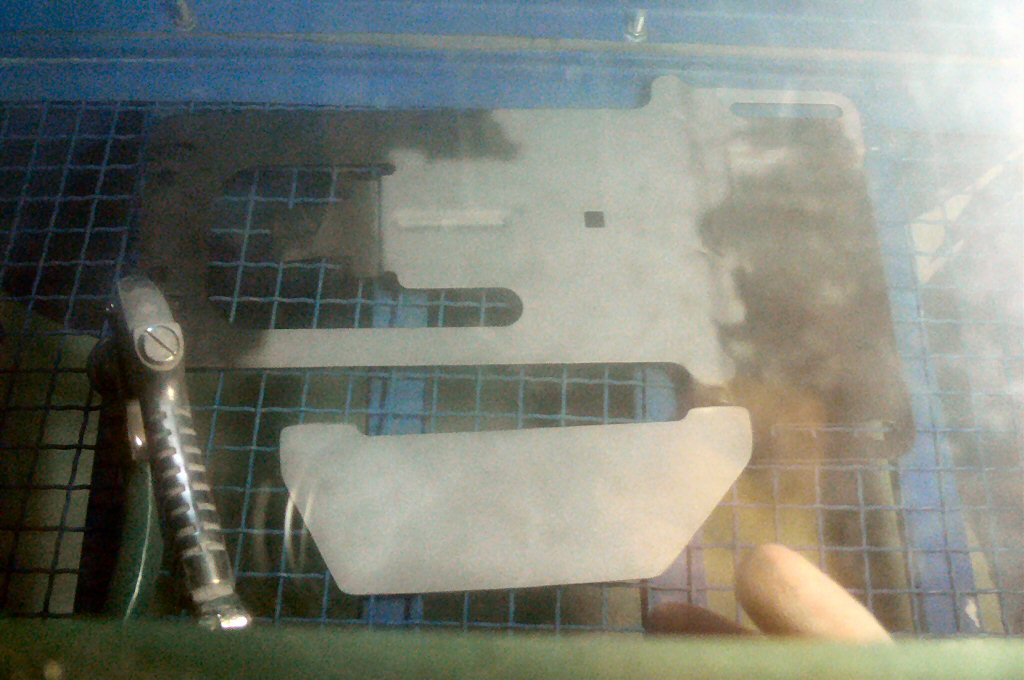
Glass blasted the 2 pieces. Took a while to do the factory one cause its over a foot long (small compressor/waiting to refill). Got one coat of reflective chrome on both pieces after I built a hood to extend the length of the convection oven. Factory piece is 15" my oven about 12". Then they both got a coat of my custom Indy mix of powders. 3 bolts holding the mp pcm and the 2 nuts and washers on the other end I coated with mirror black. I have to cut off the excess length of bolt sticking out on the underside of the fast so it doesnt interfer with plugging the wiring harness back in./ Inbetween I also coated some brass fittings for the vacuum setup. Got another block and fittings from Princess Auto so 8 fittings got coated with the same reflective chrome and Indy mix as a 2nd coat.

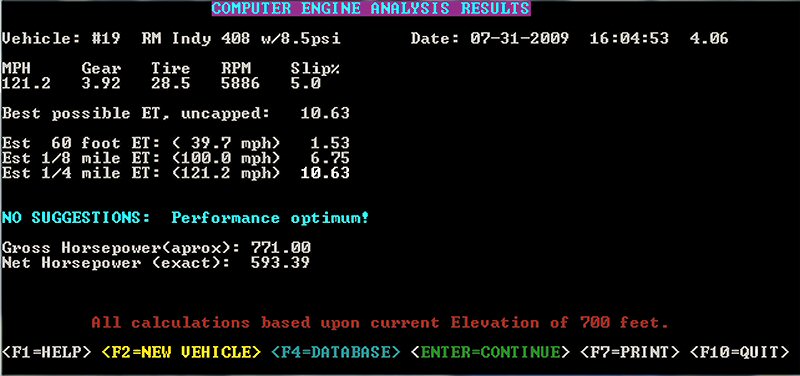
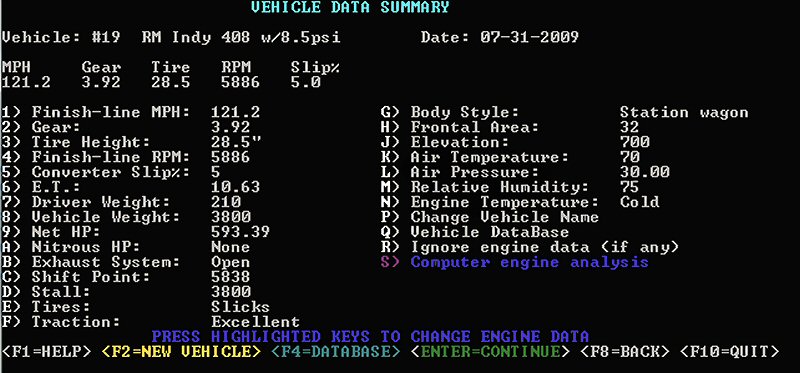
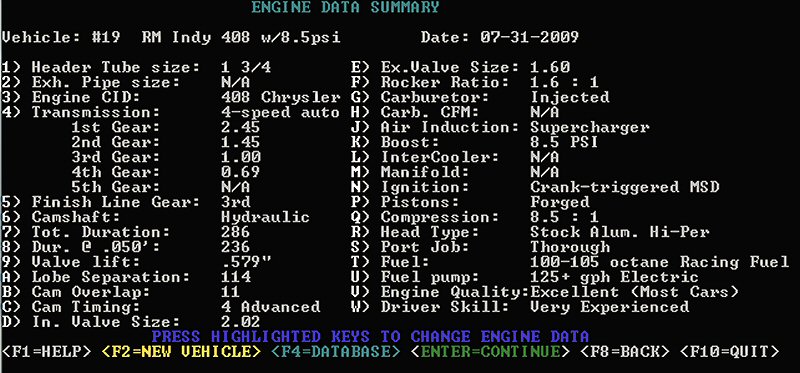
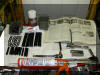
Injured my back yet again, making it hard to get anything done on the truck. Did some more calculations to see what boost it should make and think Ill see 8.5psi at 5900-6000rpm shifts. Heres what the software says about running 8.5psi through the 408. Probably make more rwhp than this though cause i didnt list running an intercooler. Gross hp probably be higher, ets slower. Figure 10.8-10.9. If I make it to the track this year, I will have to let off at the 1/8m and coast to the finish or with get the boot. Last pass of the day I will go for it
States optimium performance cause tc stall rpm and gearing is ideal if they werent it would give suggestions for better ets
Intake manifold rating of 160.9% is related to the Procharge
10F drop in temps and numbers climb by 21rwhp, 220' elevation where I live, used tracks alt so potentially dyno #s would be higher at bit lower alt.
Cam advertised duration from Comps is low compared to other adv ratings I've seen.
Mopar crate motor lists a 290adv duro on a cam that is only 230-234duro (mine 236/242 duro)
Aug 16-17, made a shield/reflector that I can hang the drive shaft on after I spray it with powder. Will have to use my IR lamp to cure the dshaft cause its so long. Fingers are crossed that it will work ok when I finally get to it. Started blasting the dshaft, but the drain for the compressor is busted so going extremely slow (slower than usual) cause of the moisture plugging up my blast gun. Damn I wish I had a real compressor!
Aug 19, Energy Suspension bushings finally arrived (while at work) Got the new drain plug for the compressor and its working much better now that Im able to drain the tank before use.
Aug 20, Summit let me cancel the order I had with them (special order/still week away) for the poly bushings. Installed the Moog greaseable ball-joints and finished up blasting the stock suspension parts that hold the control arms together. Wire wheeled them to a polished like finish so they will look the proper color with the Indy mix of powder on them. About 1/2 done on blasting the driveshaft. Wanted to do something to clean up the control arms but they dont look that bad and chances are will both be replaced with tubular arms next year or the one after so Im letting them slide :) Post a bunch of pics later of this weeks progress when I get a chance.
Aug 22, Screwed again! Energy Suspension front control arm bushing kit has upper arm sleeves that are too big and no way i can install them. Box inside the shipping box was a bit beat up and the parts bag was open. Thinking that energysuspensionsparts.com got these back due to defective parts (sleeves) but sent them back out any ways. Didnt end up doing any work on the truck cause I was too pissed off. Have a week off first of September that I booked so I could start installing the motor/trans(2nd time booked time for this), guess Ill be twiddling my thumbs again due to these fkn $65 parts.
Aug 27, well my 11yr old compressor has given up on me. Fired it up to finish blasting the driveshaft and it started making a heck of a noise as well as wouldn't go over 40psi. Tore it apart and looks like the piston rings worn out as well as the cylinder wall is scored. 2 options, spend $630 for pretty well same compressor or about $4k to get a real compressor and 220volt power out to the garage (running garage off extension cords).
Electrician wont be out for 2 weeks to inspect/quote and wouldn't be able to start work for at least 3weeks. Looks like this is a season ender. Yet another year that I wont have the Indy on the road. Good thing will be proper 220volt power, real compressor that I can blast to my hearts content and no more hazard of running 2 hot cords to an outside plug with power bars and splitters everywhere in the garage.